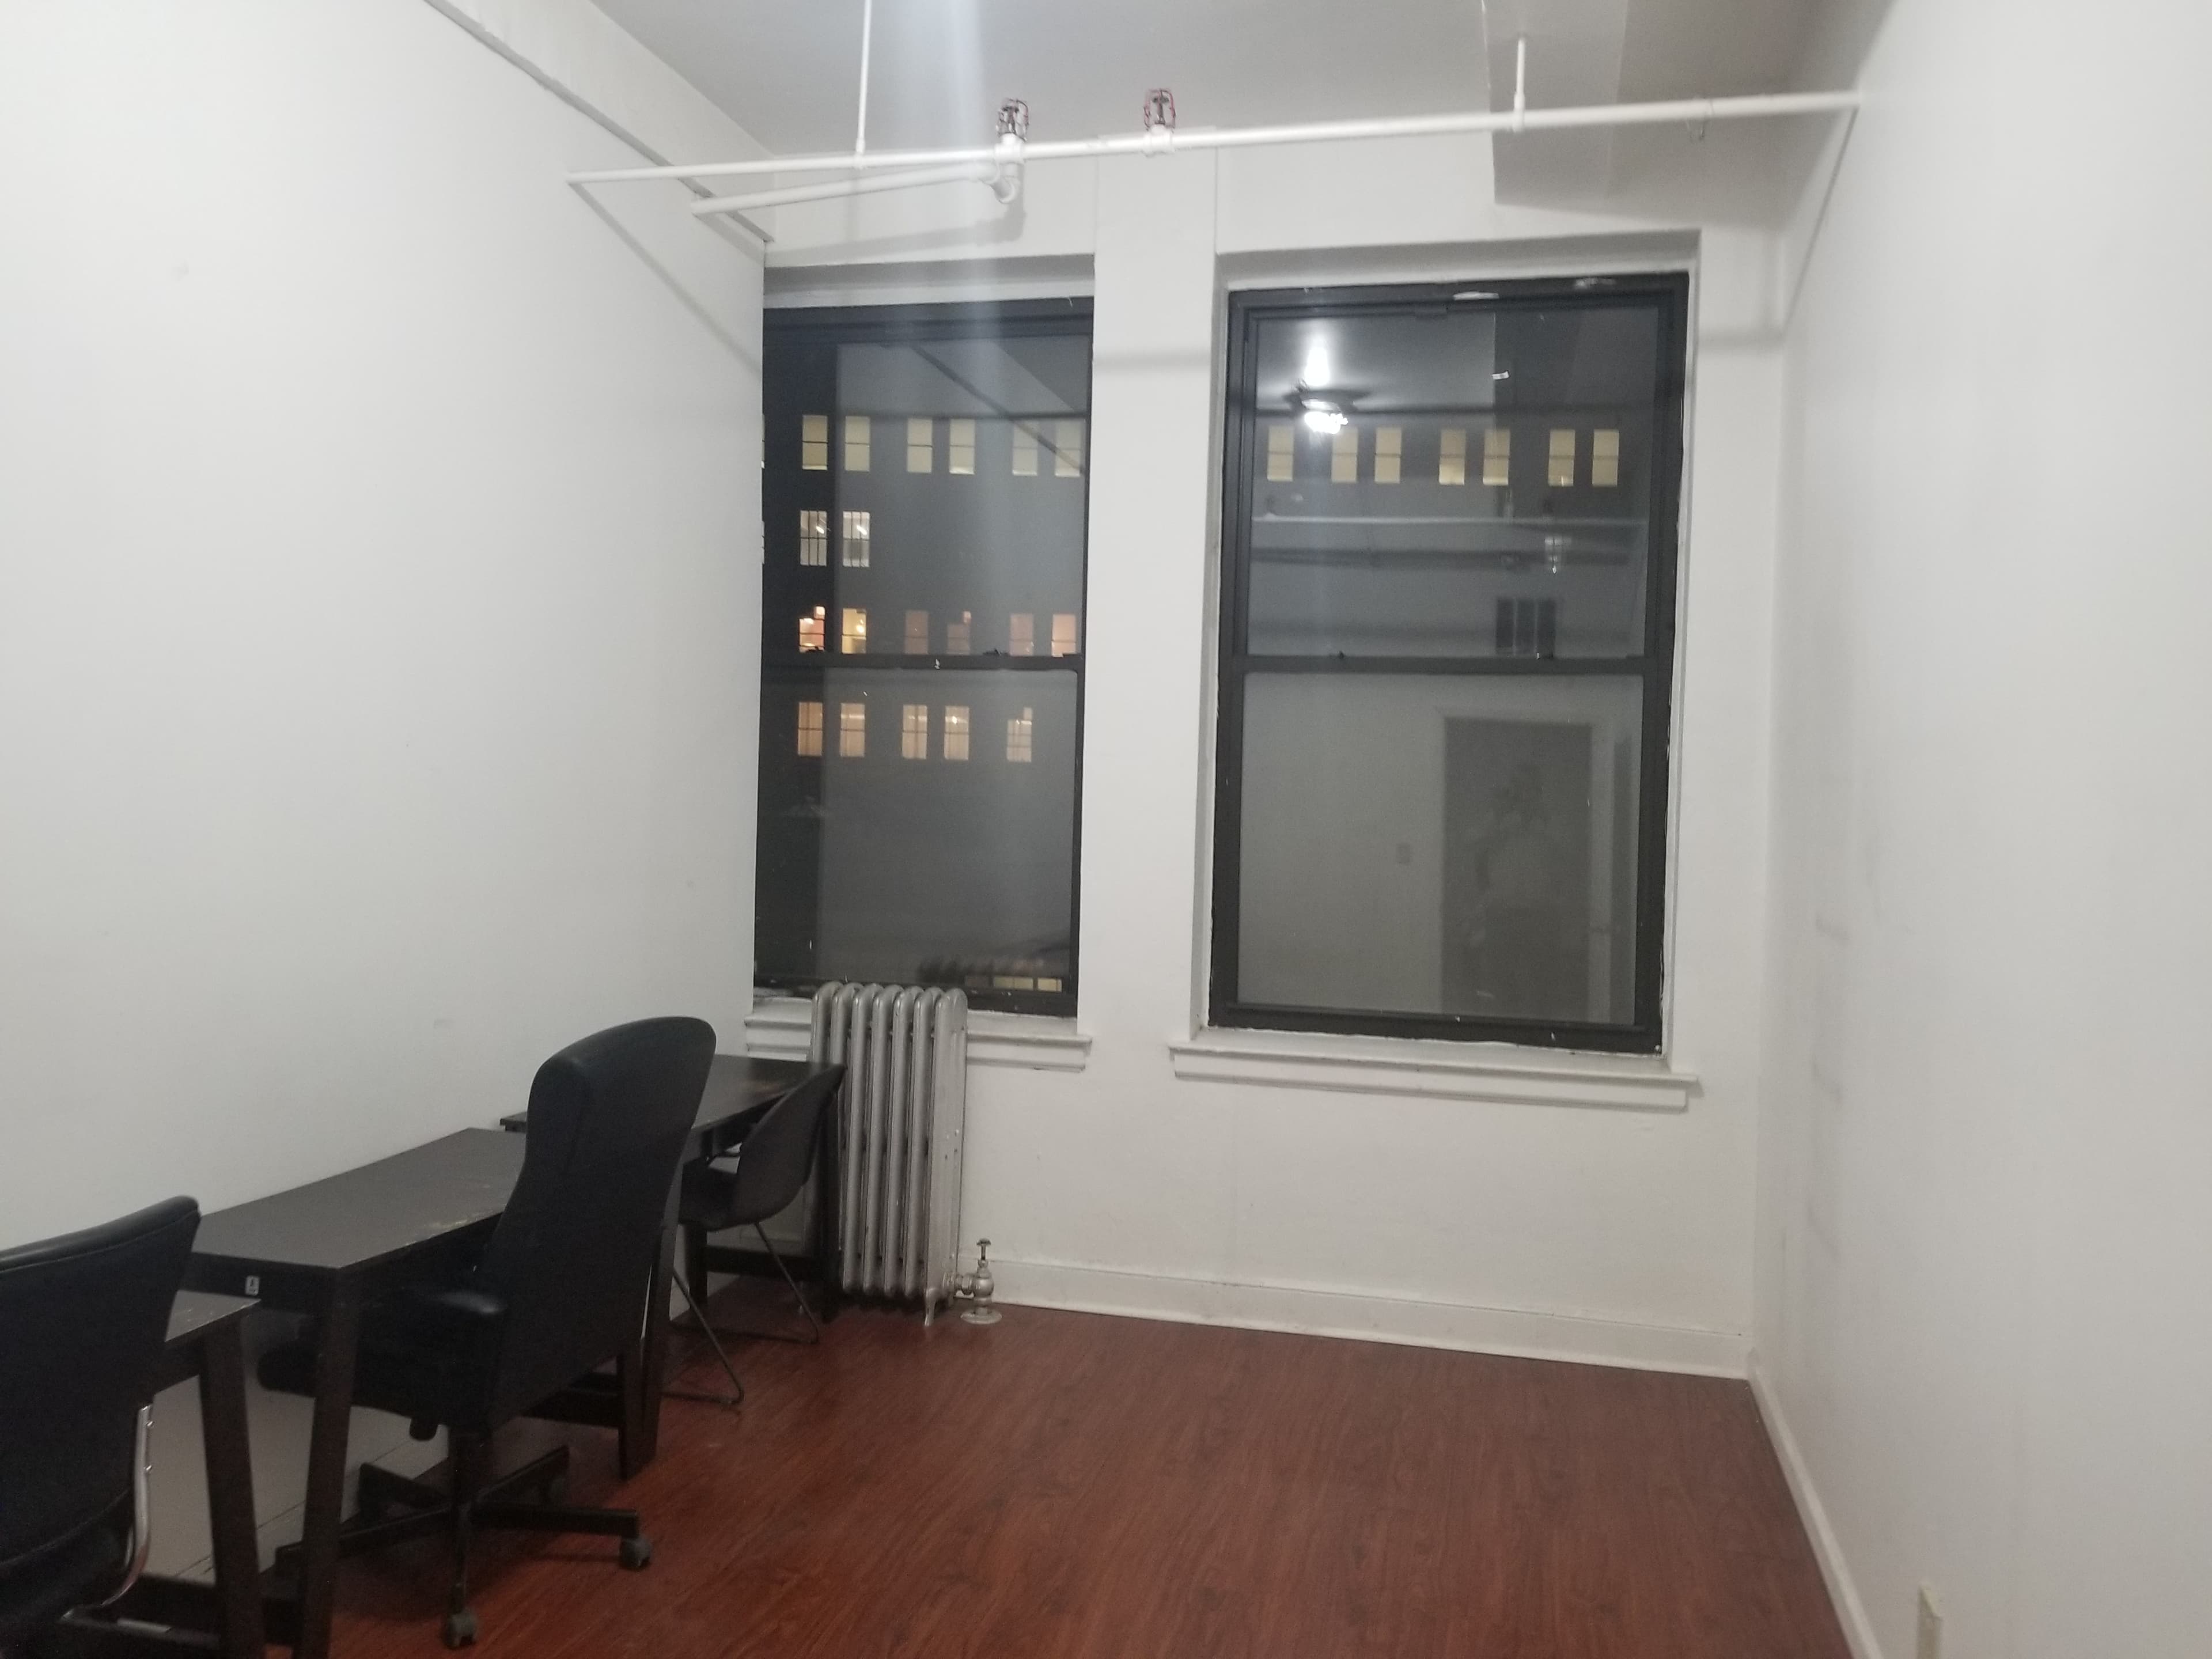
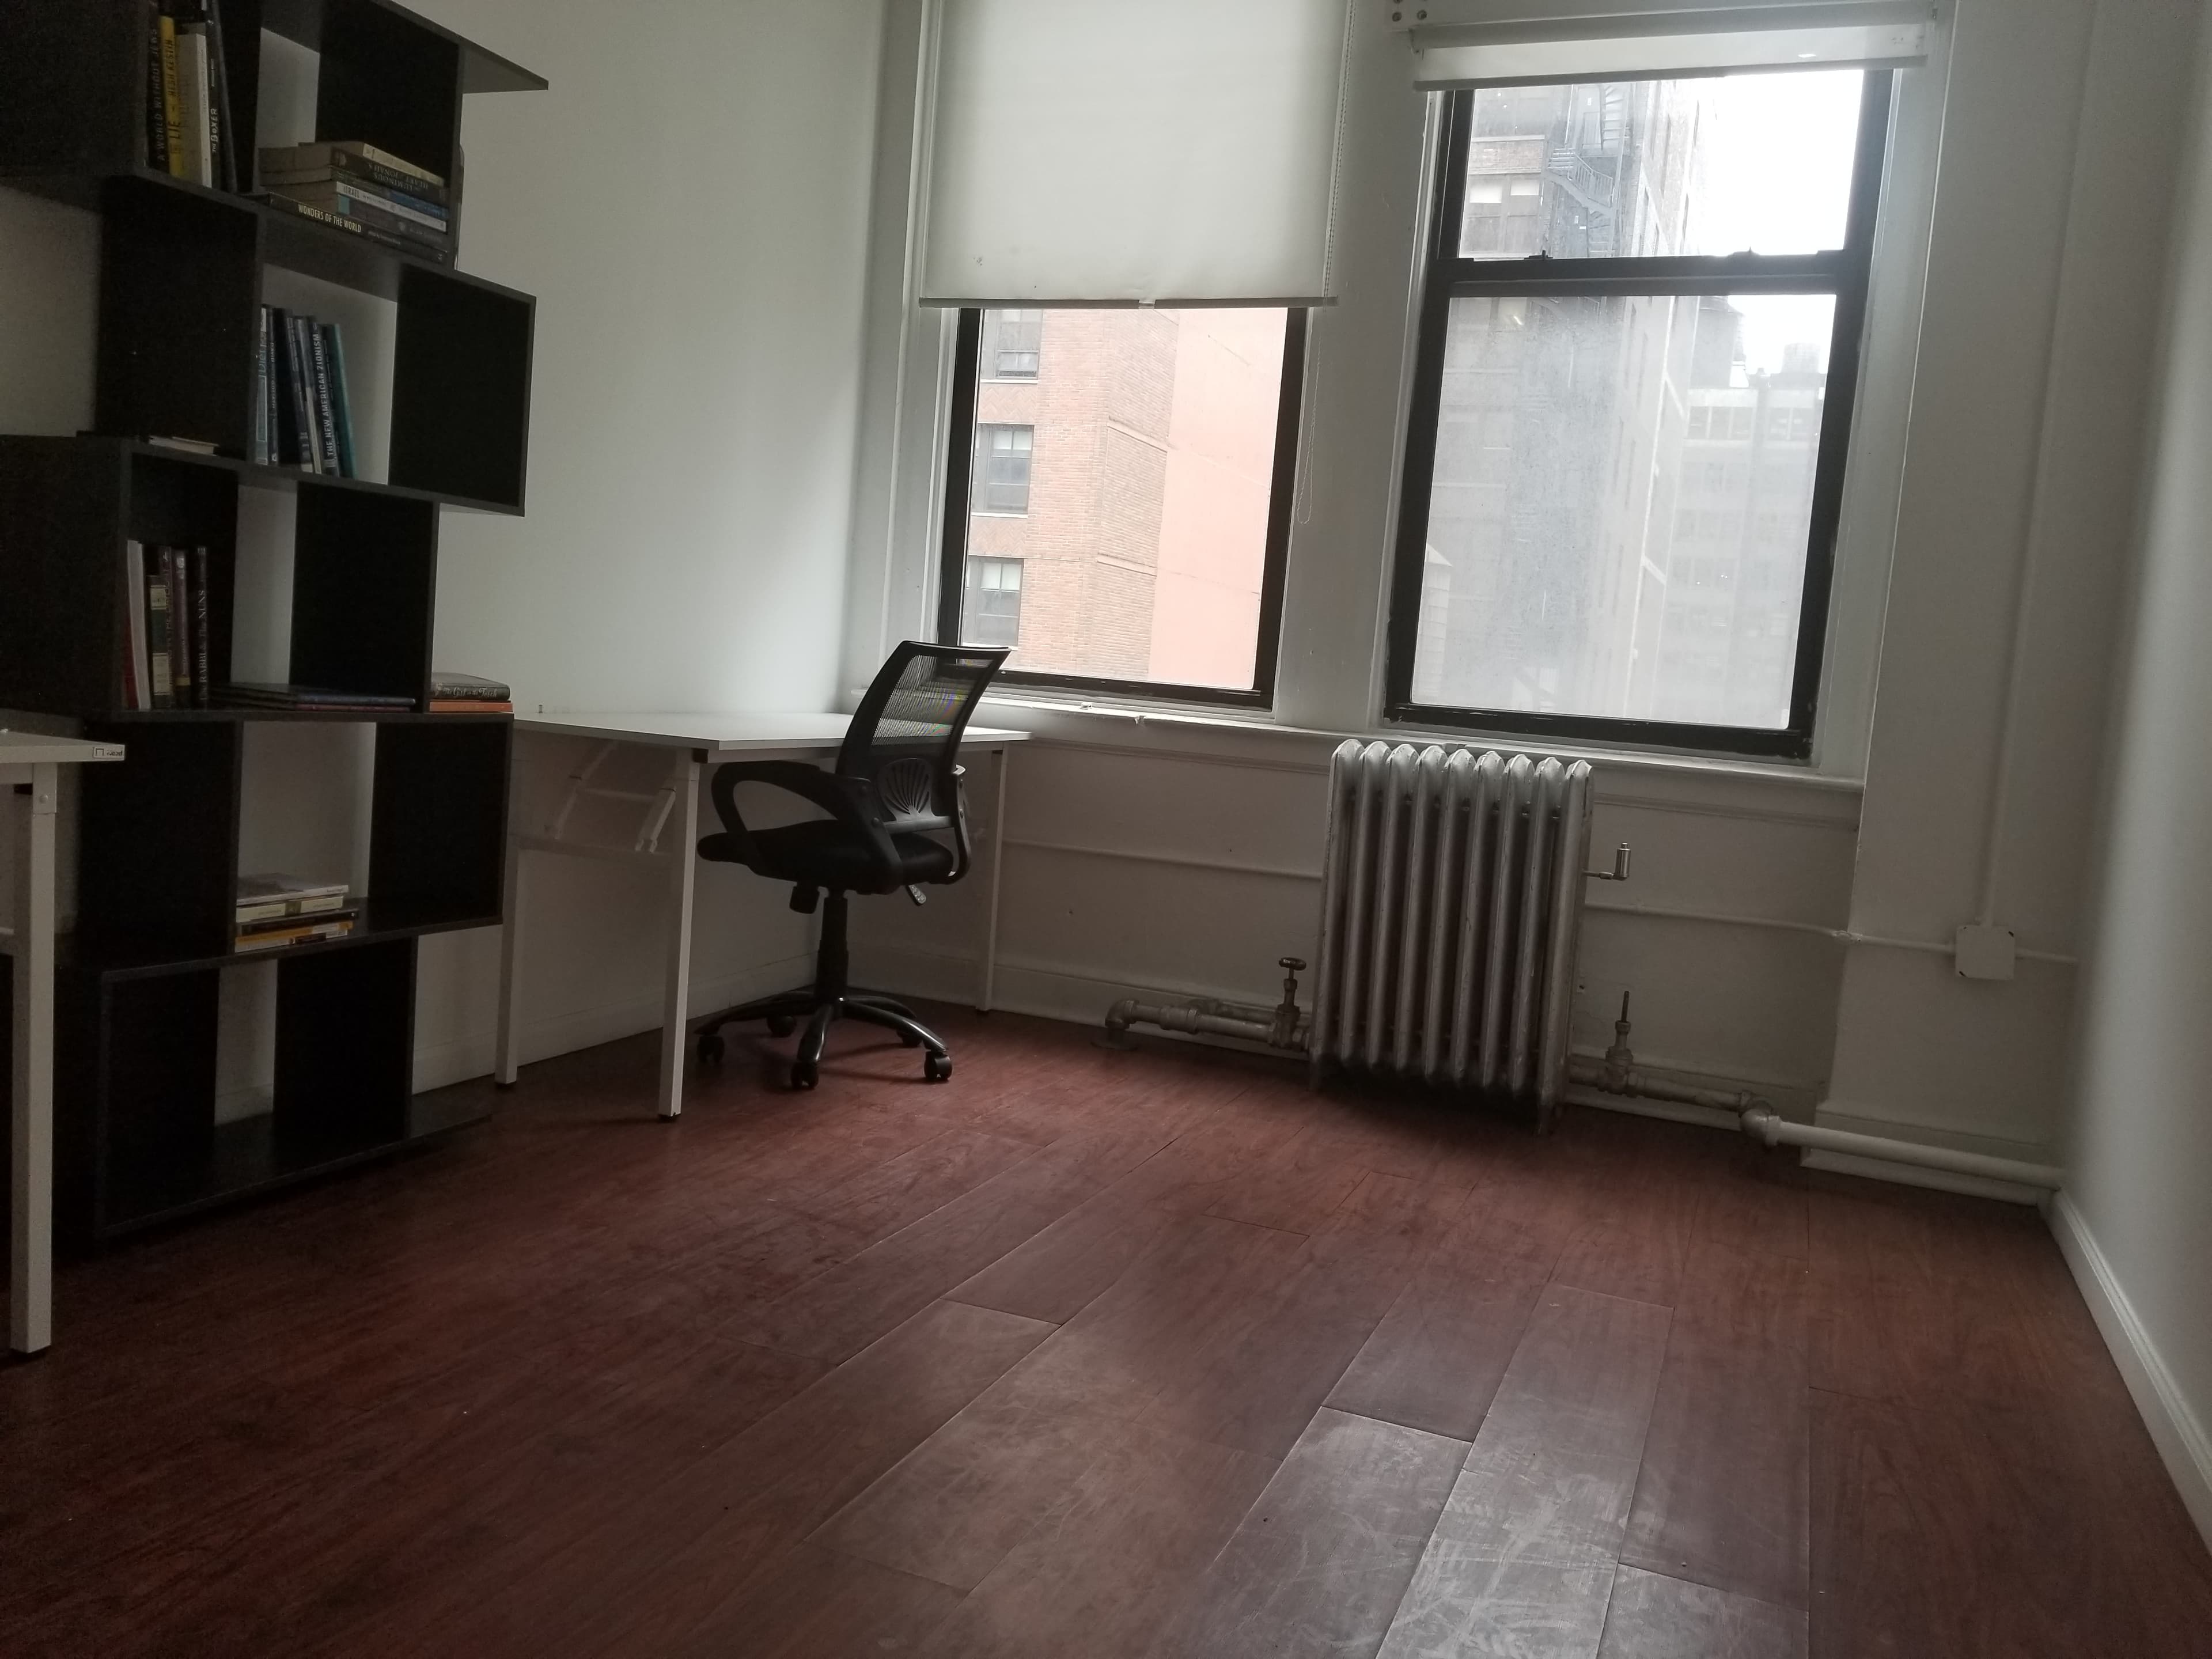
OFFICE FOR RENT IN NYC
New York, NY
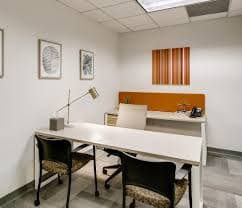
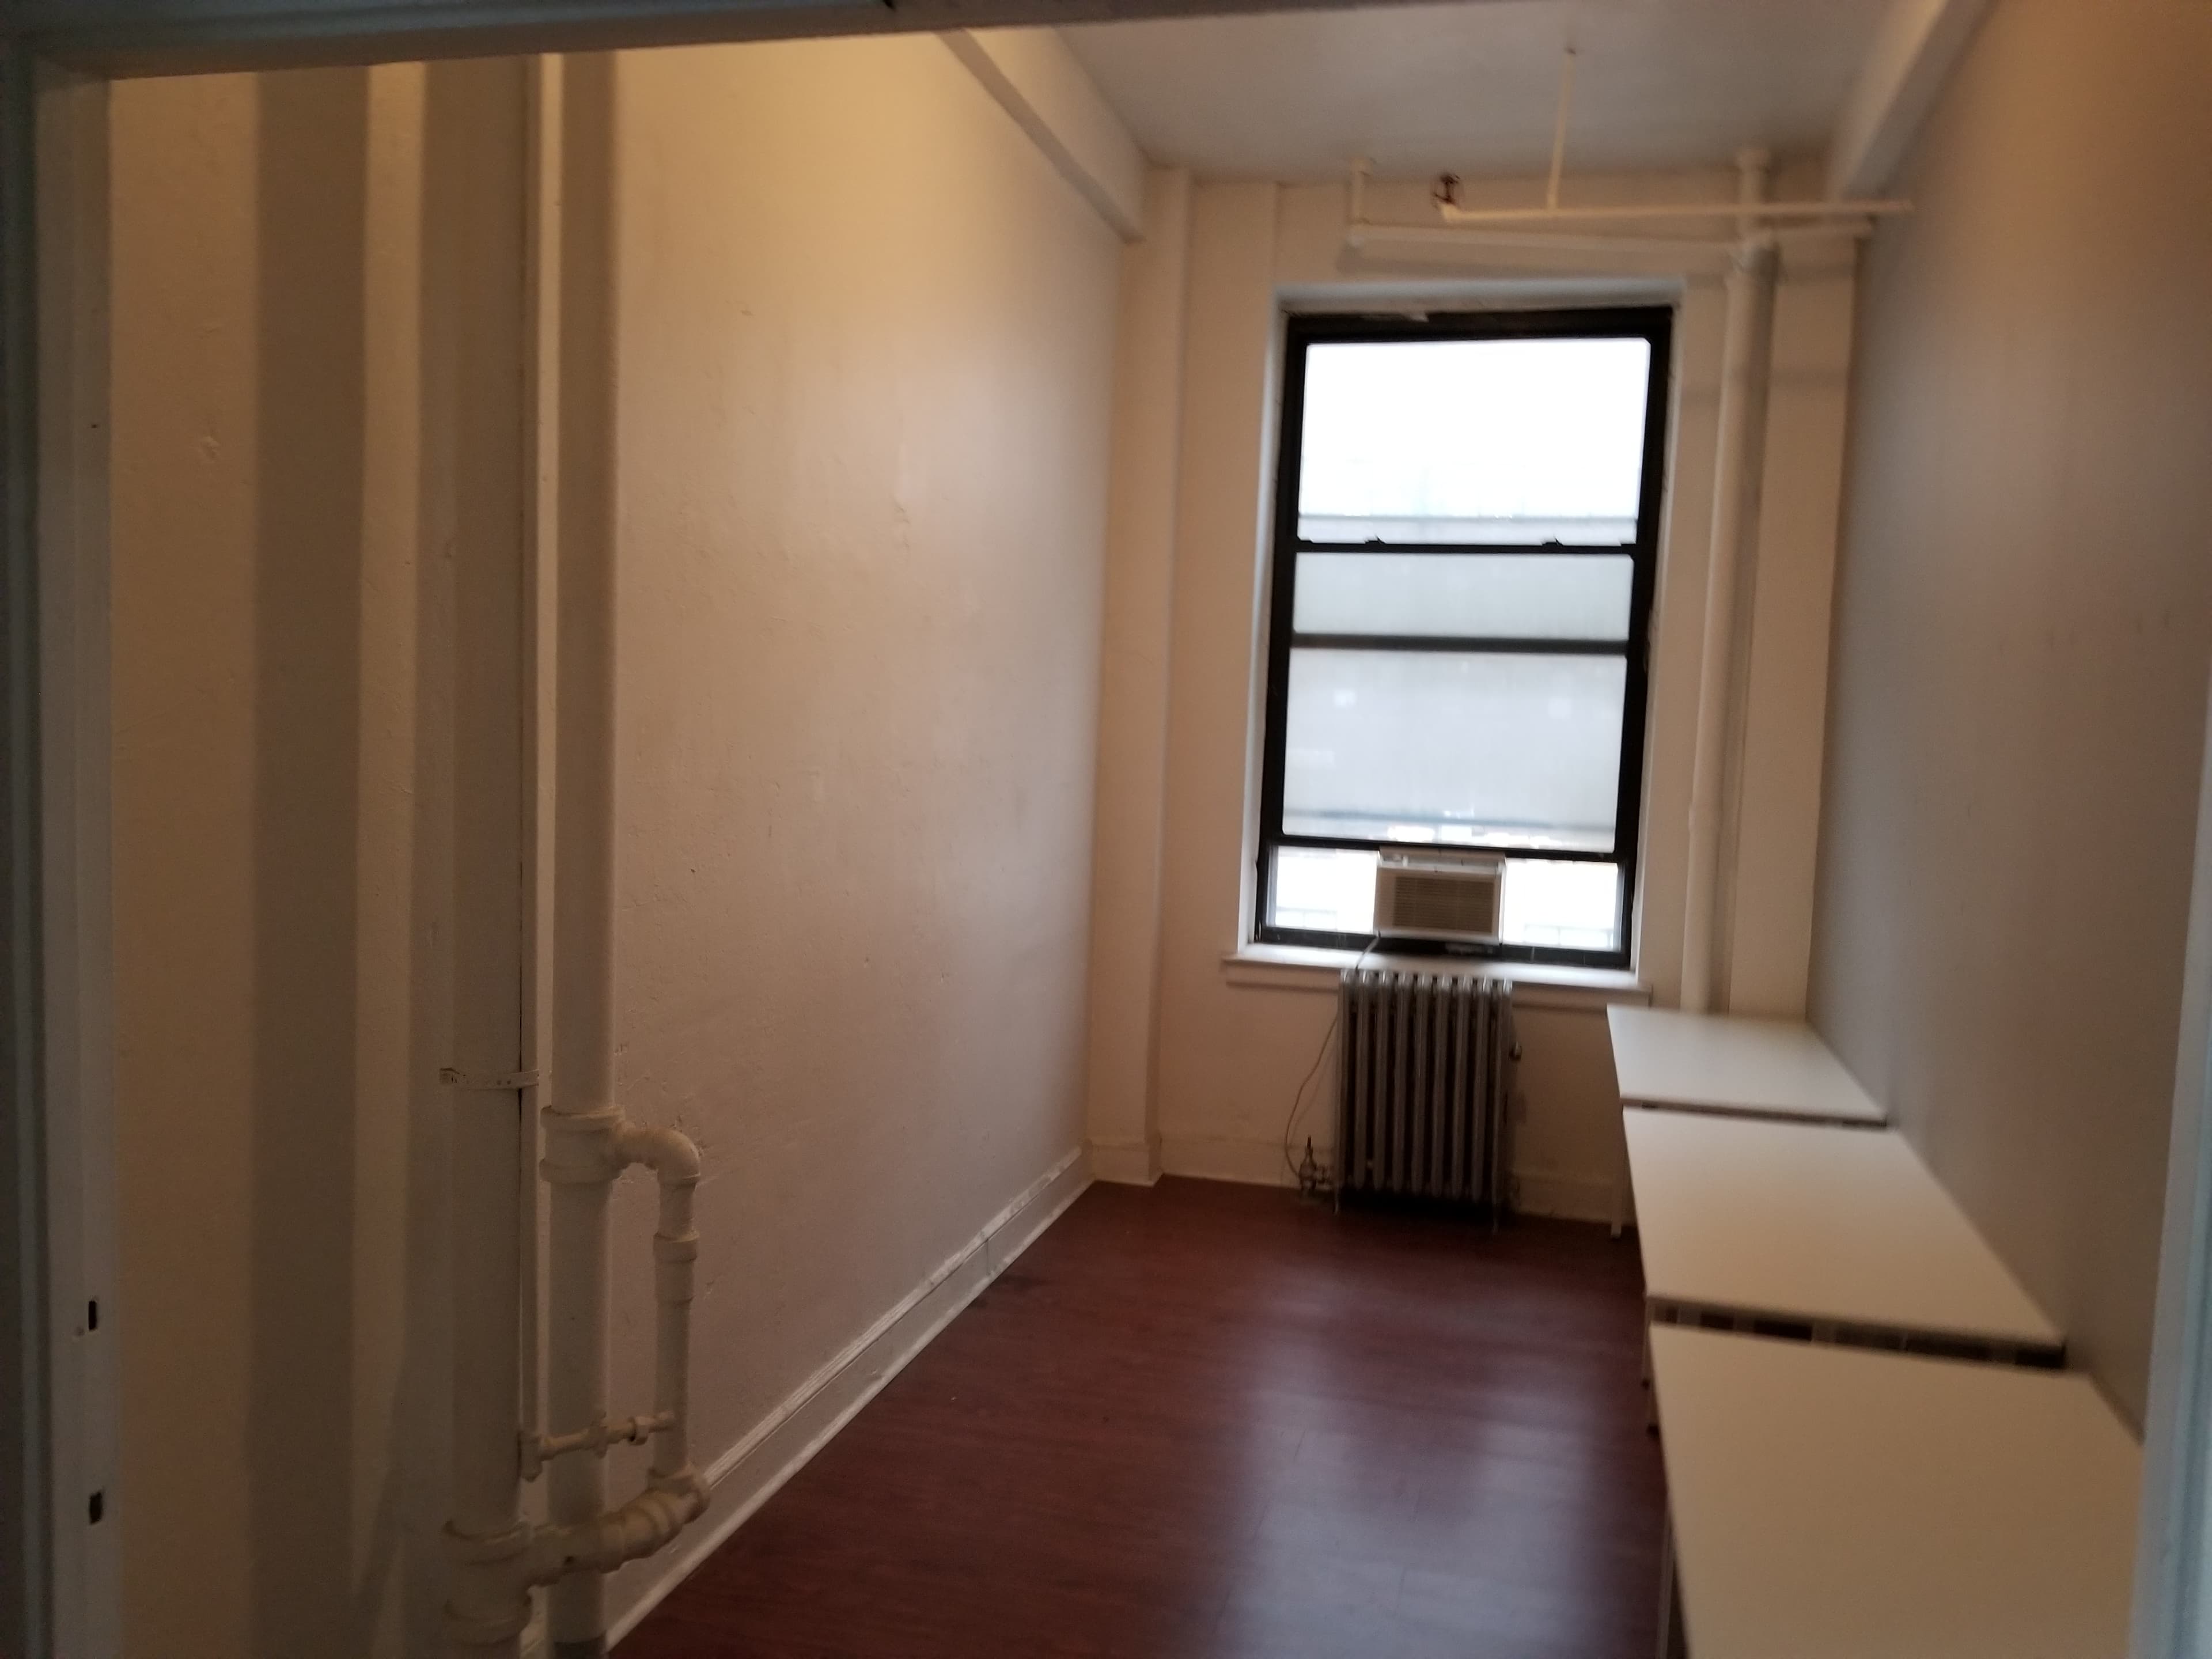
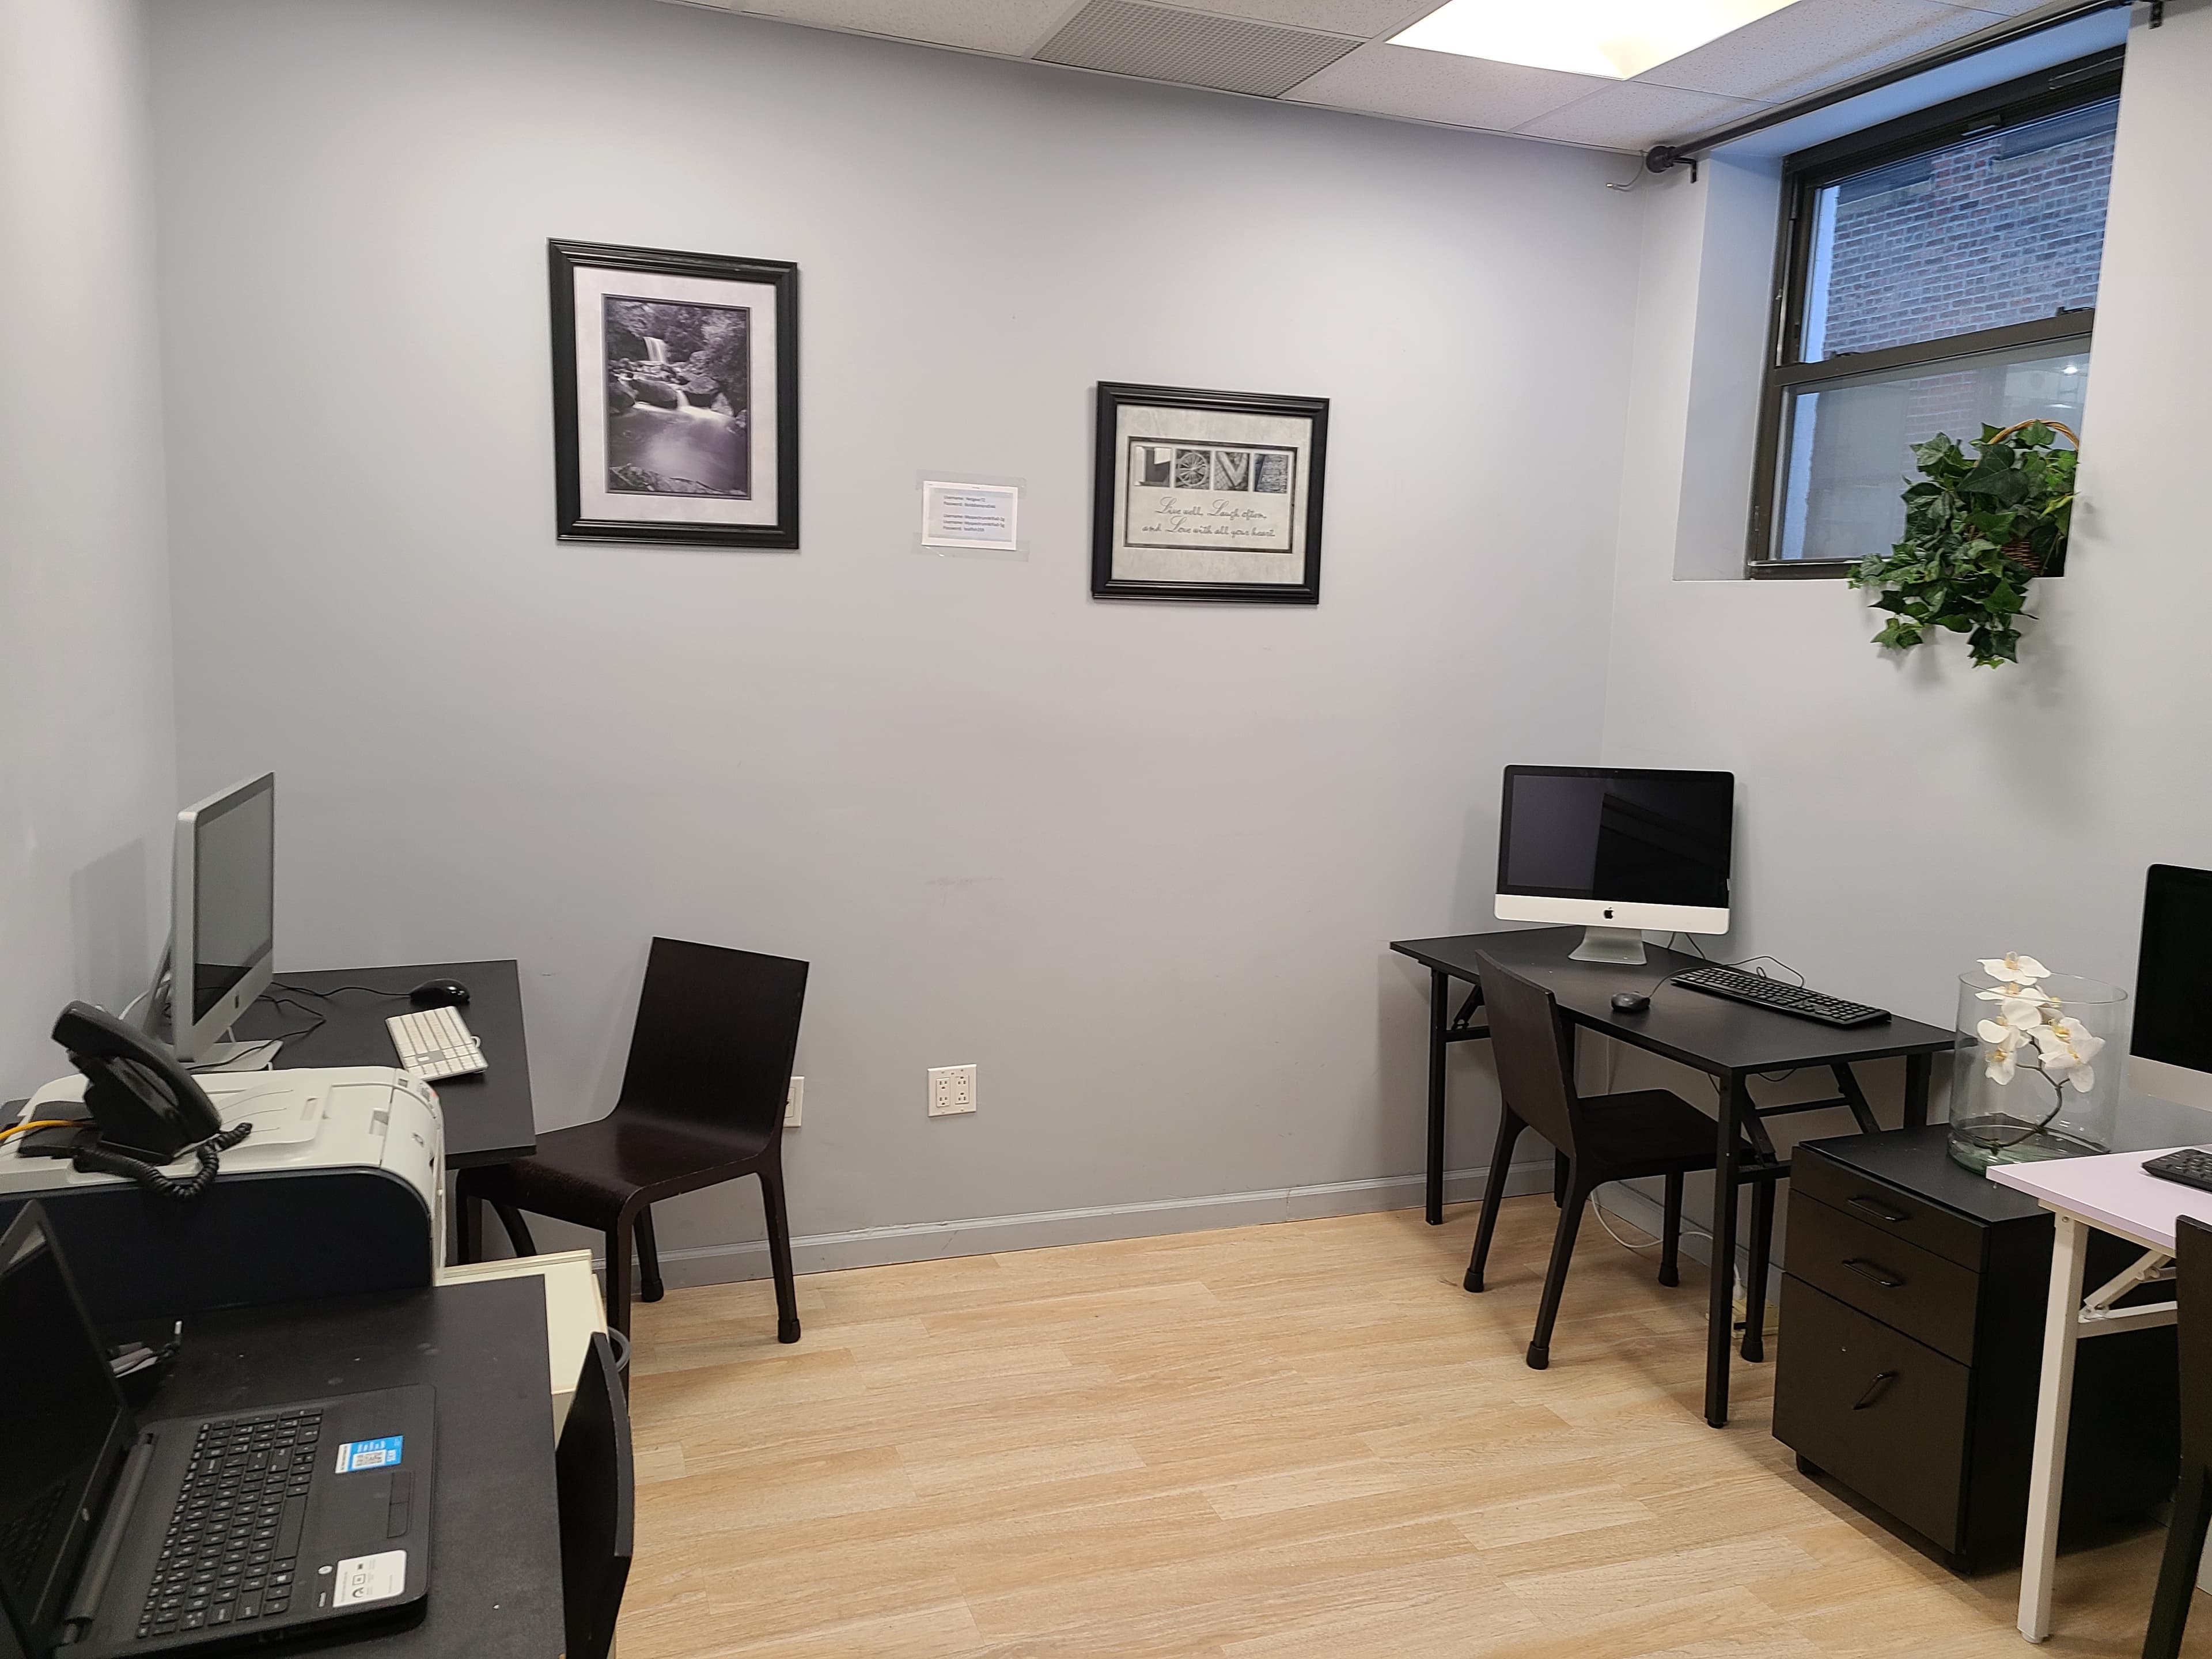
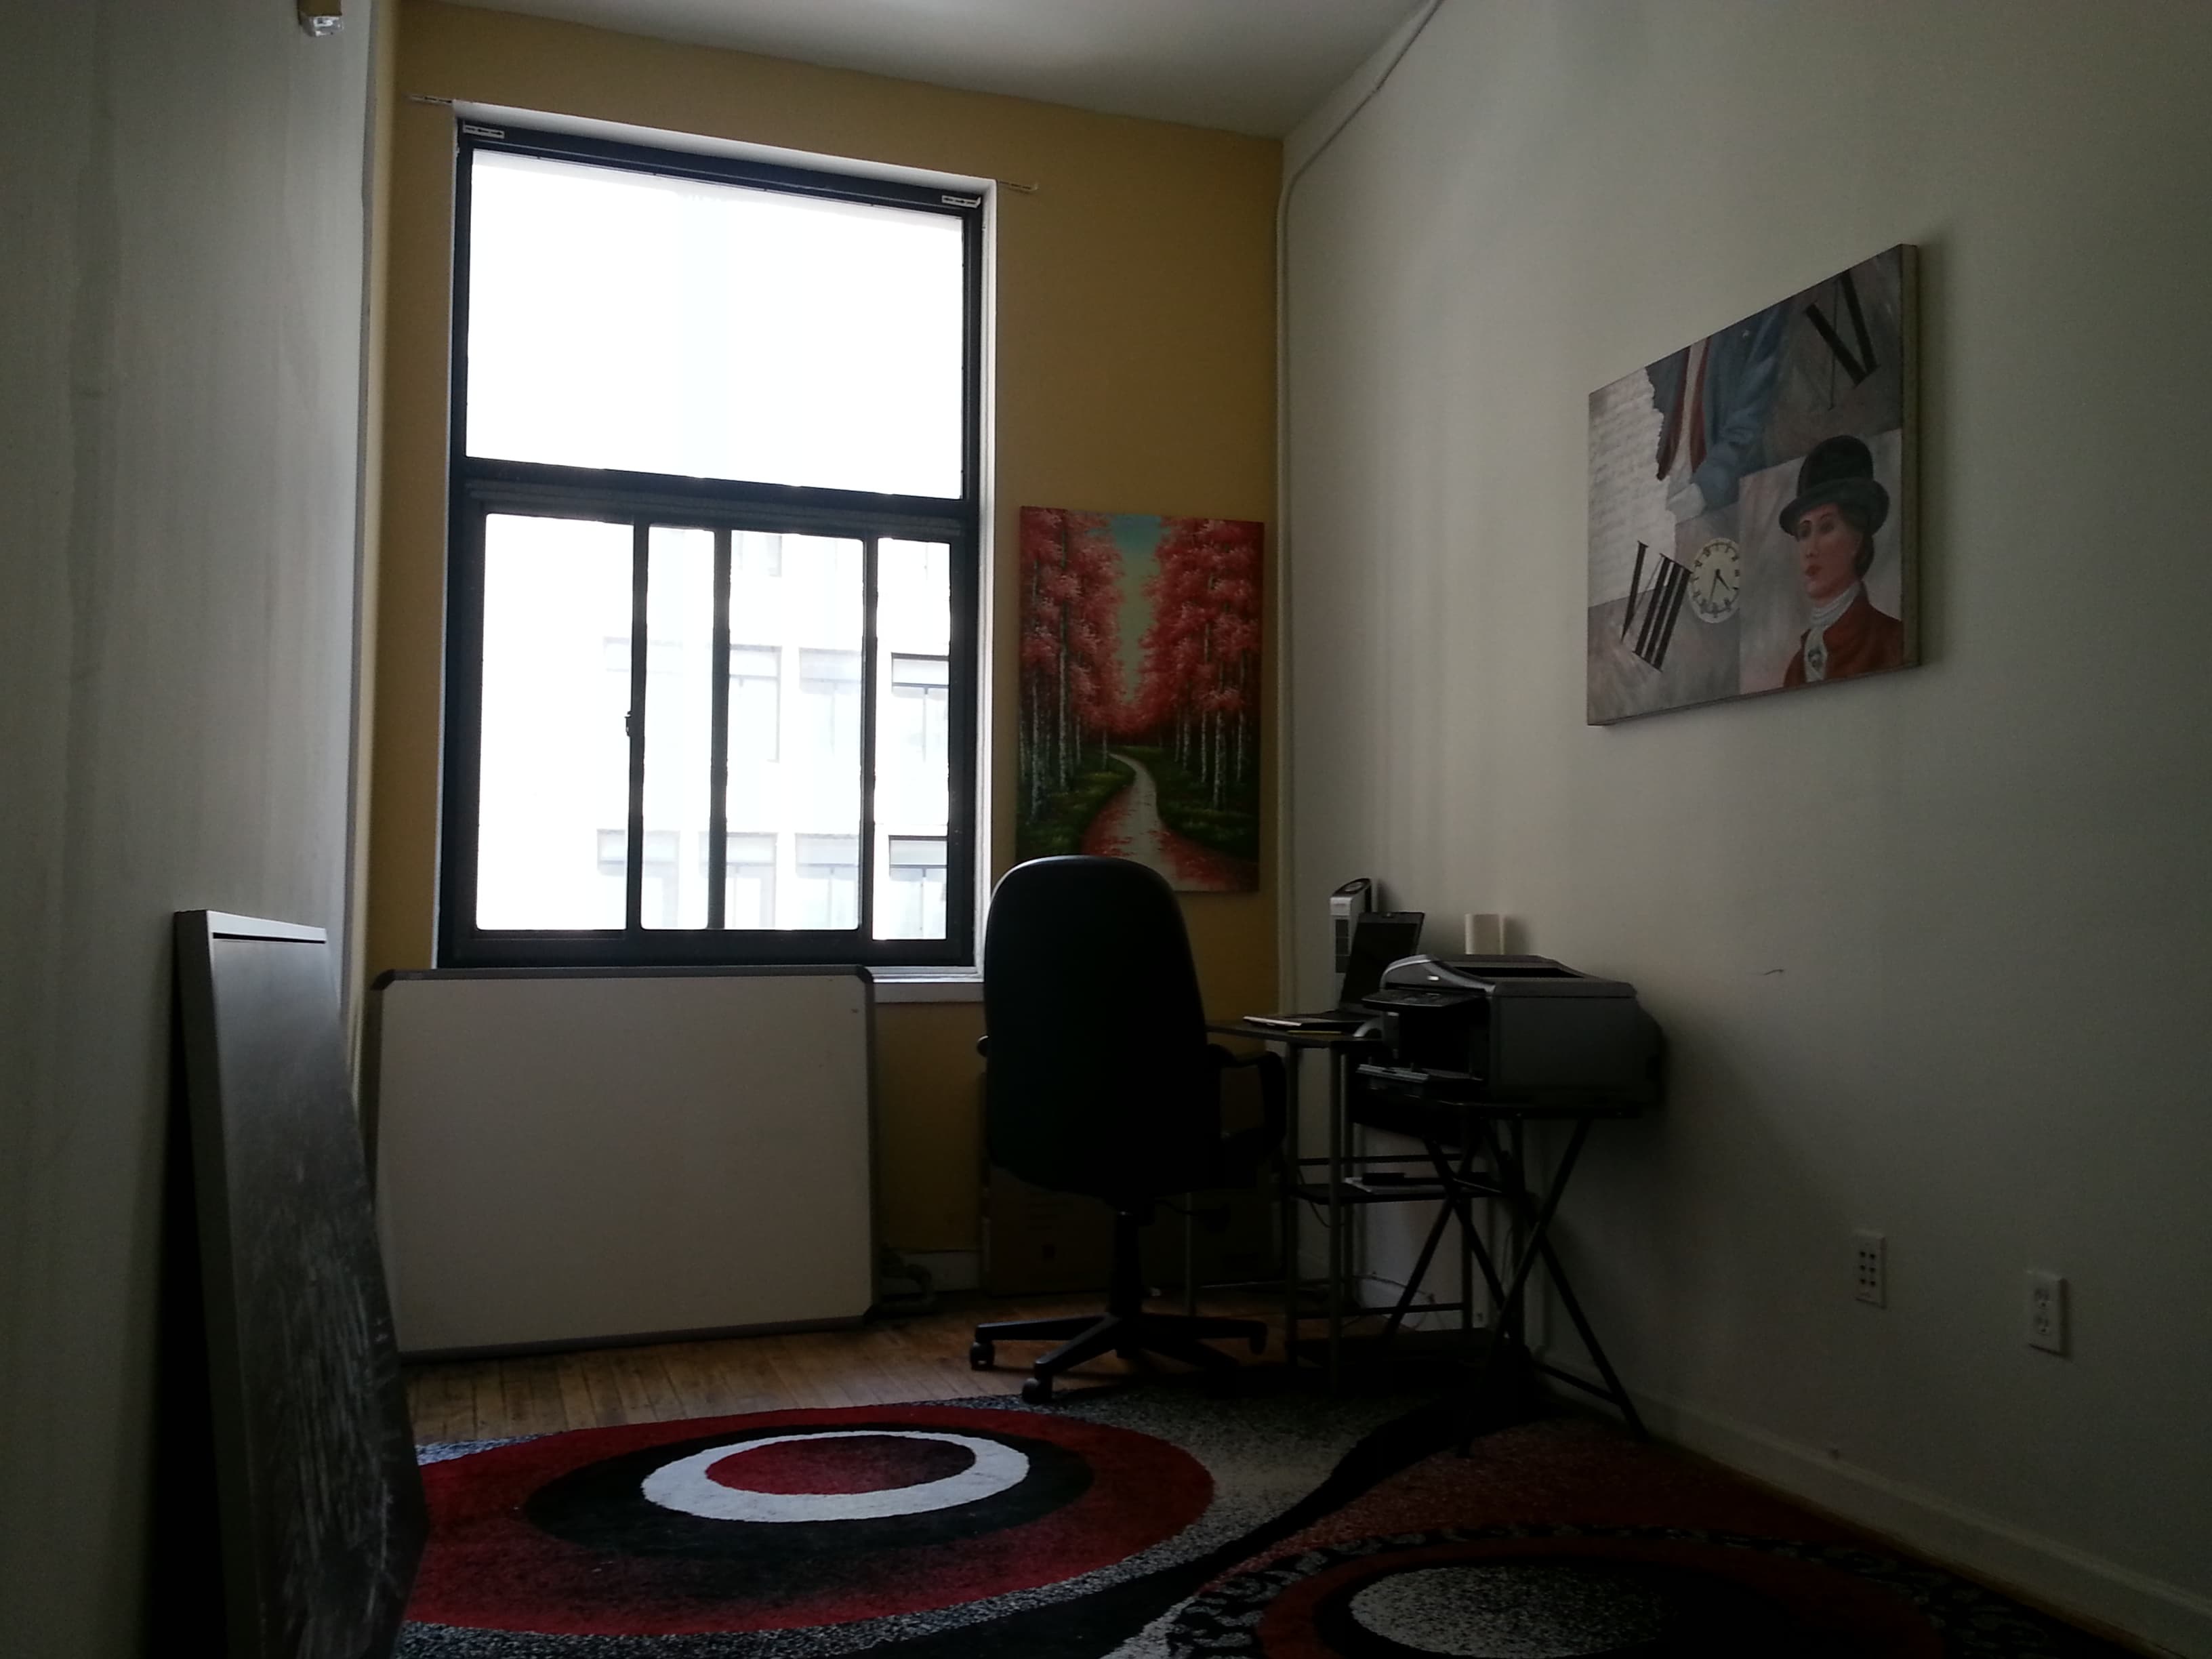
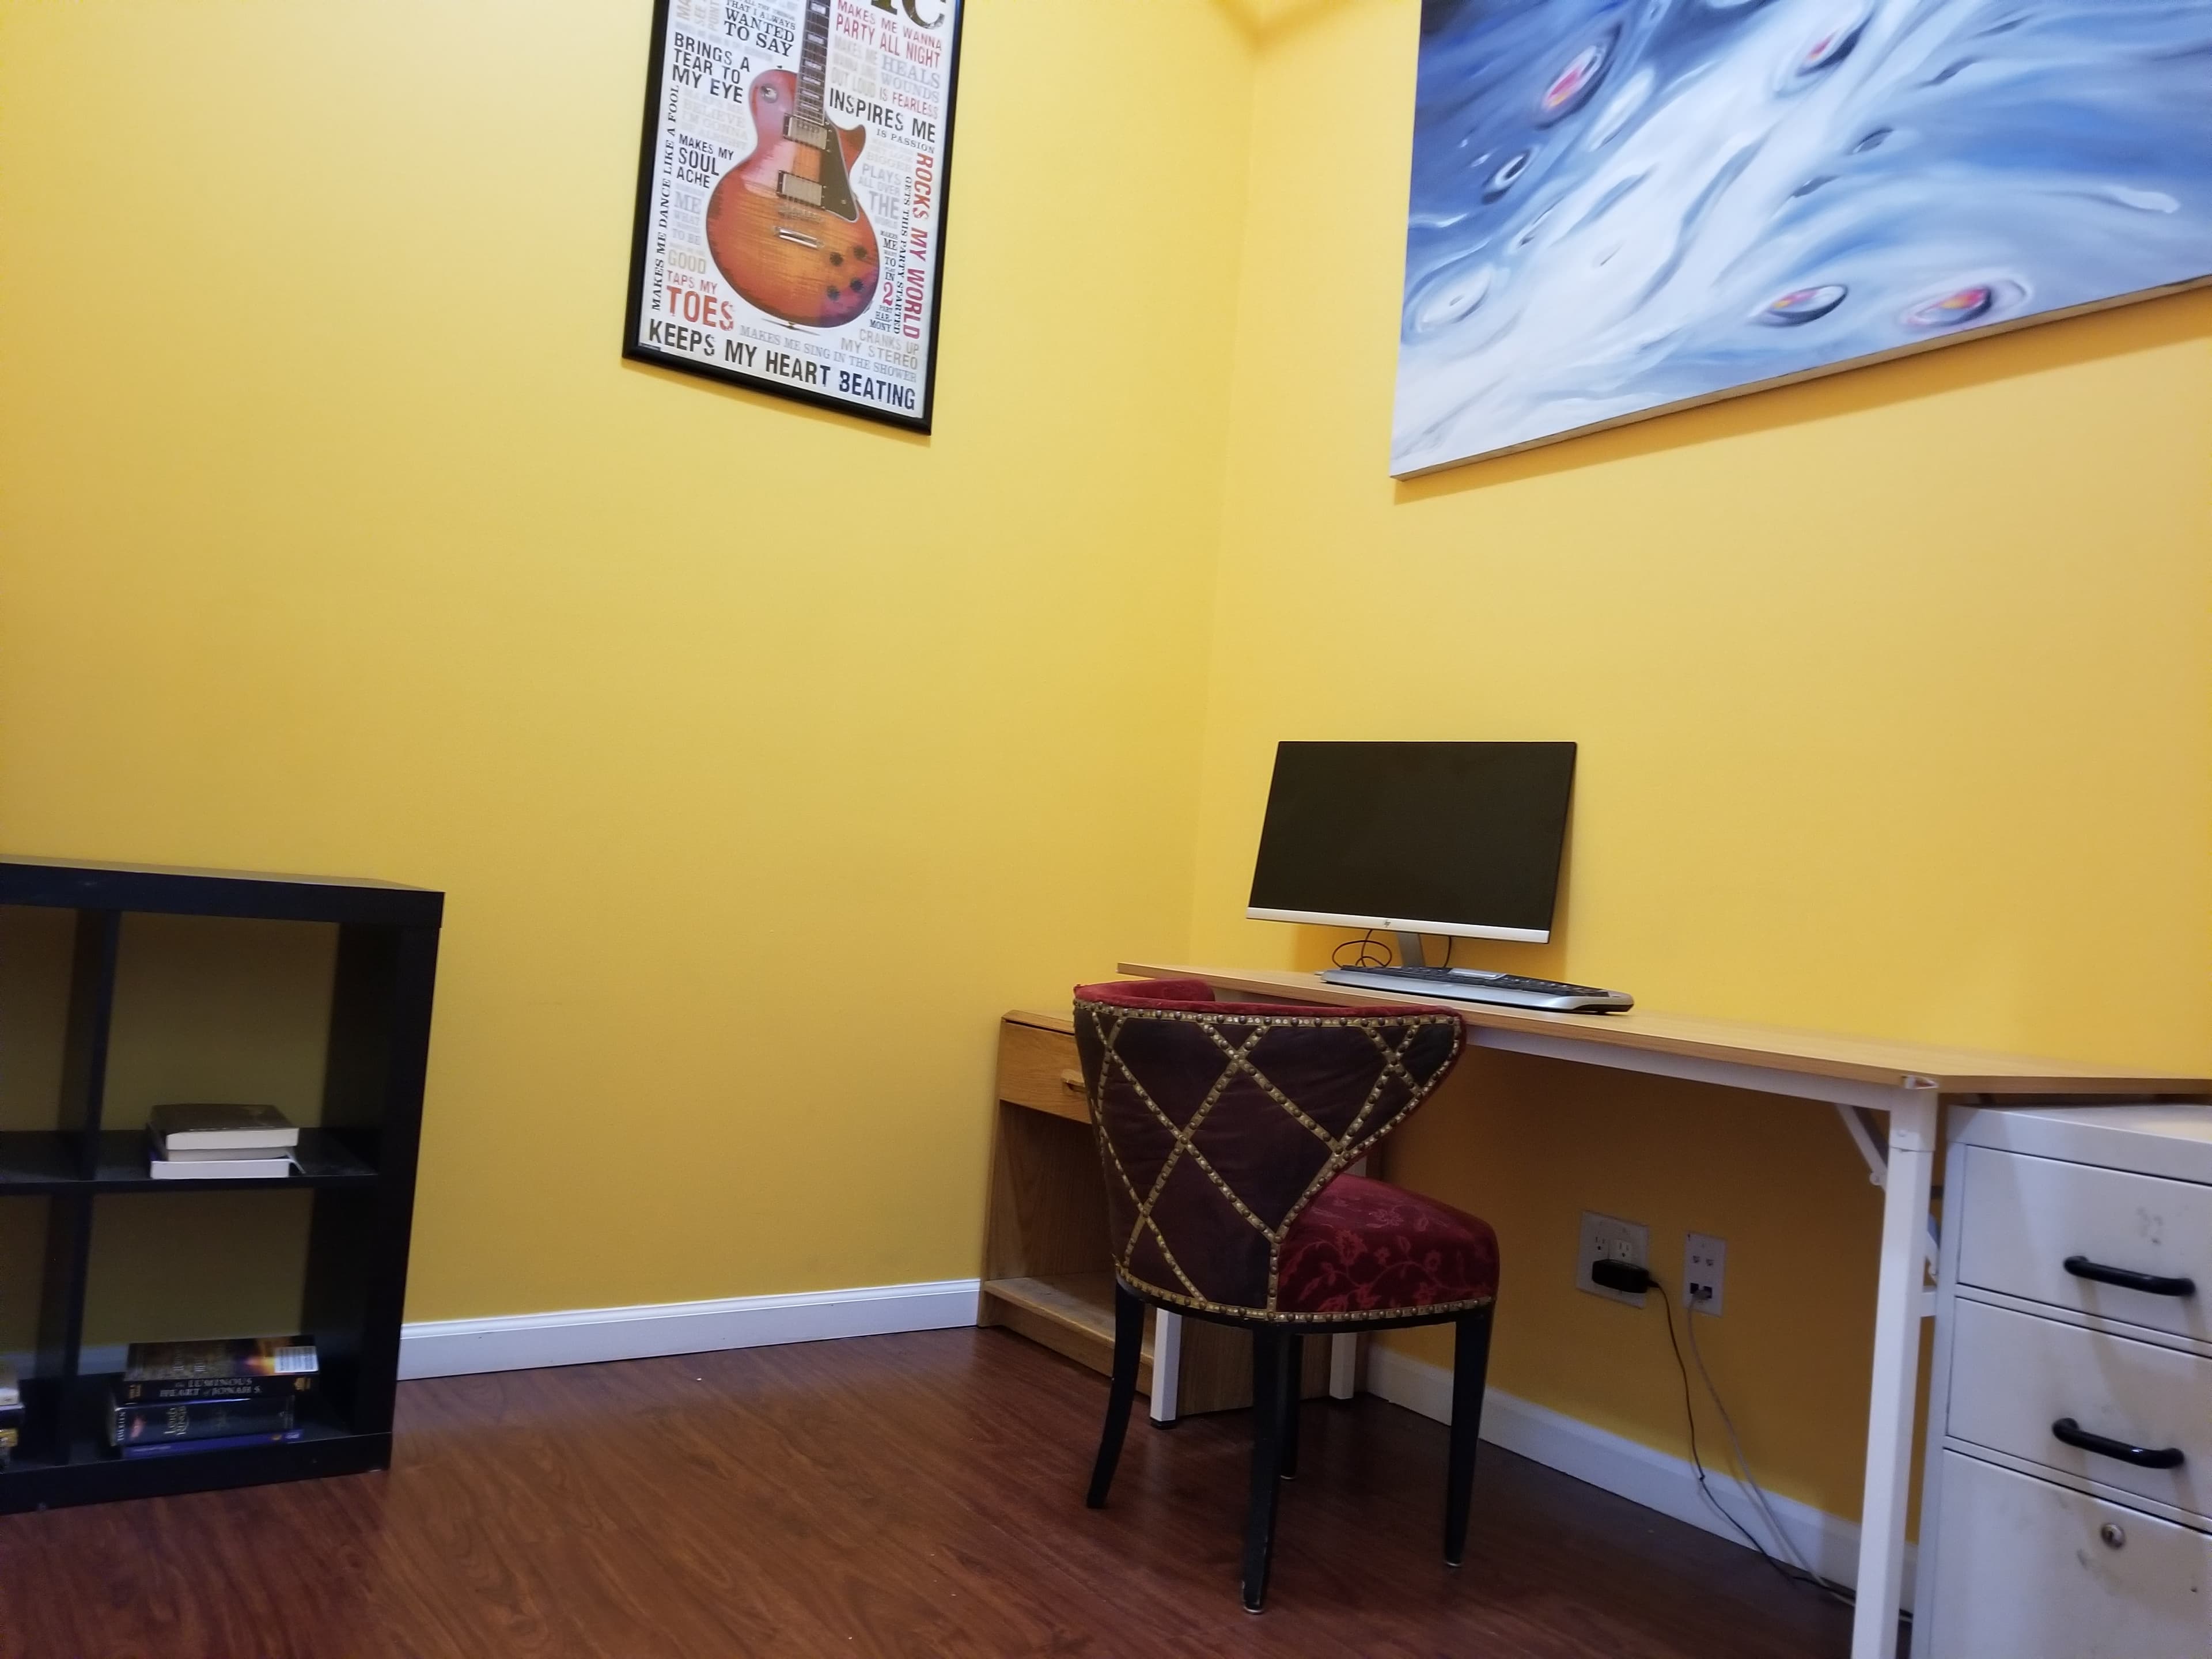
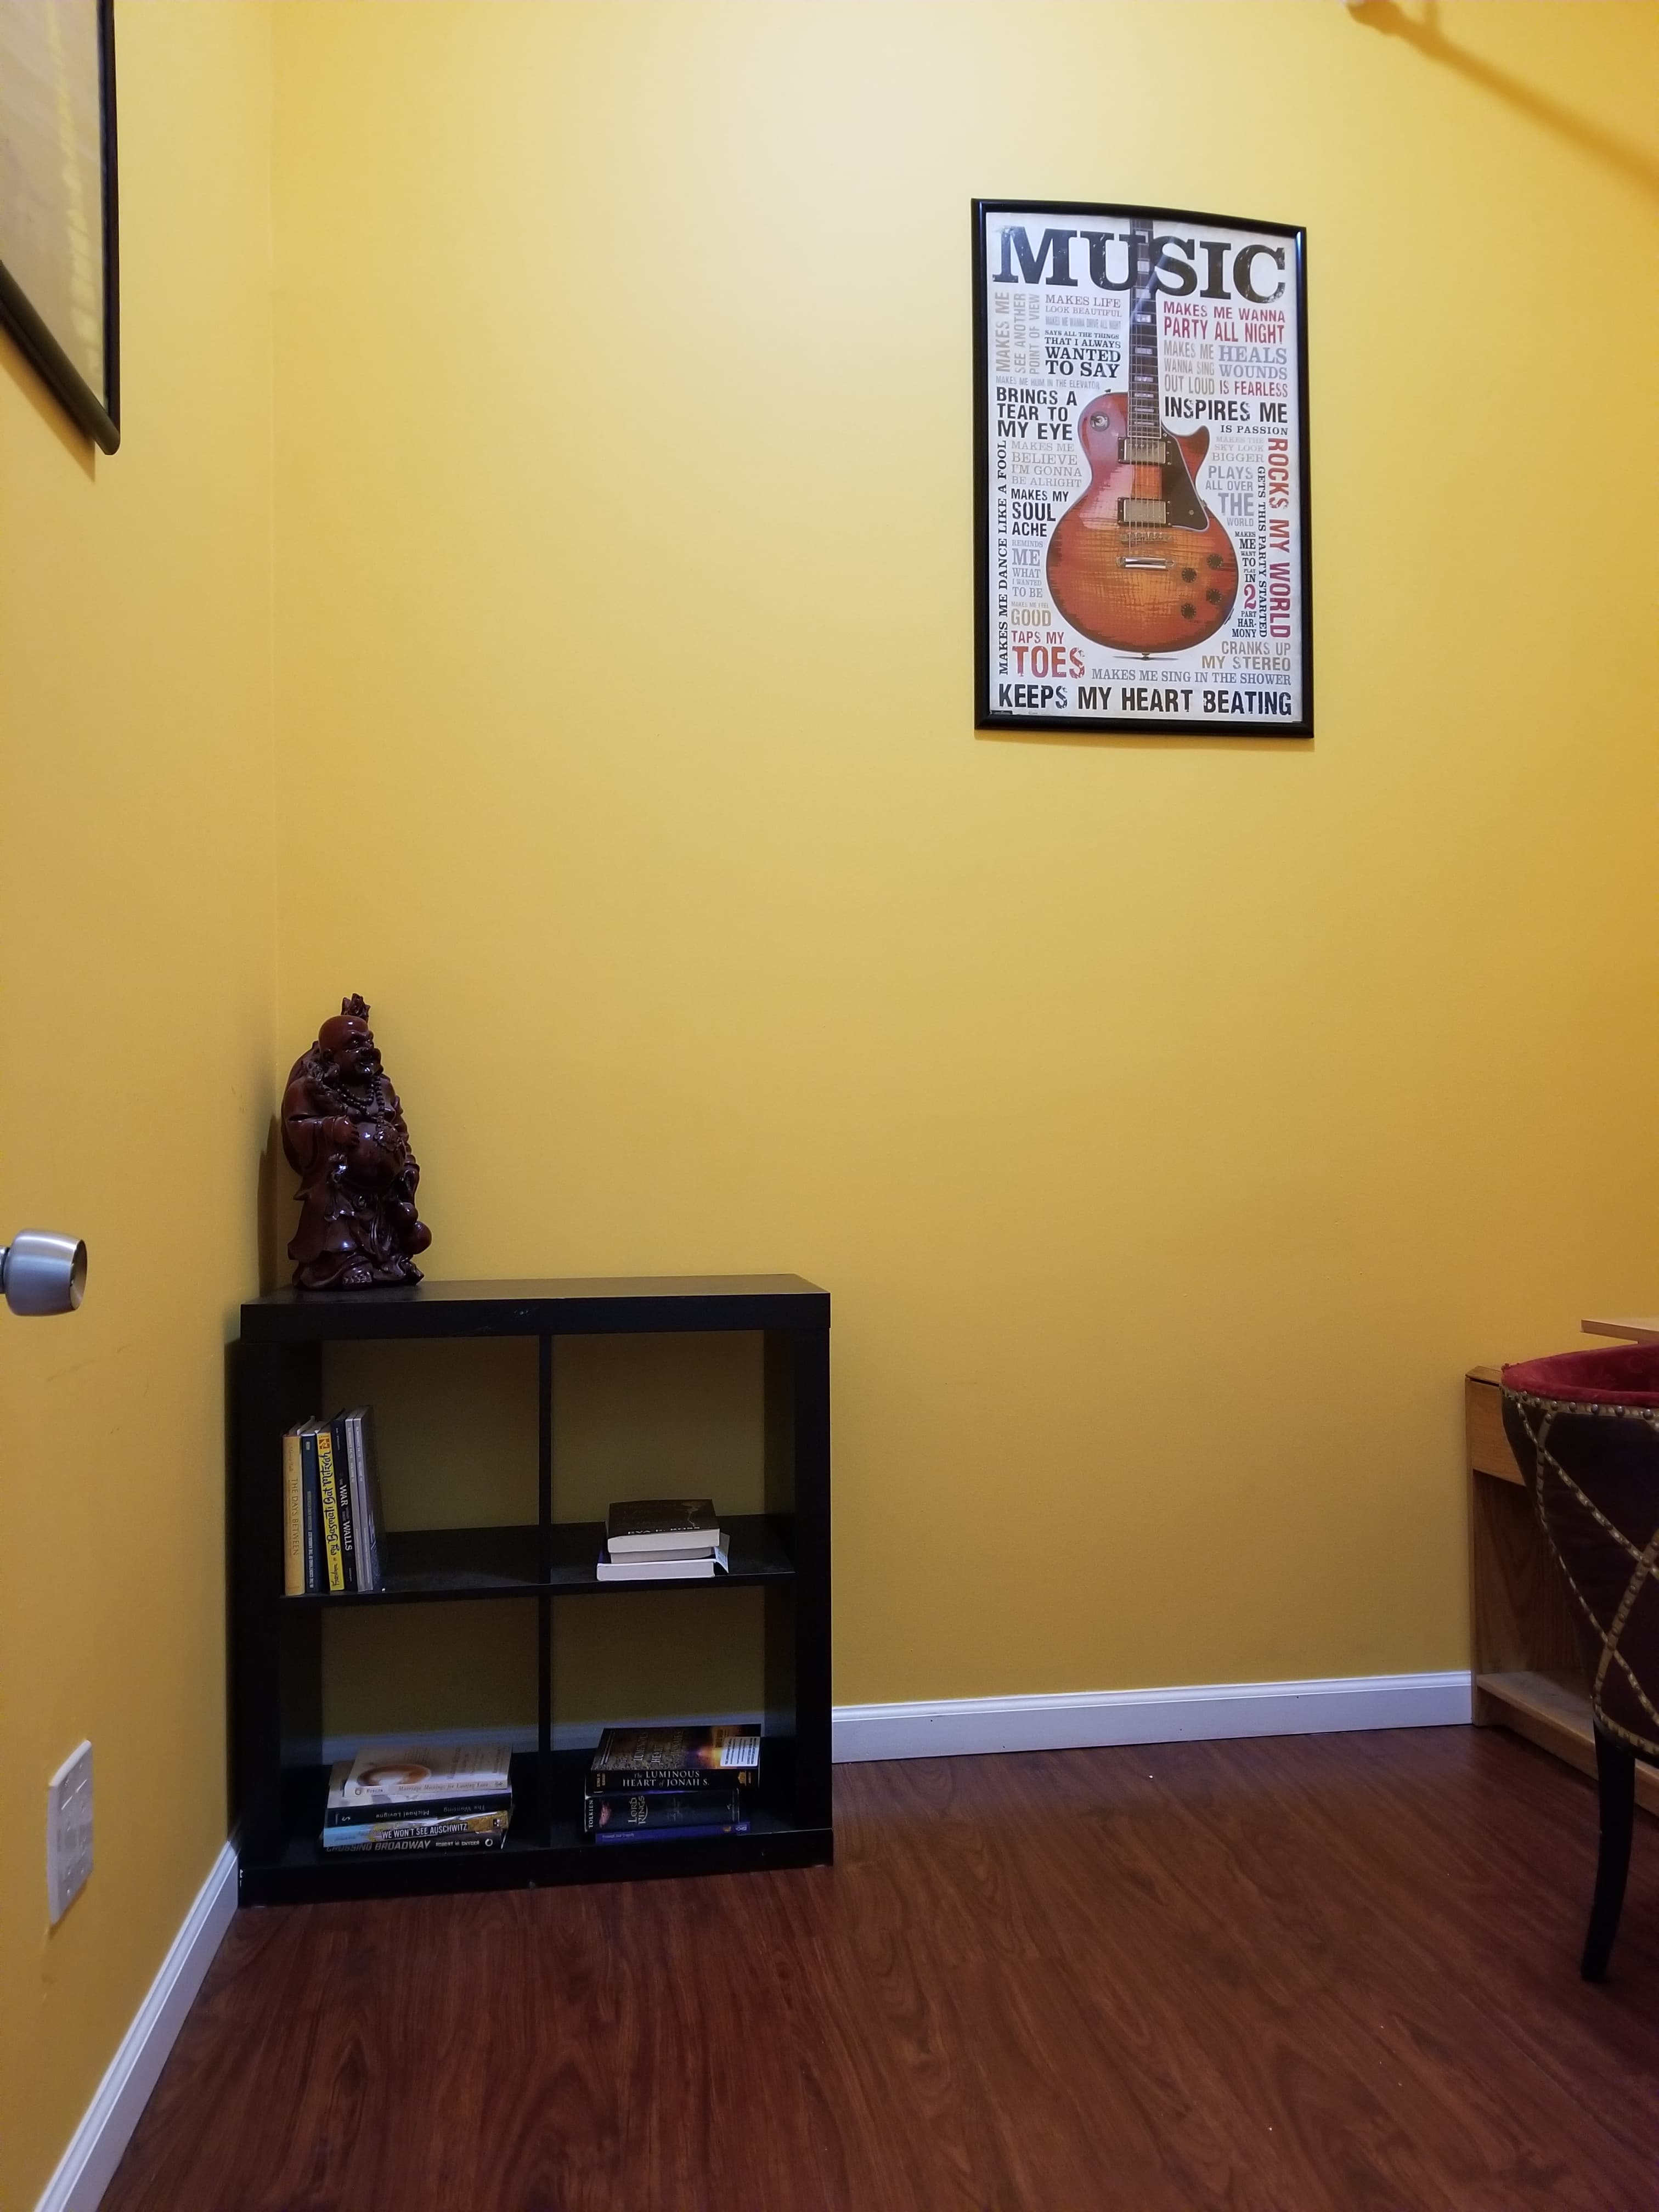
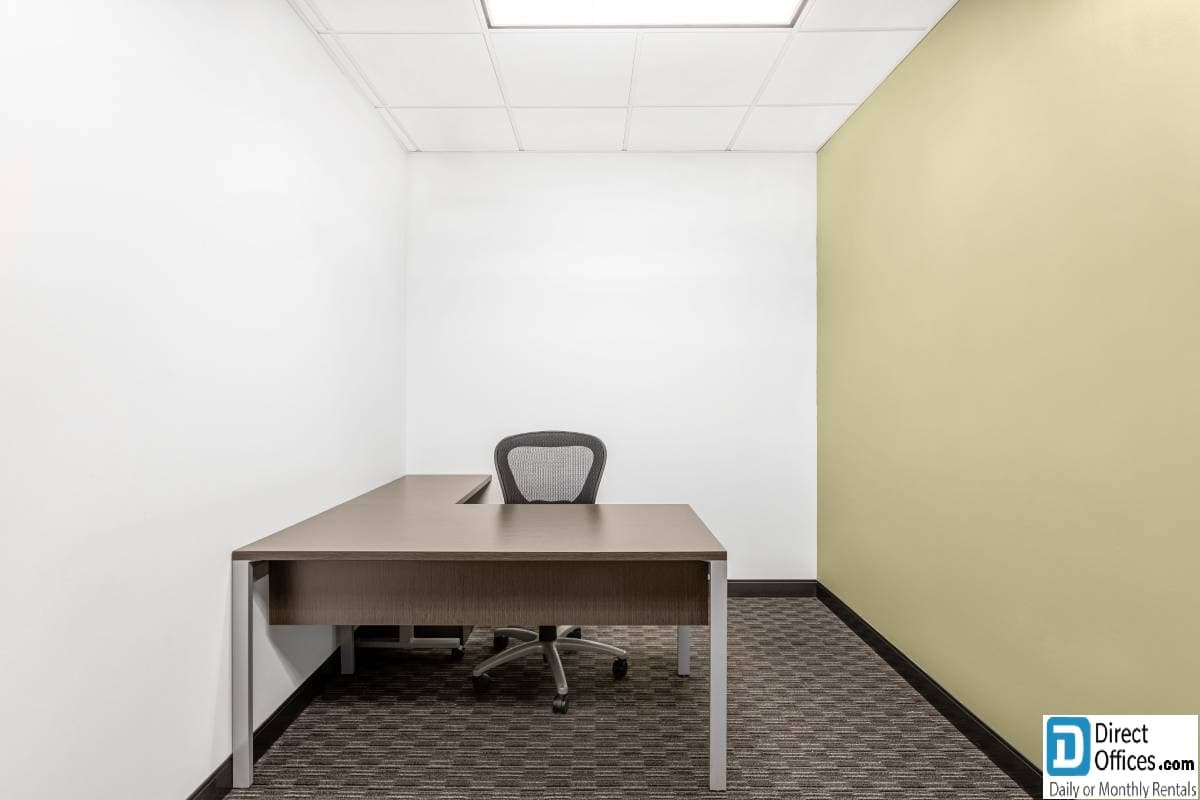
Office for Rent in Prime Location NYC
Manhattan Valley, New York, NY
Workspace Available for rent
Affordable Office Rent
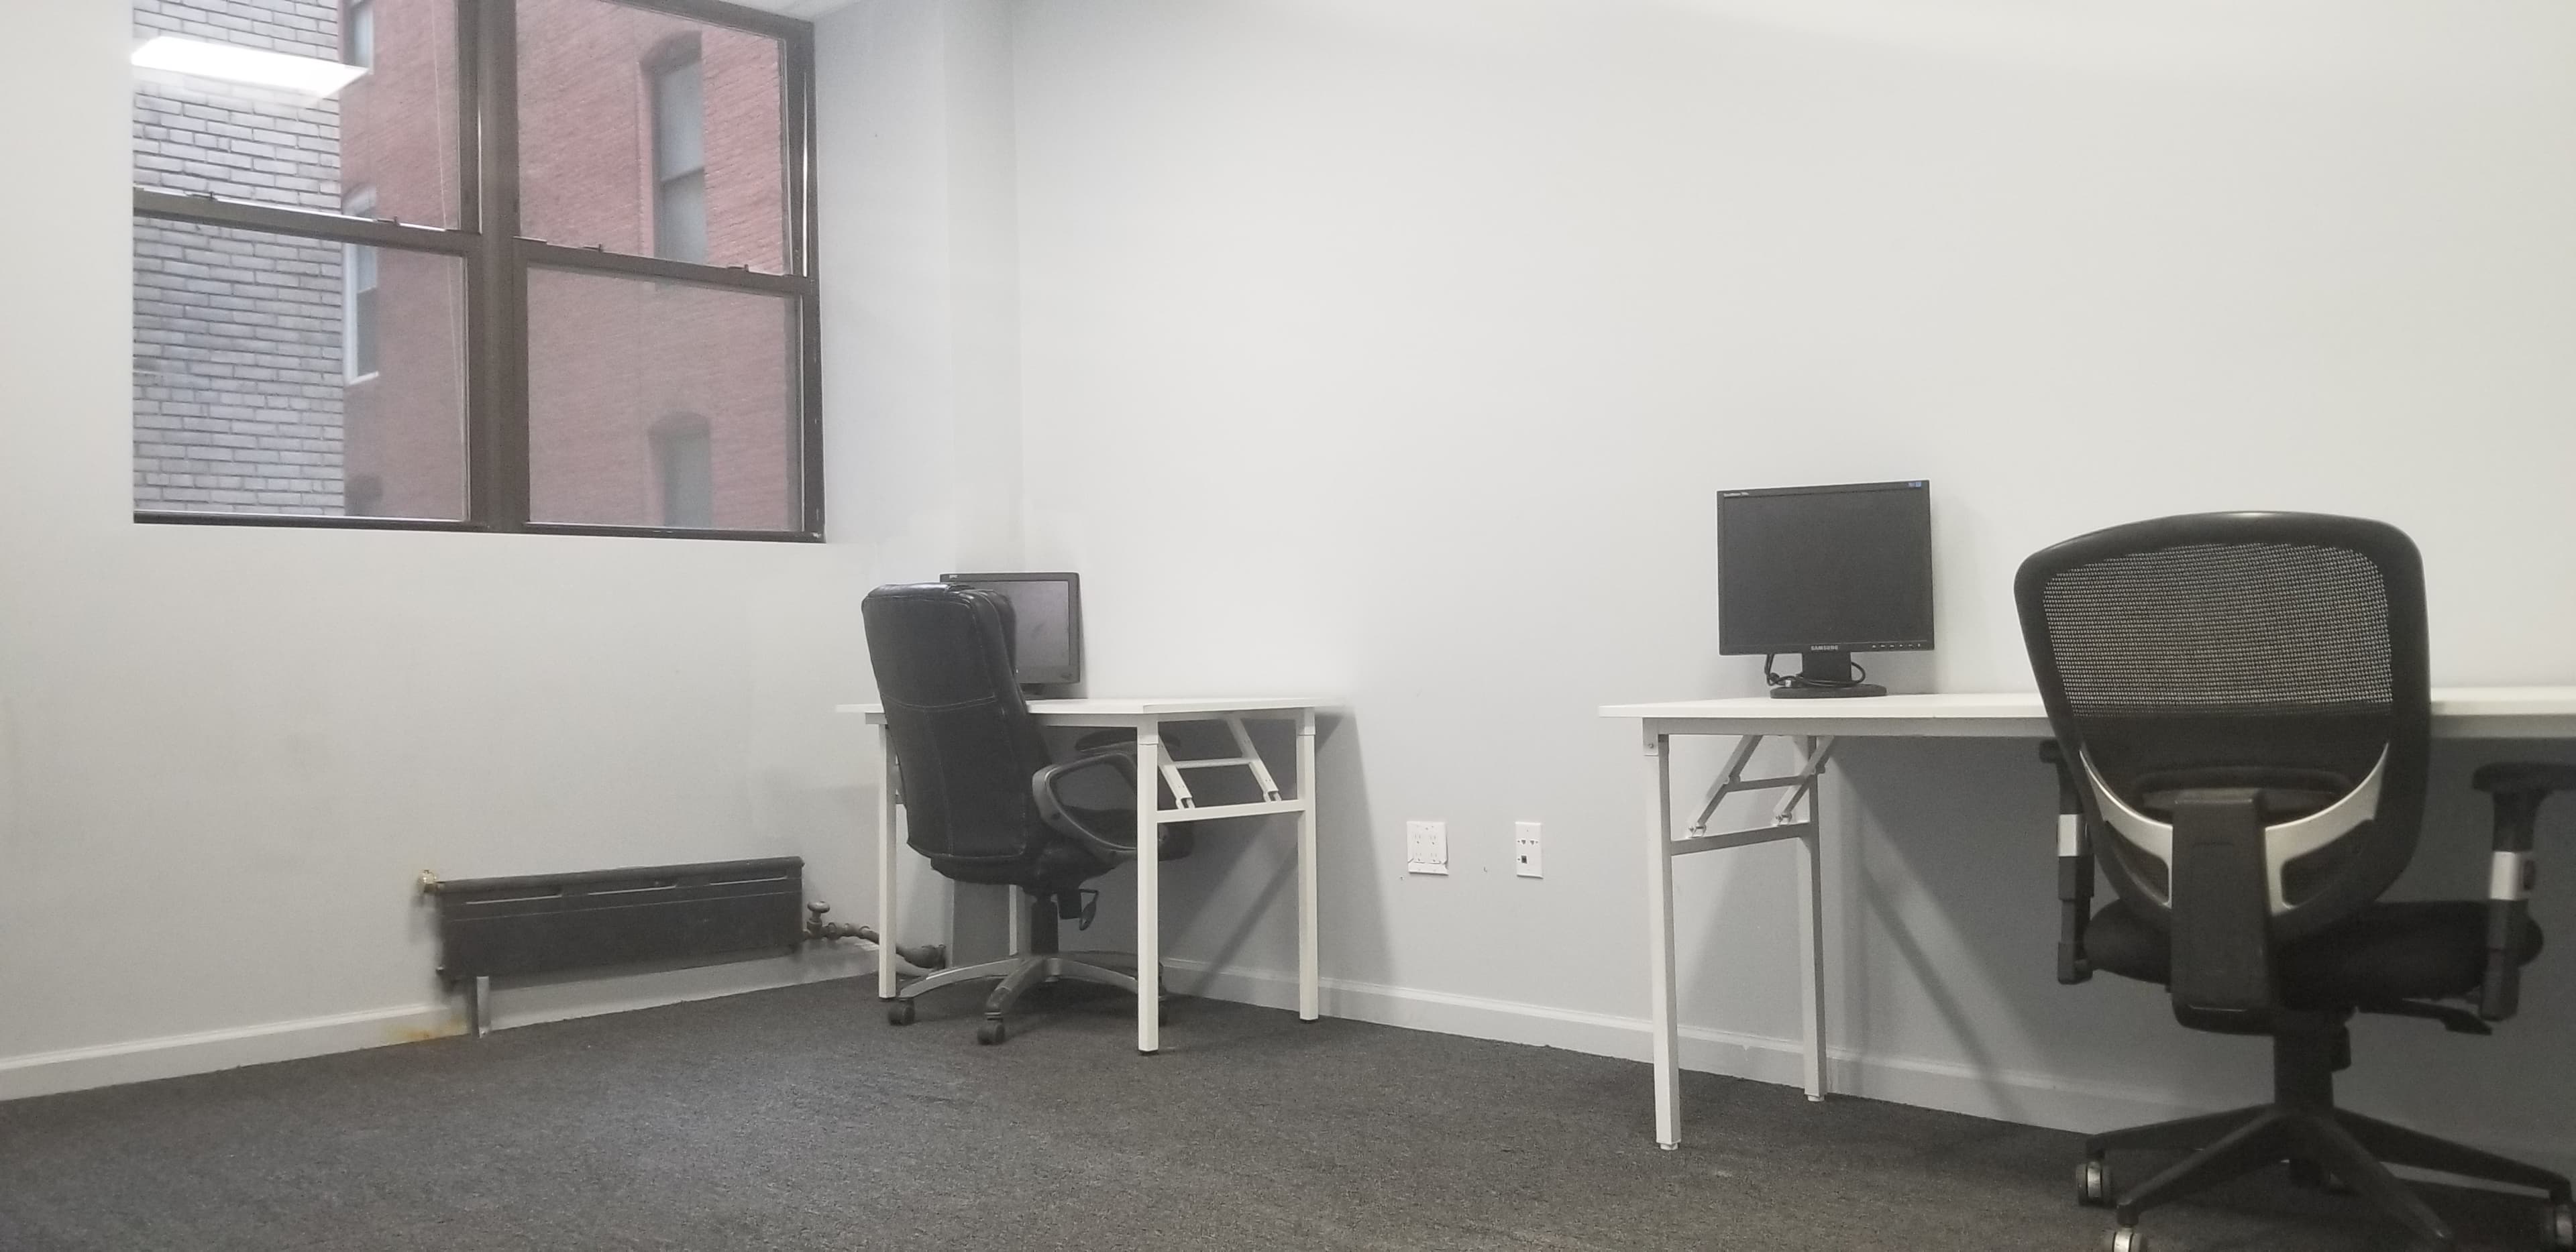
Office for Rent in New york
Property Details Start by providing the basic deta
Alphabet City, Southampton, NY
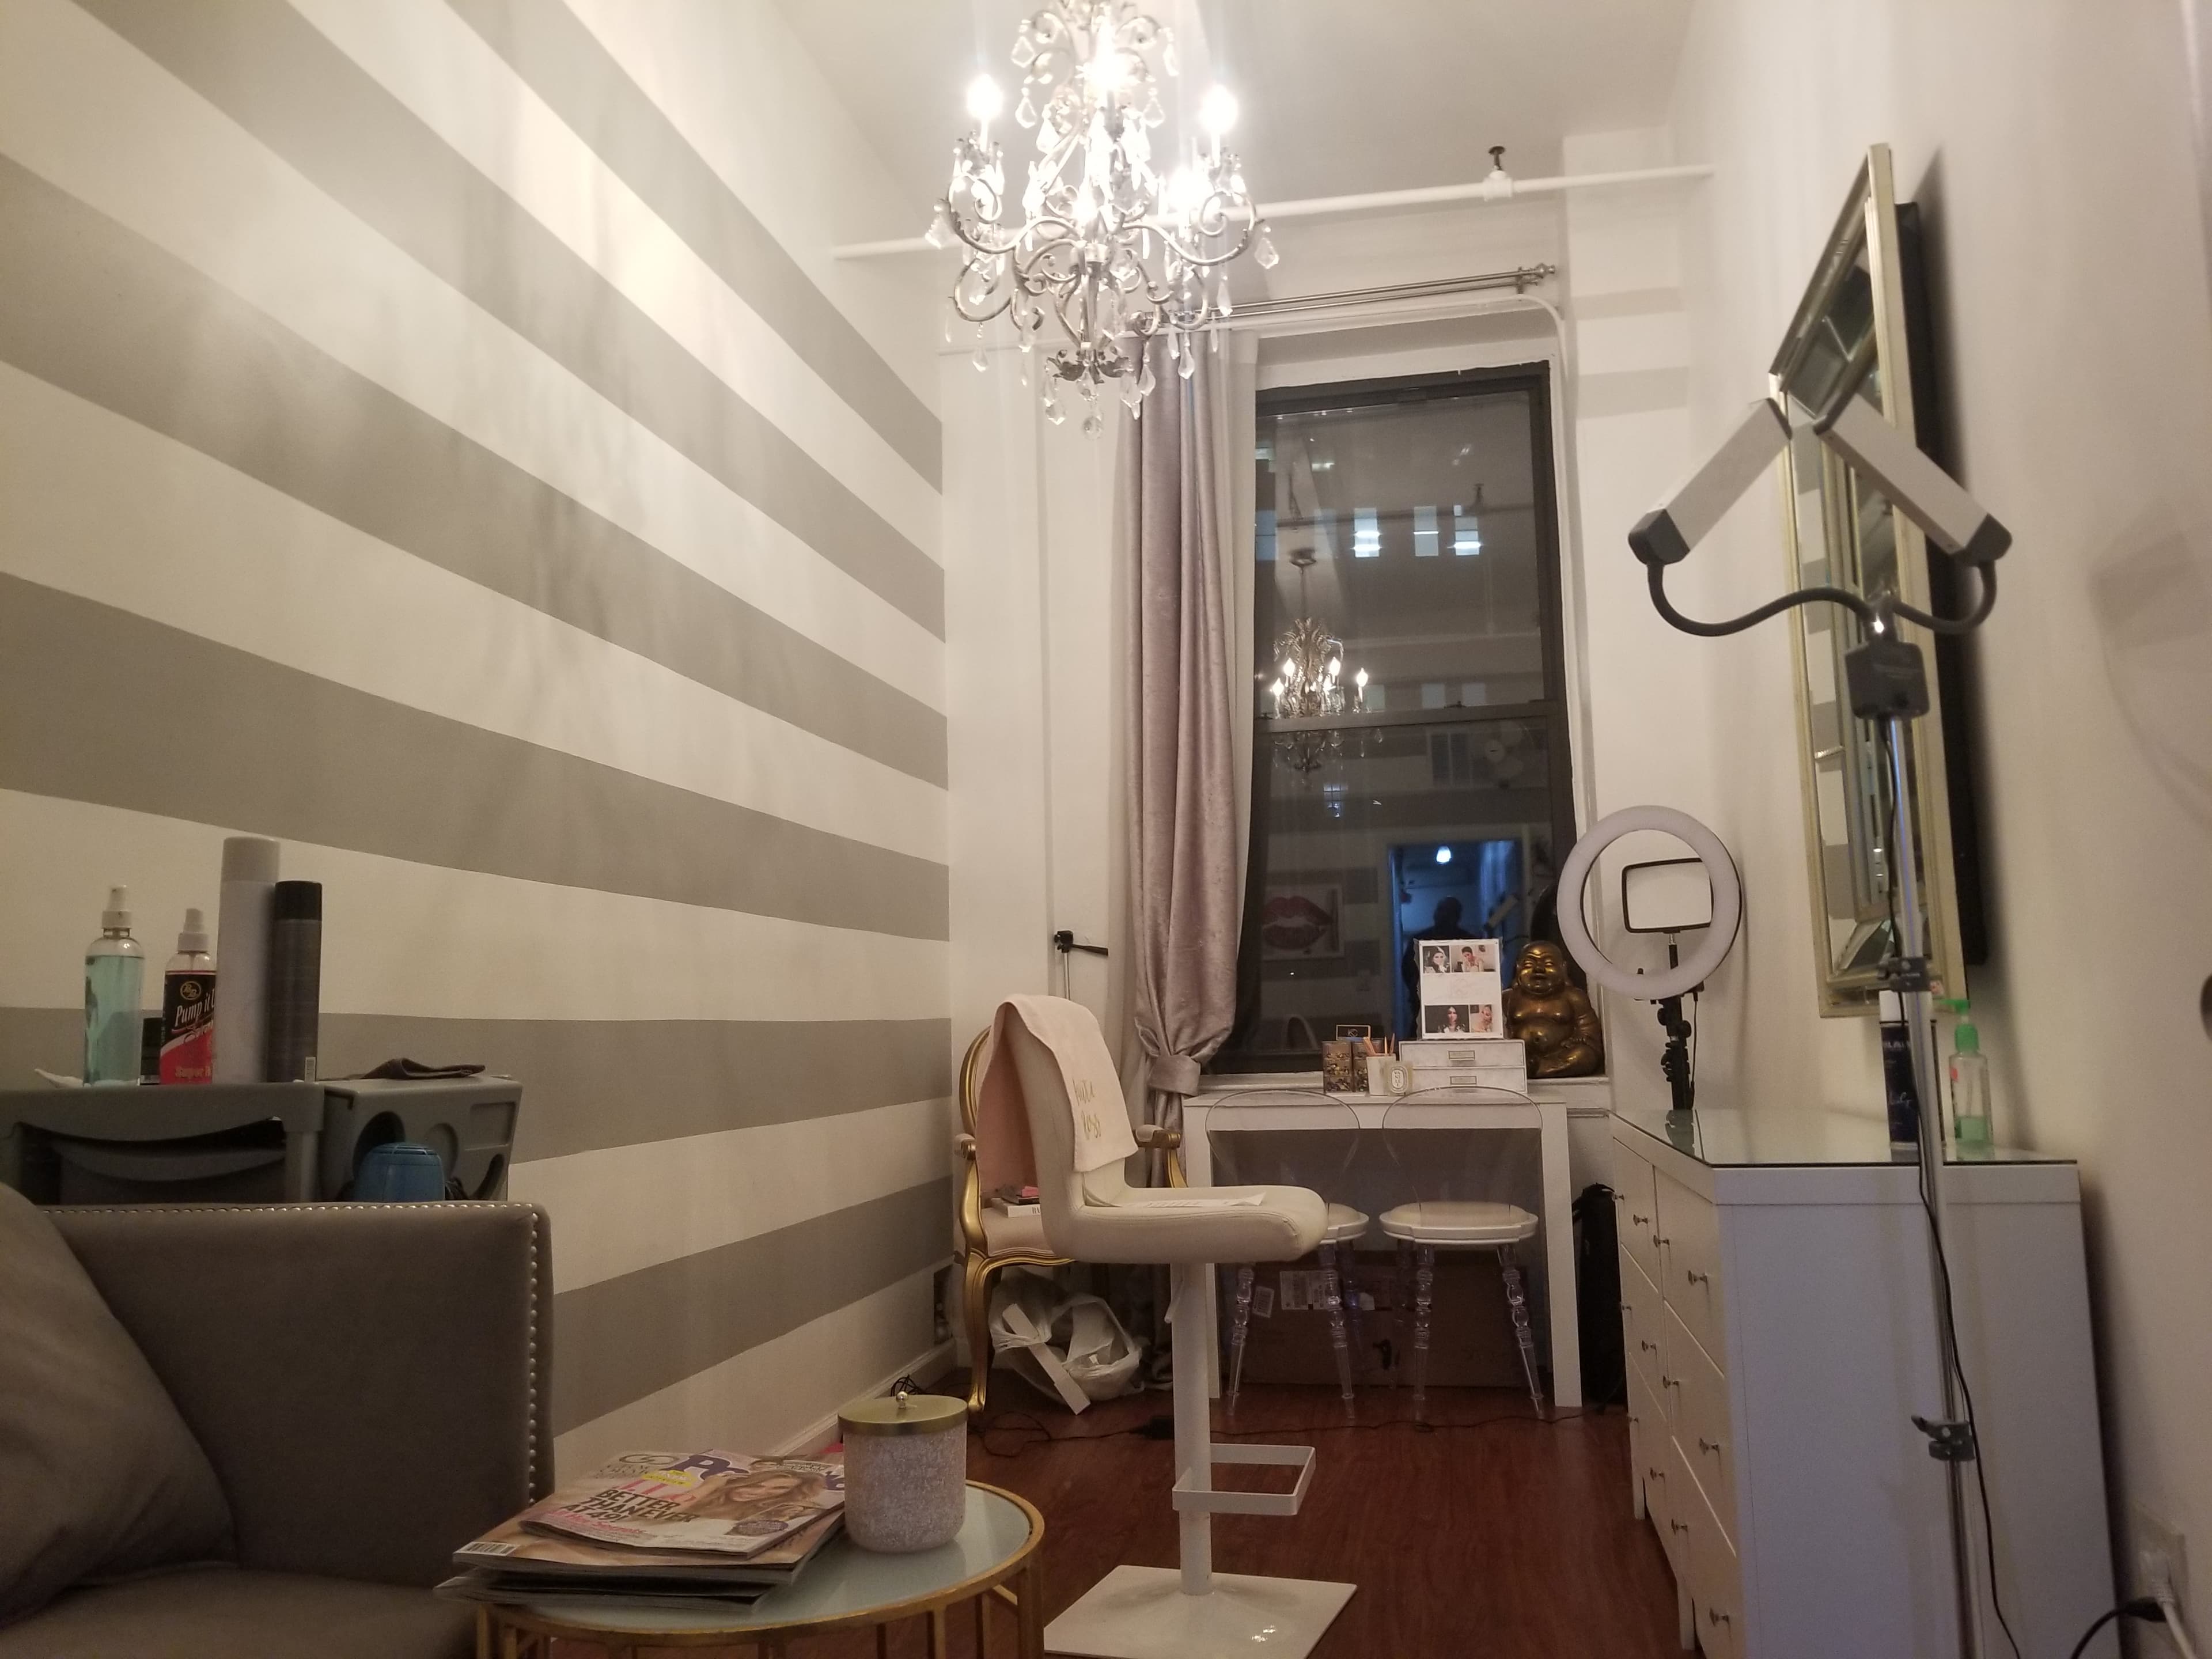
European-Style Luxury Office in Astoria, Queens
Astoria, New York, NY
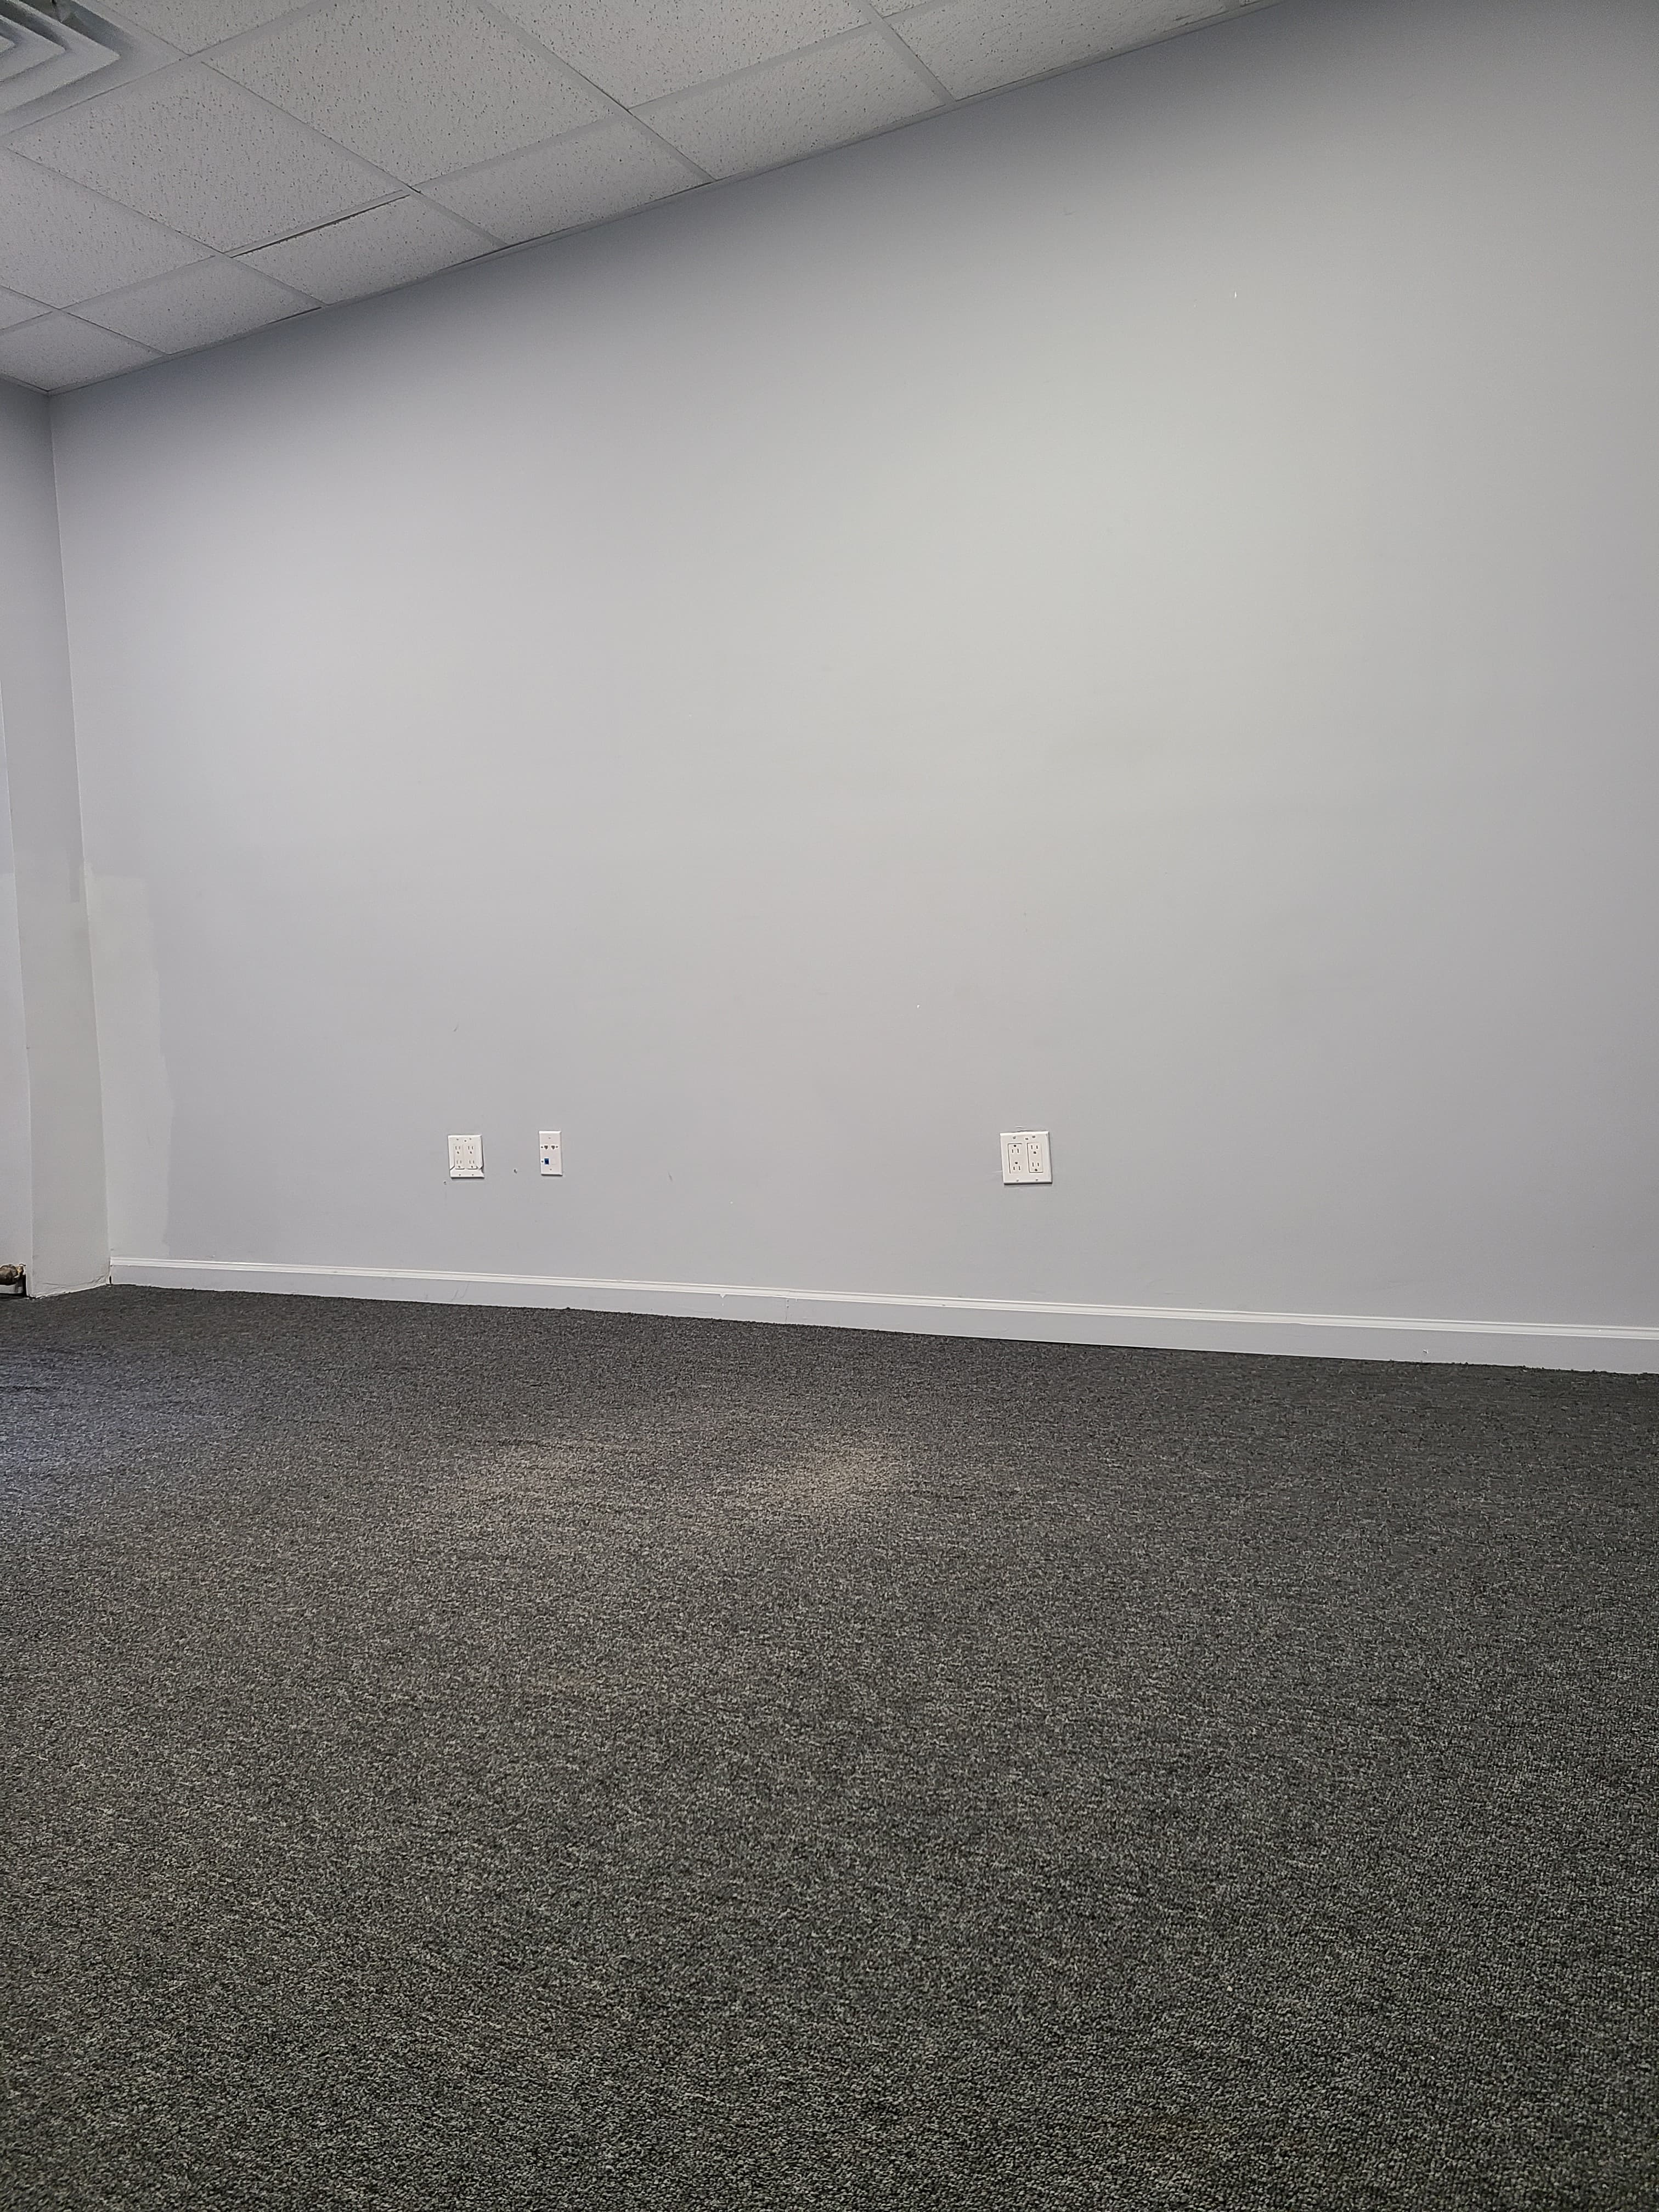
Affordable & Professional Commercial Property
Midtown, New York, NY
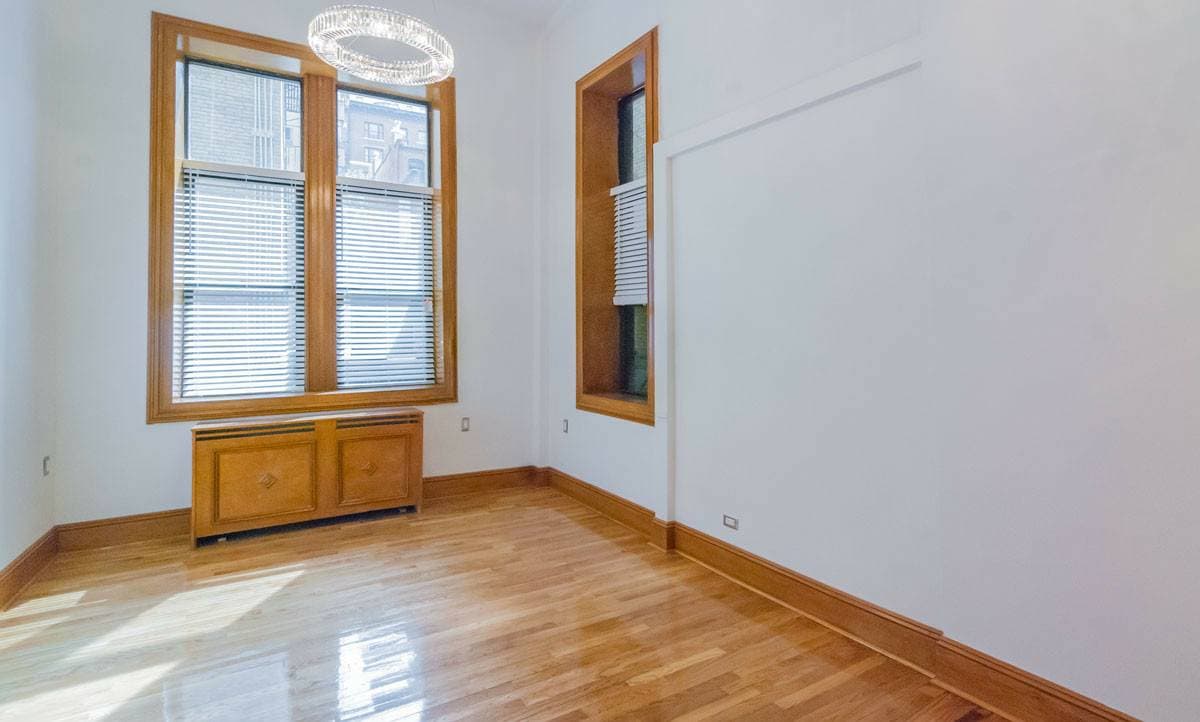
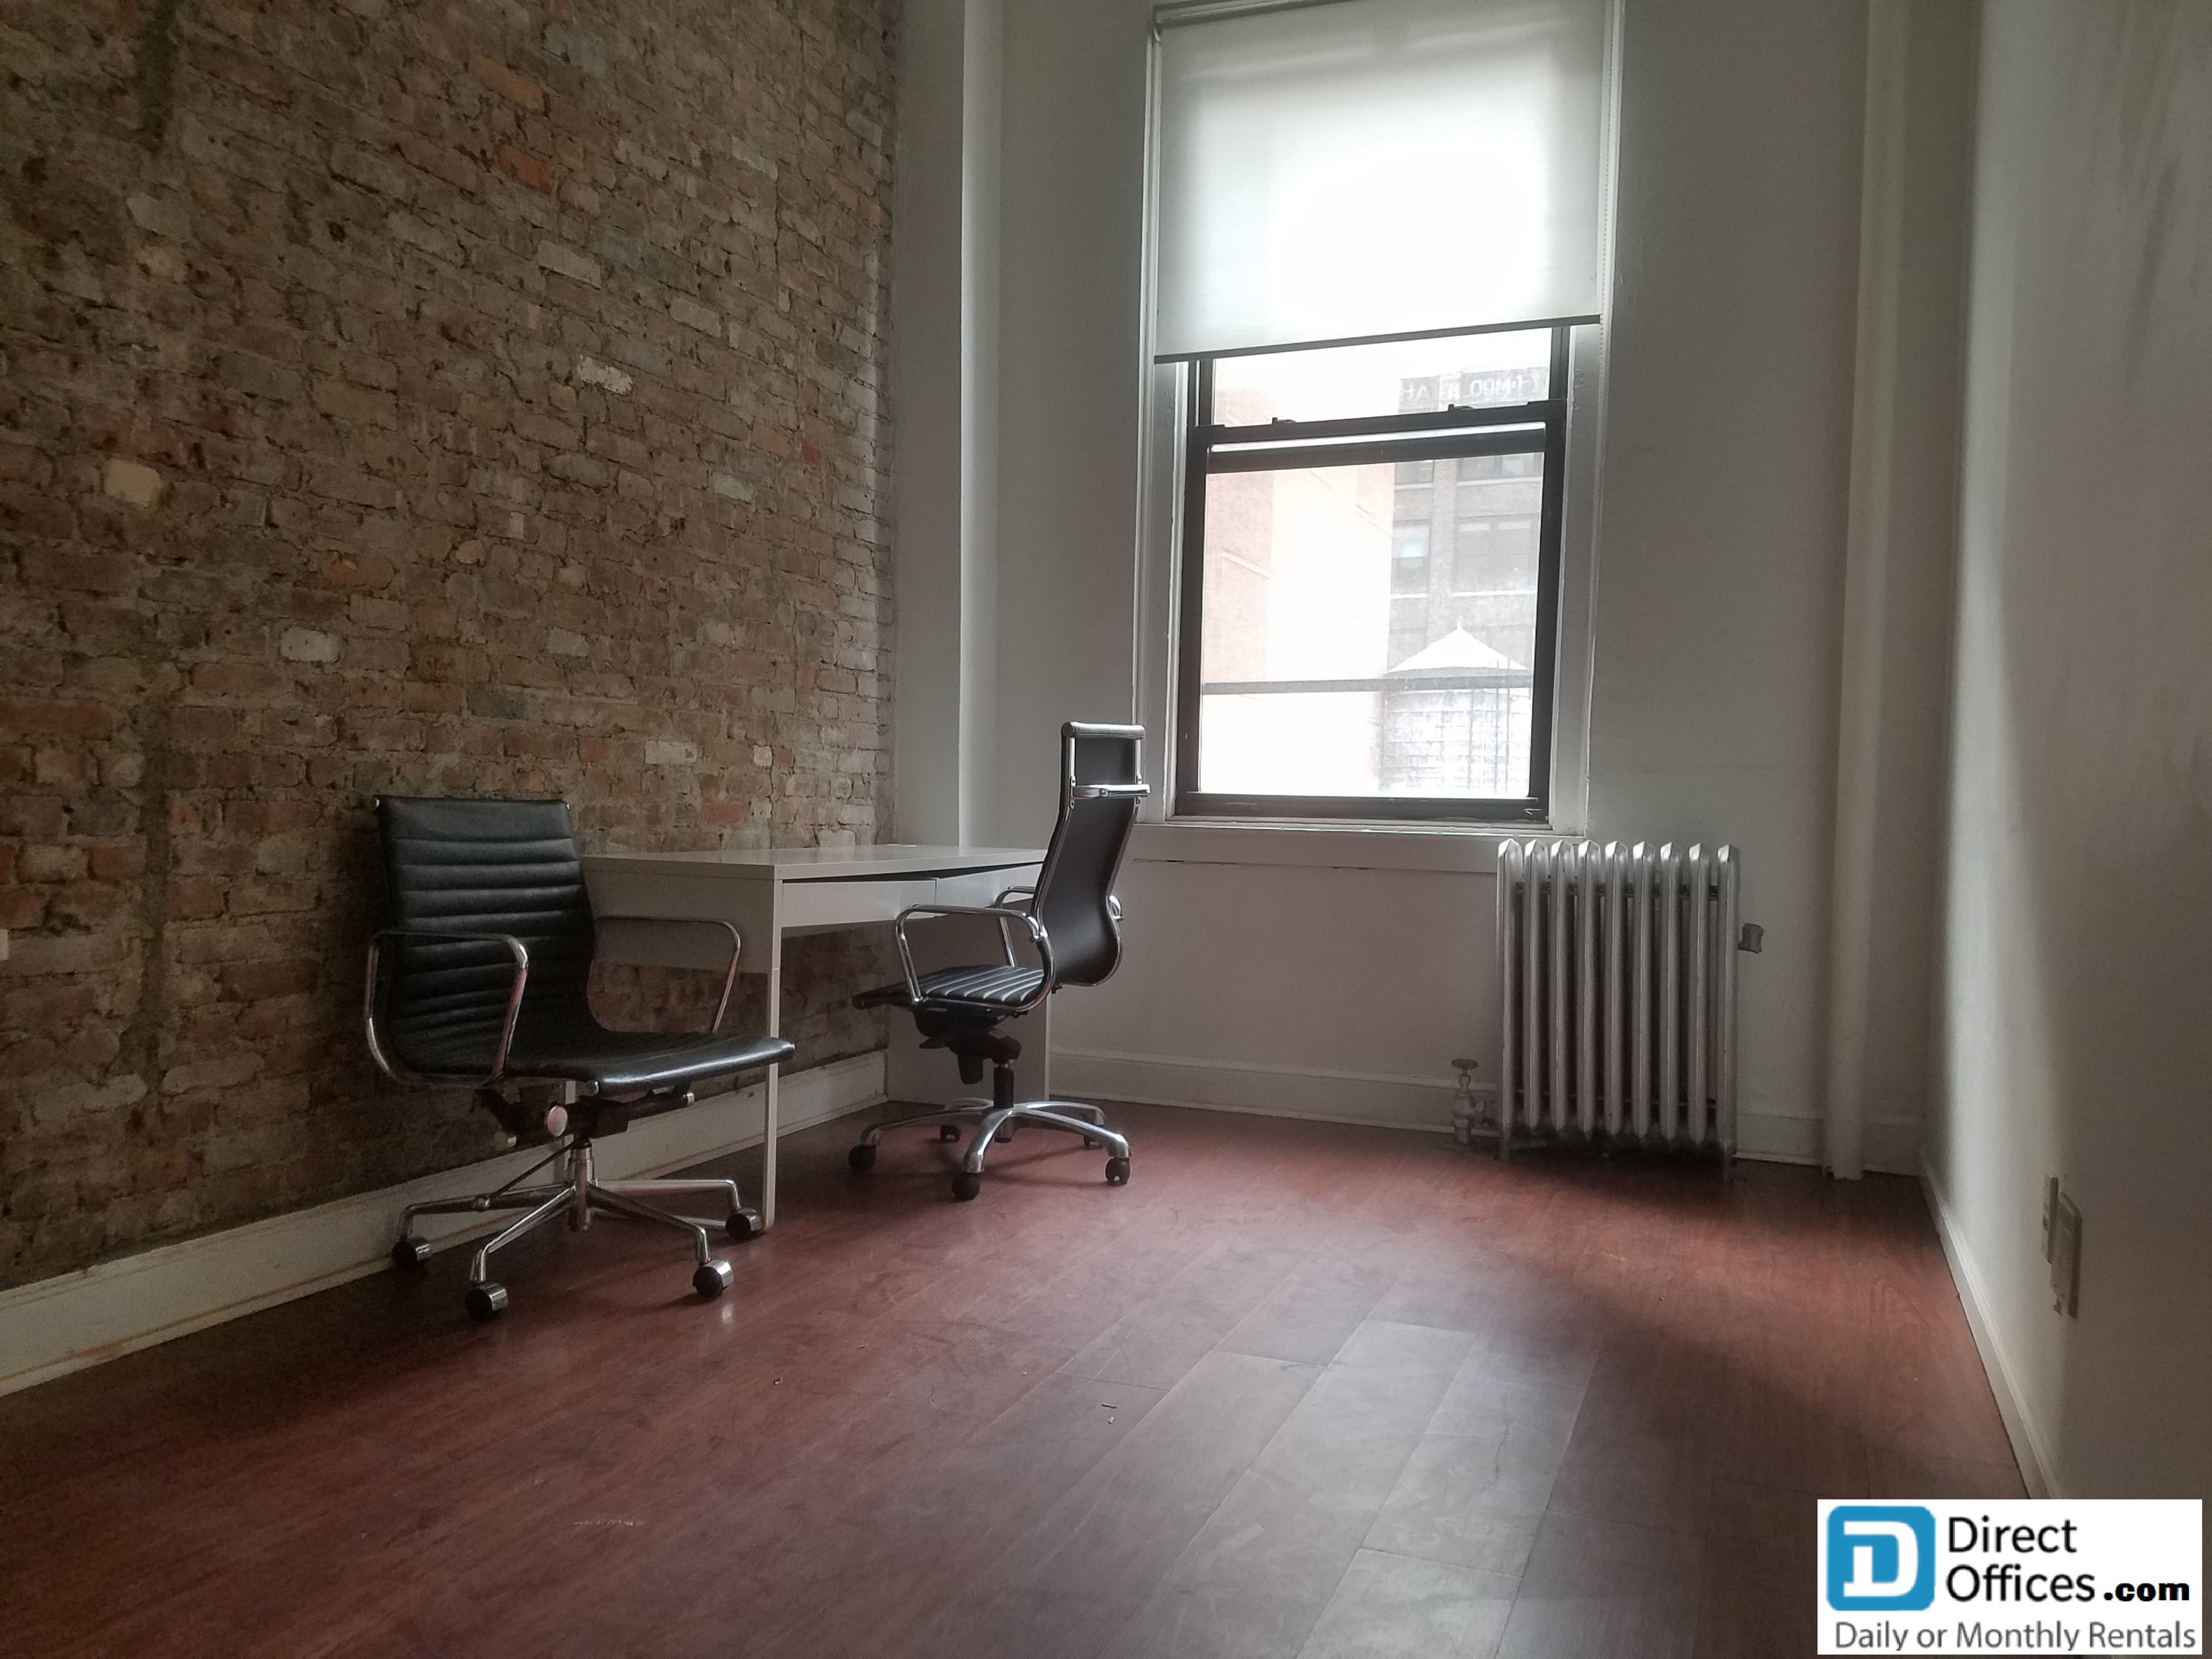
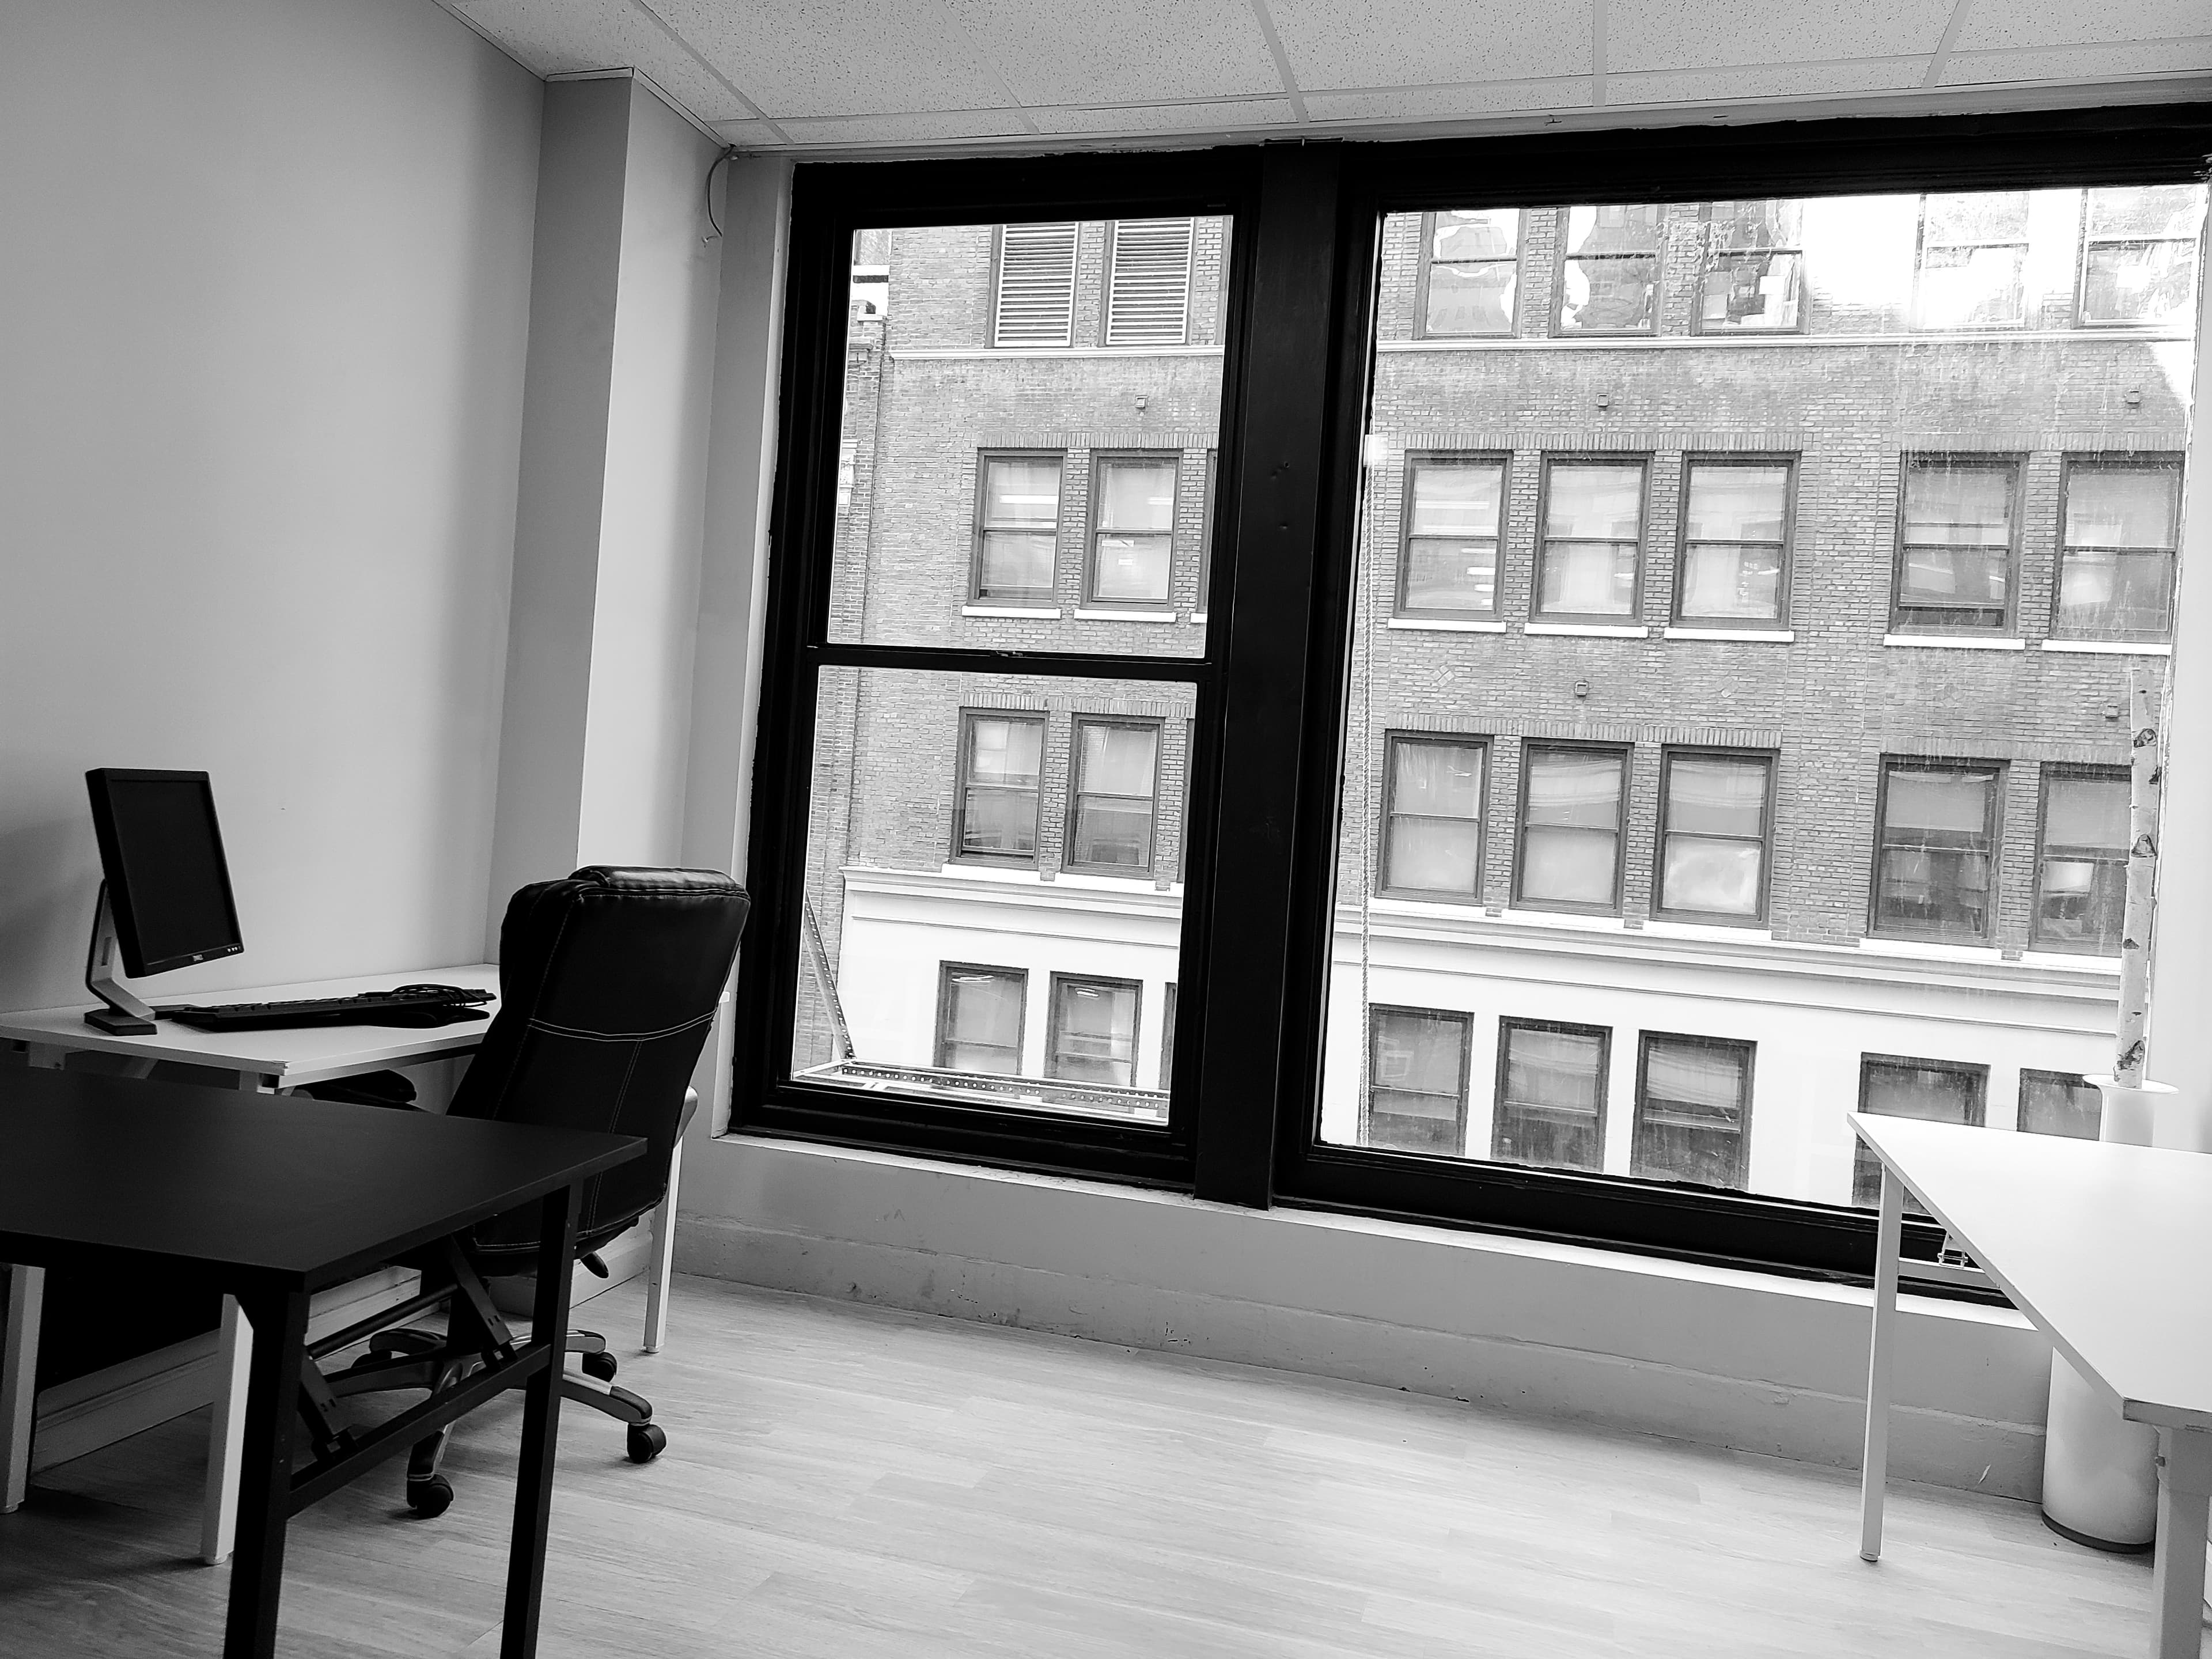
Architect-Designed Office Space in Chelsea, NYC
Chelsea, New York, NY
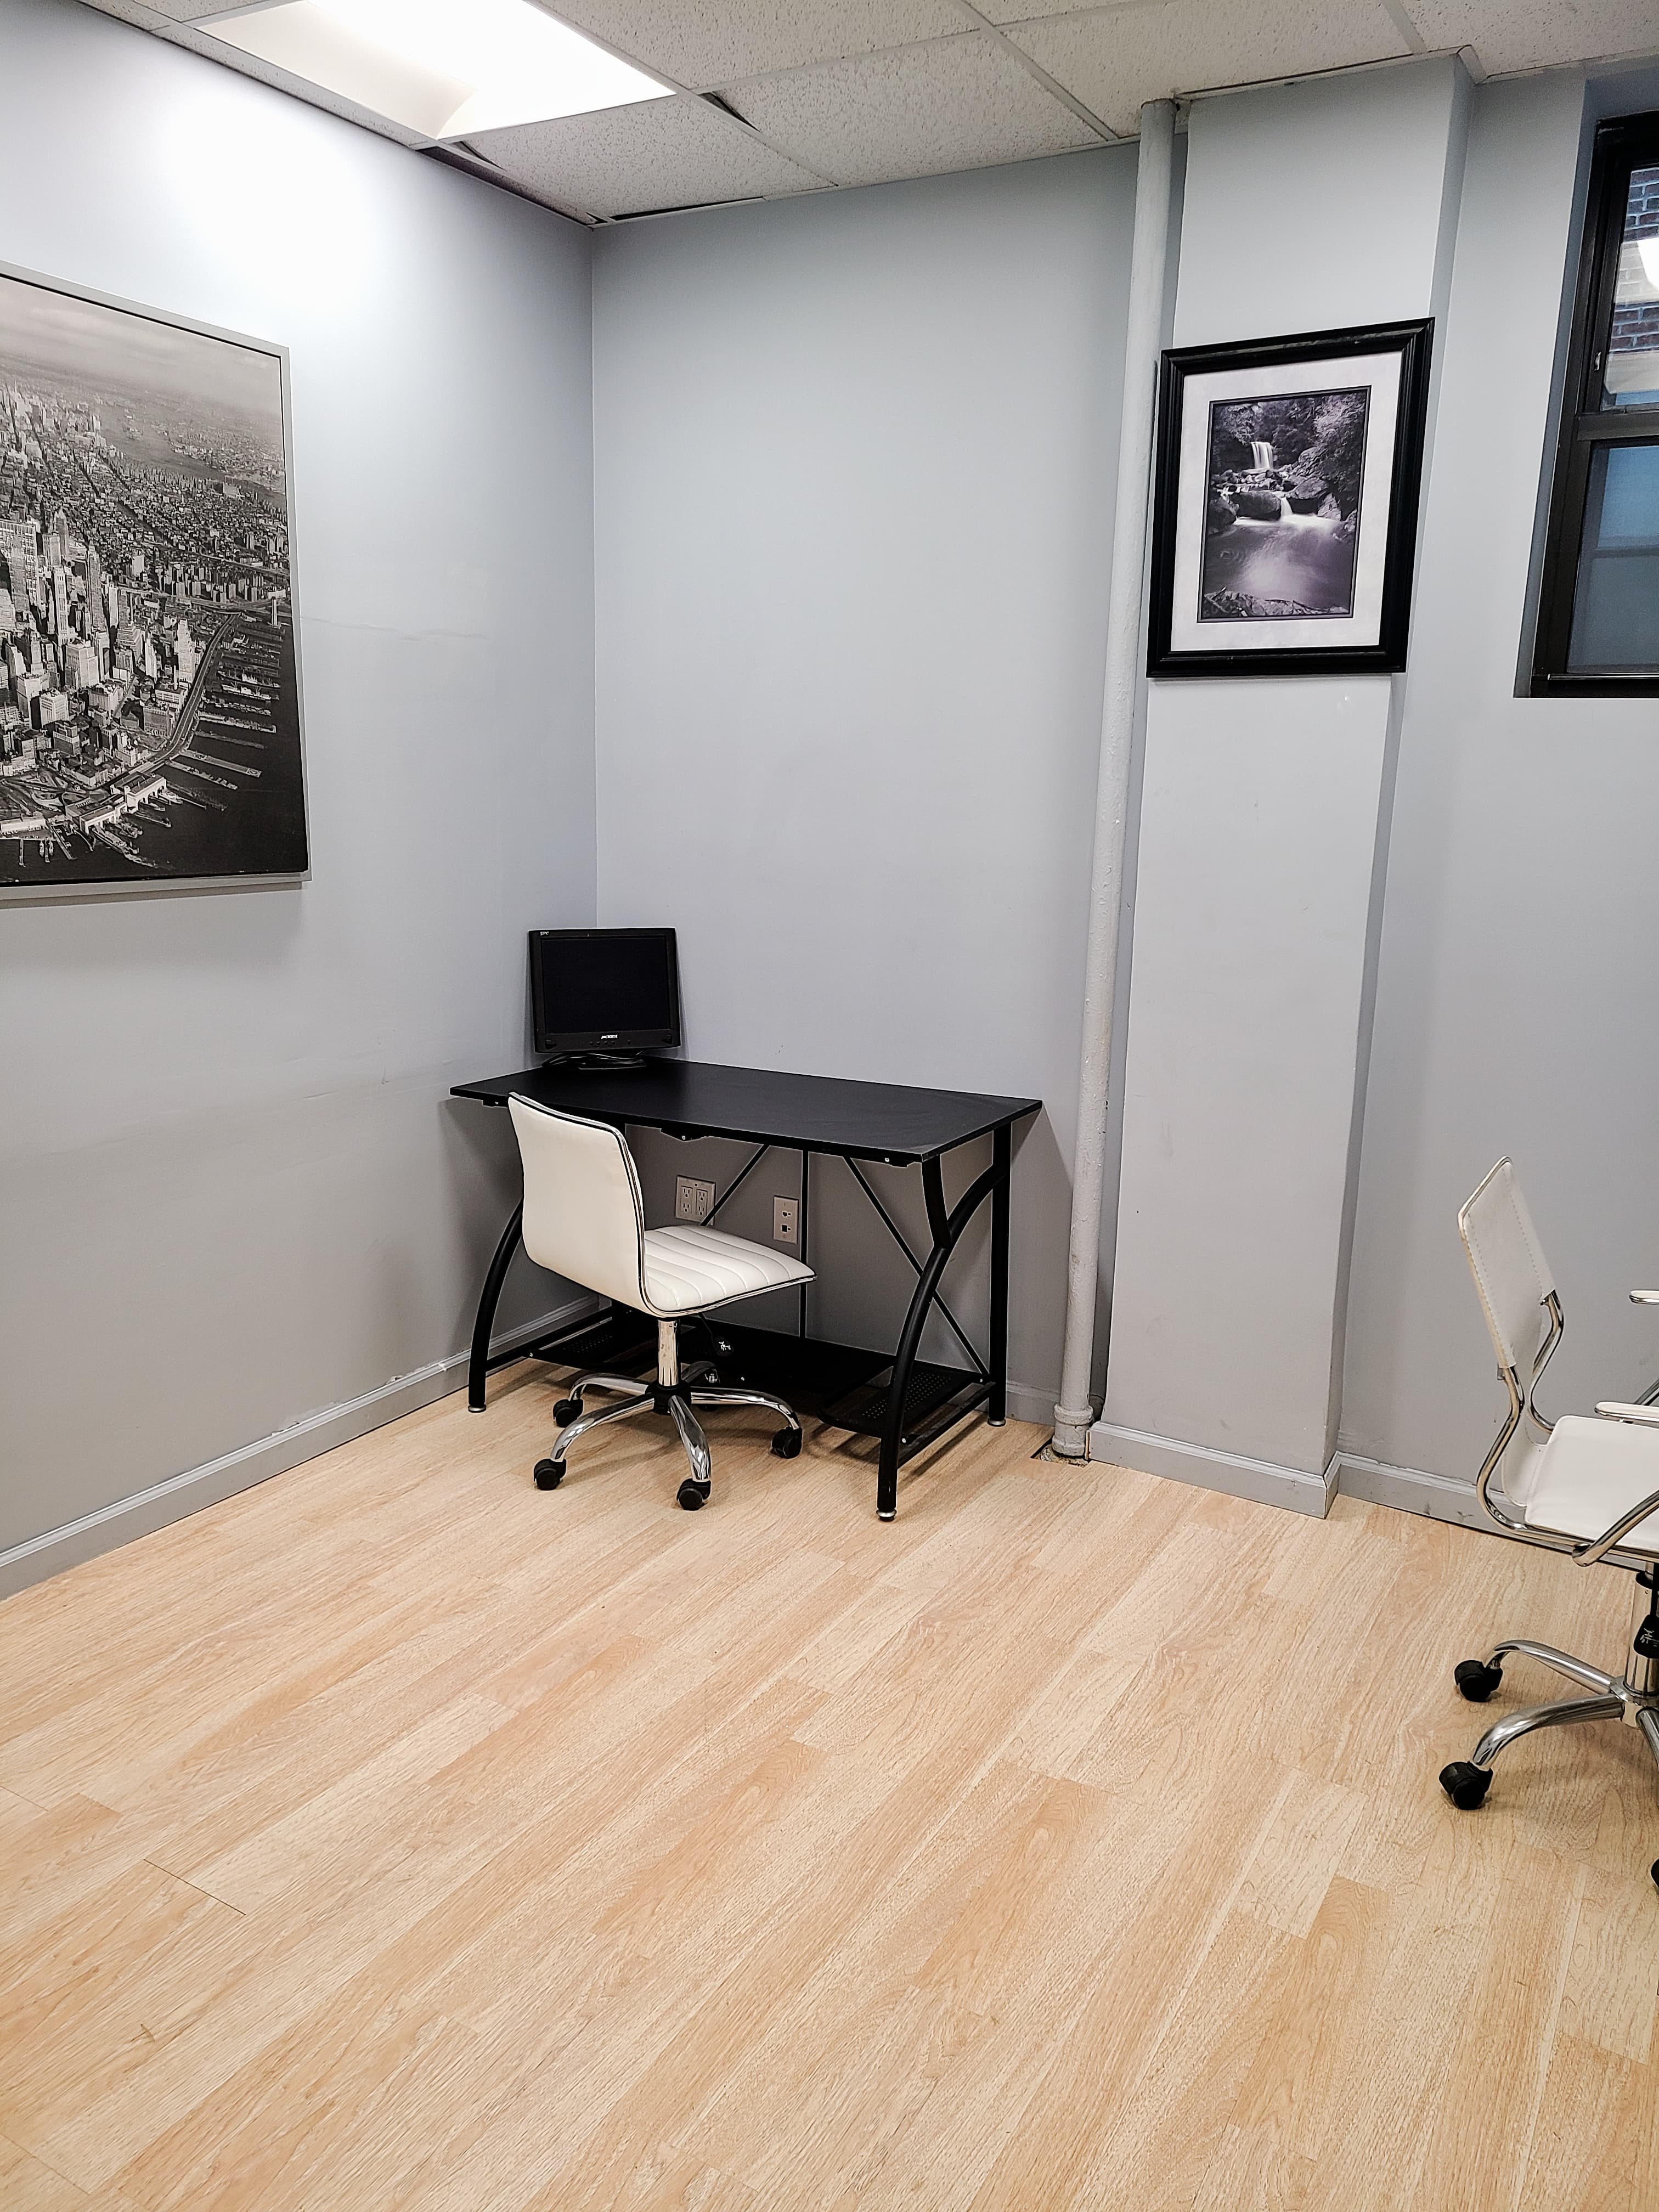
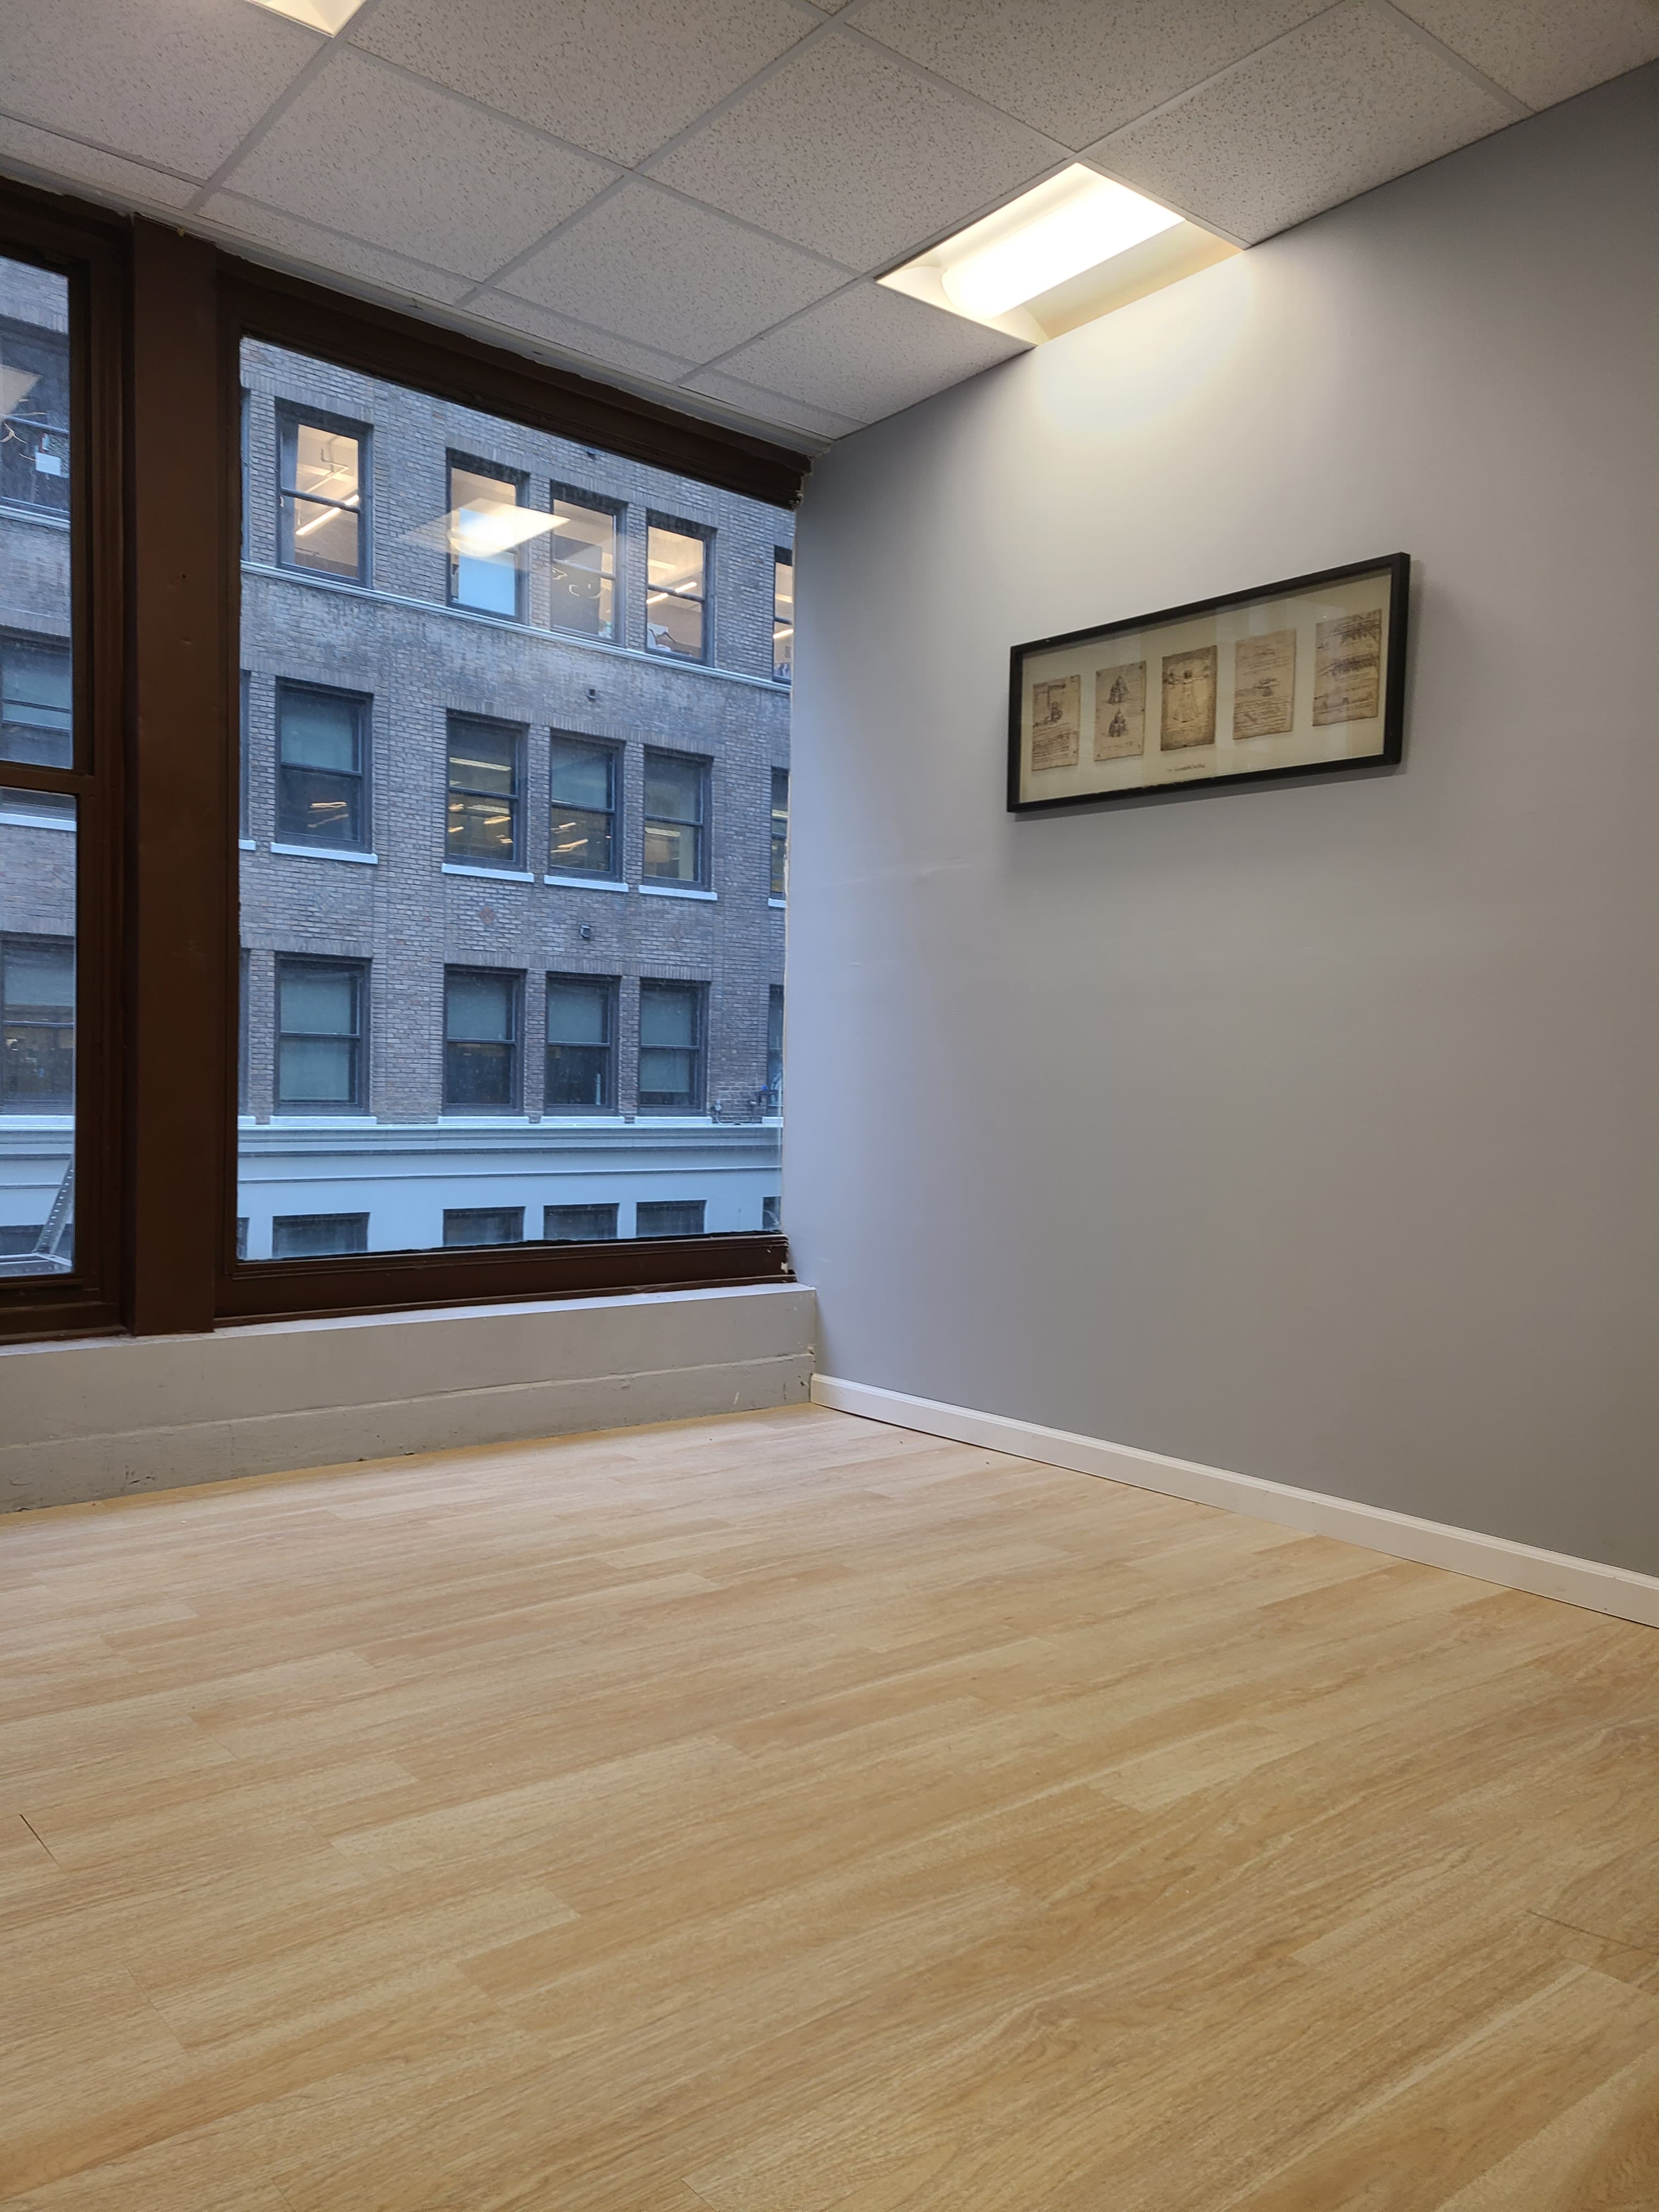
Premium Office Space in Midtown East, Manhattan
Midtown East, New York, NY
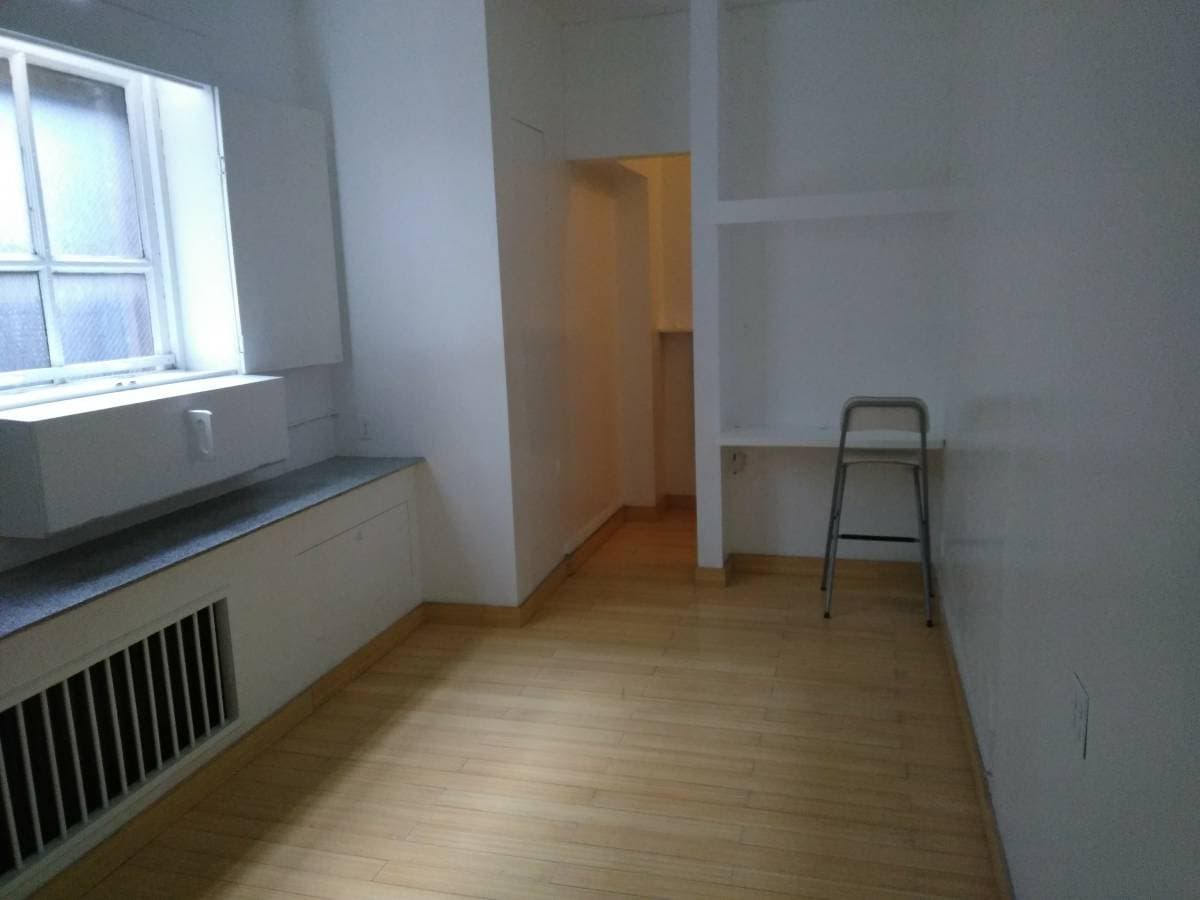
Flexible Co-Working Space on Upper East Side
Upper East Side, New York, NY
Waterfront Office Space in St. George, Staten Island
St. George, New York, NY
Industrial-Style Office in Tottenville, Staten Island
Tottenville, New York, NY
Historic Brownstone Office in Park Slope, Brooklyn
Park Slope, New York, NY
Creative Studio Office in Williamsburg, Brooklyn
Williamsburg, New York, NY
Professional Office Space in New Dorp, Staten Island
New Dorp, New York, NY
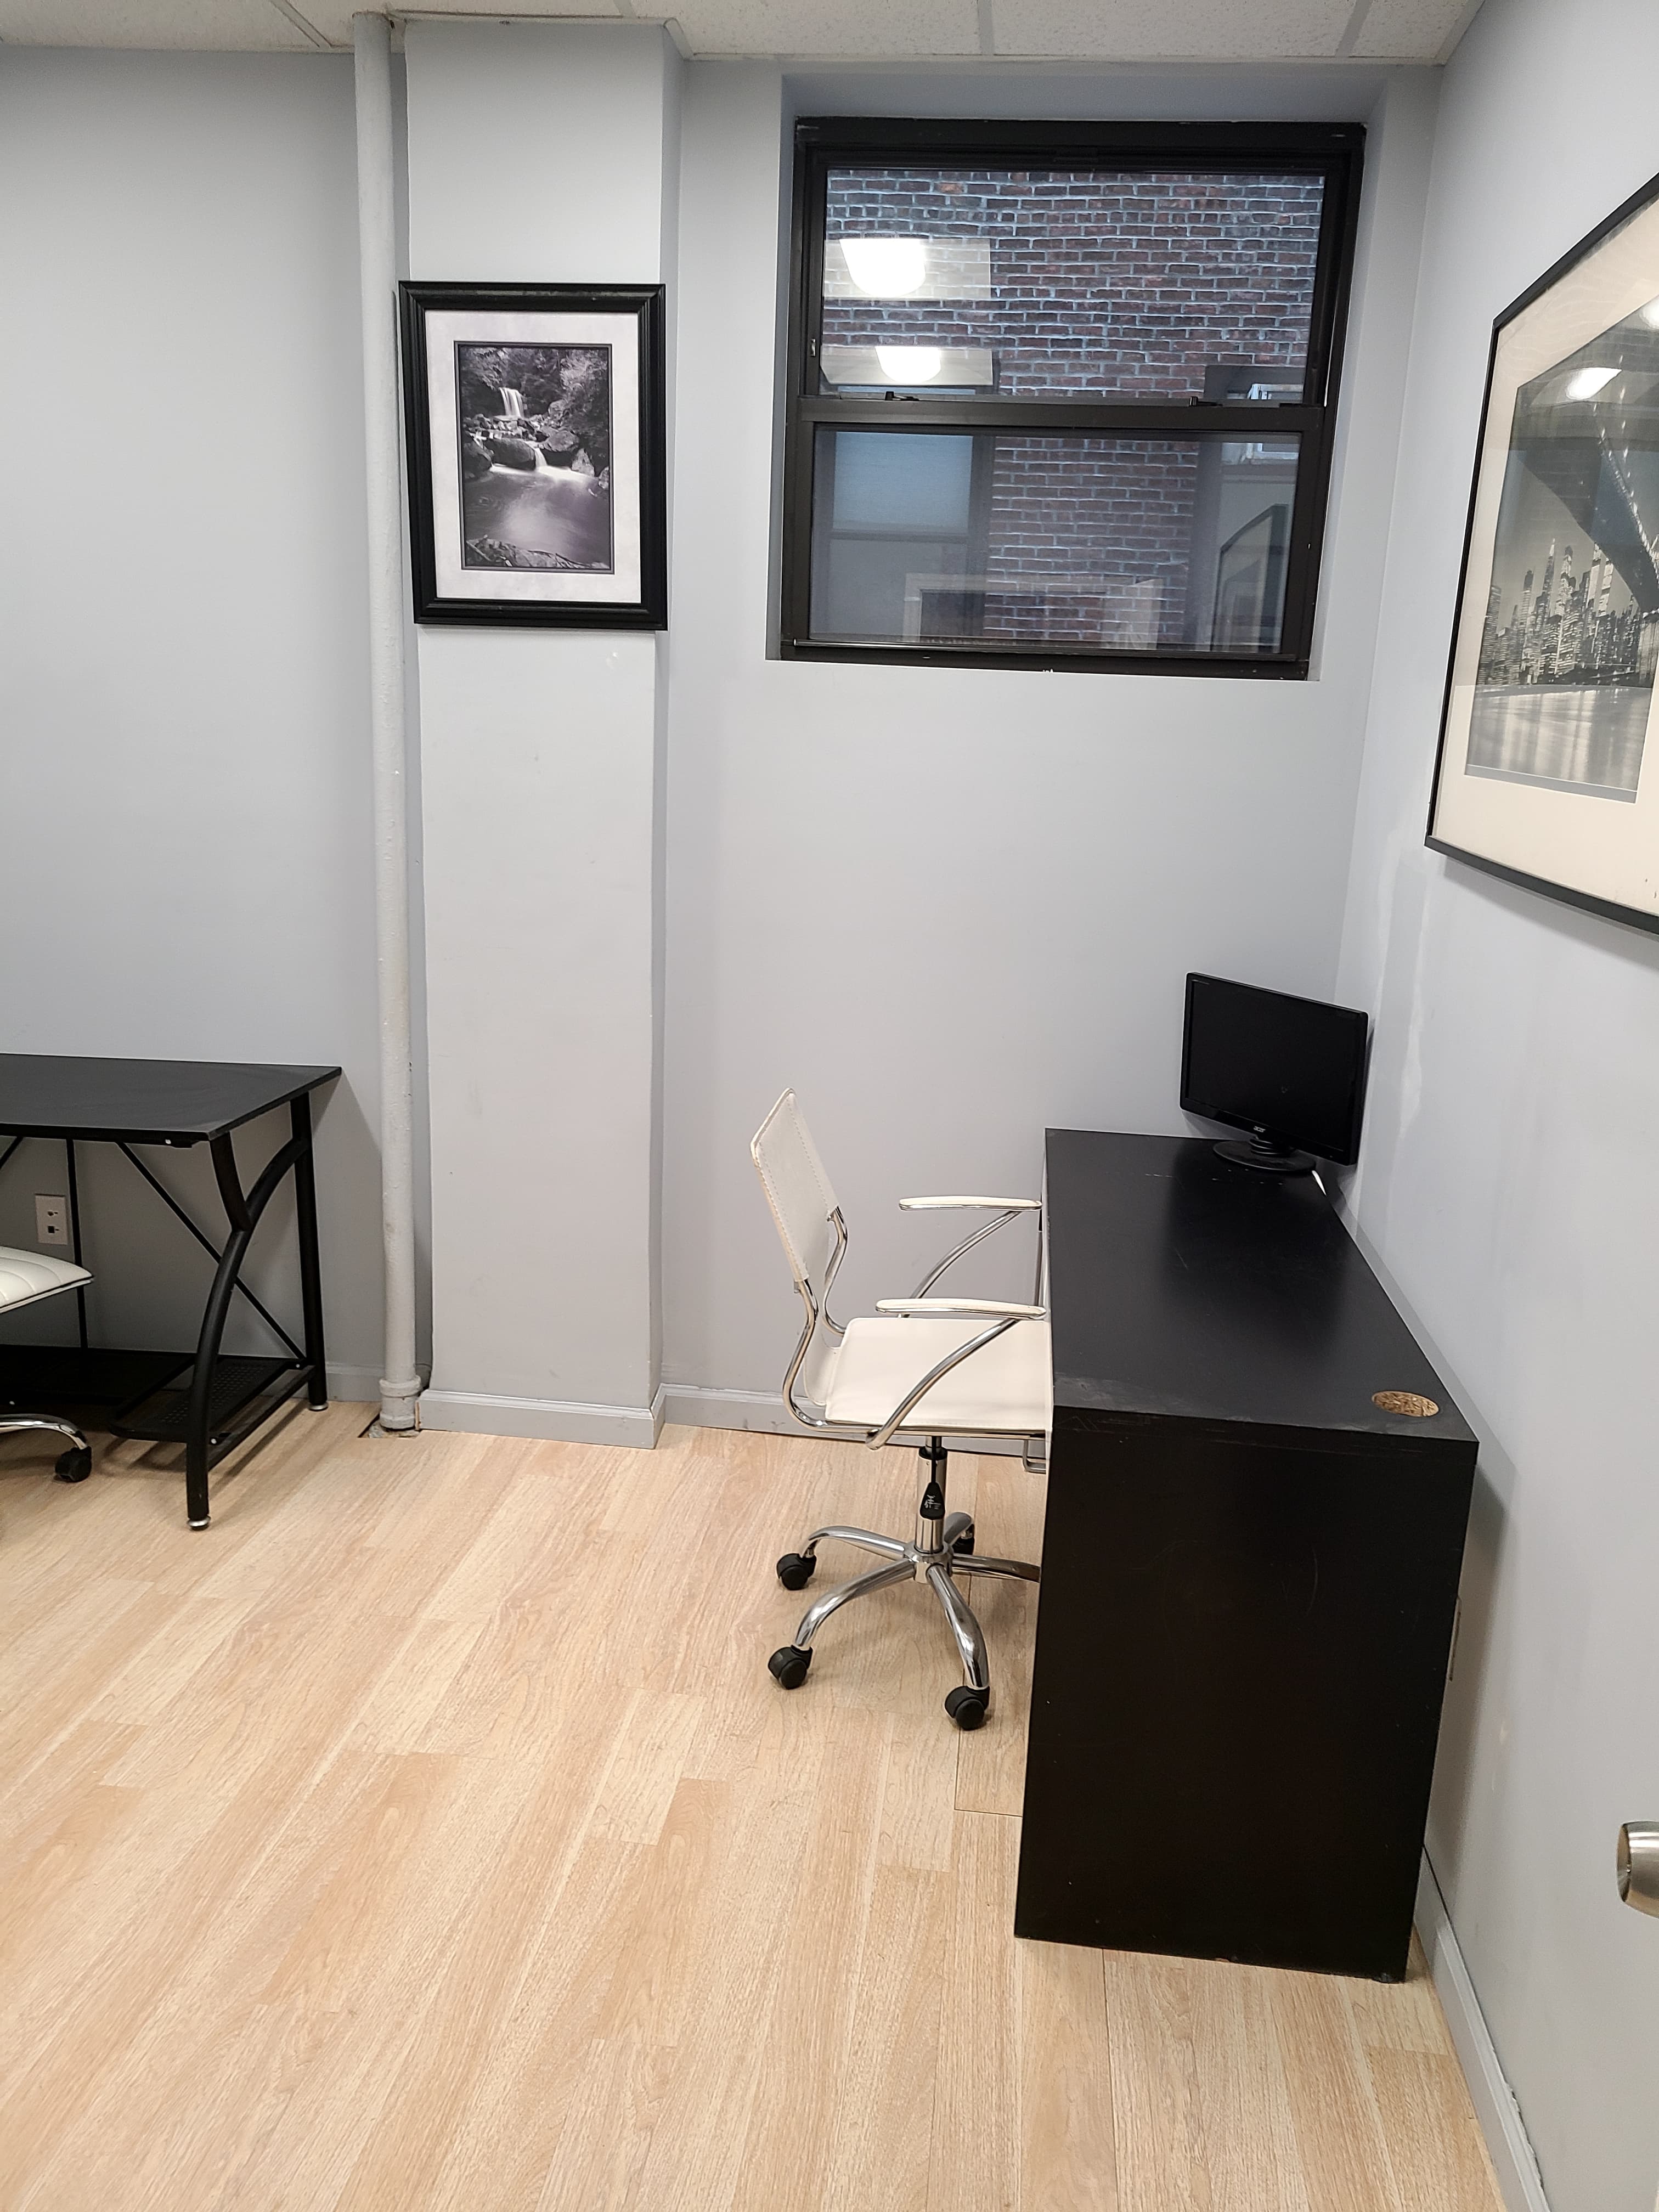
Modern Private Office in Hell's Kitchen, Manhattan
Hell's Kitchen, New York, NY
Luxury Private Office Suites in Gramercy, NYC
Gramercy, New York, NY
Corporate Office Space in Fordham, Bronx
Fordham, New York, NY
Waterfront Corporate Office in Pelham Bay, Bronx
Pelham Bay, New York, NY
Tech-Ready Office Space in DUMBO, Brooklyn
DUMBO, New York, NY
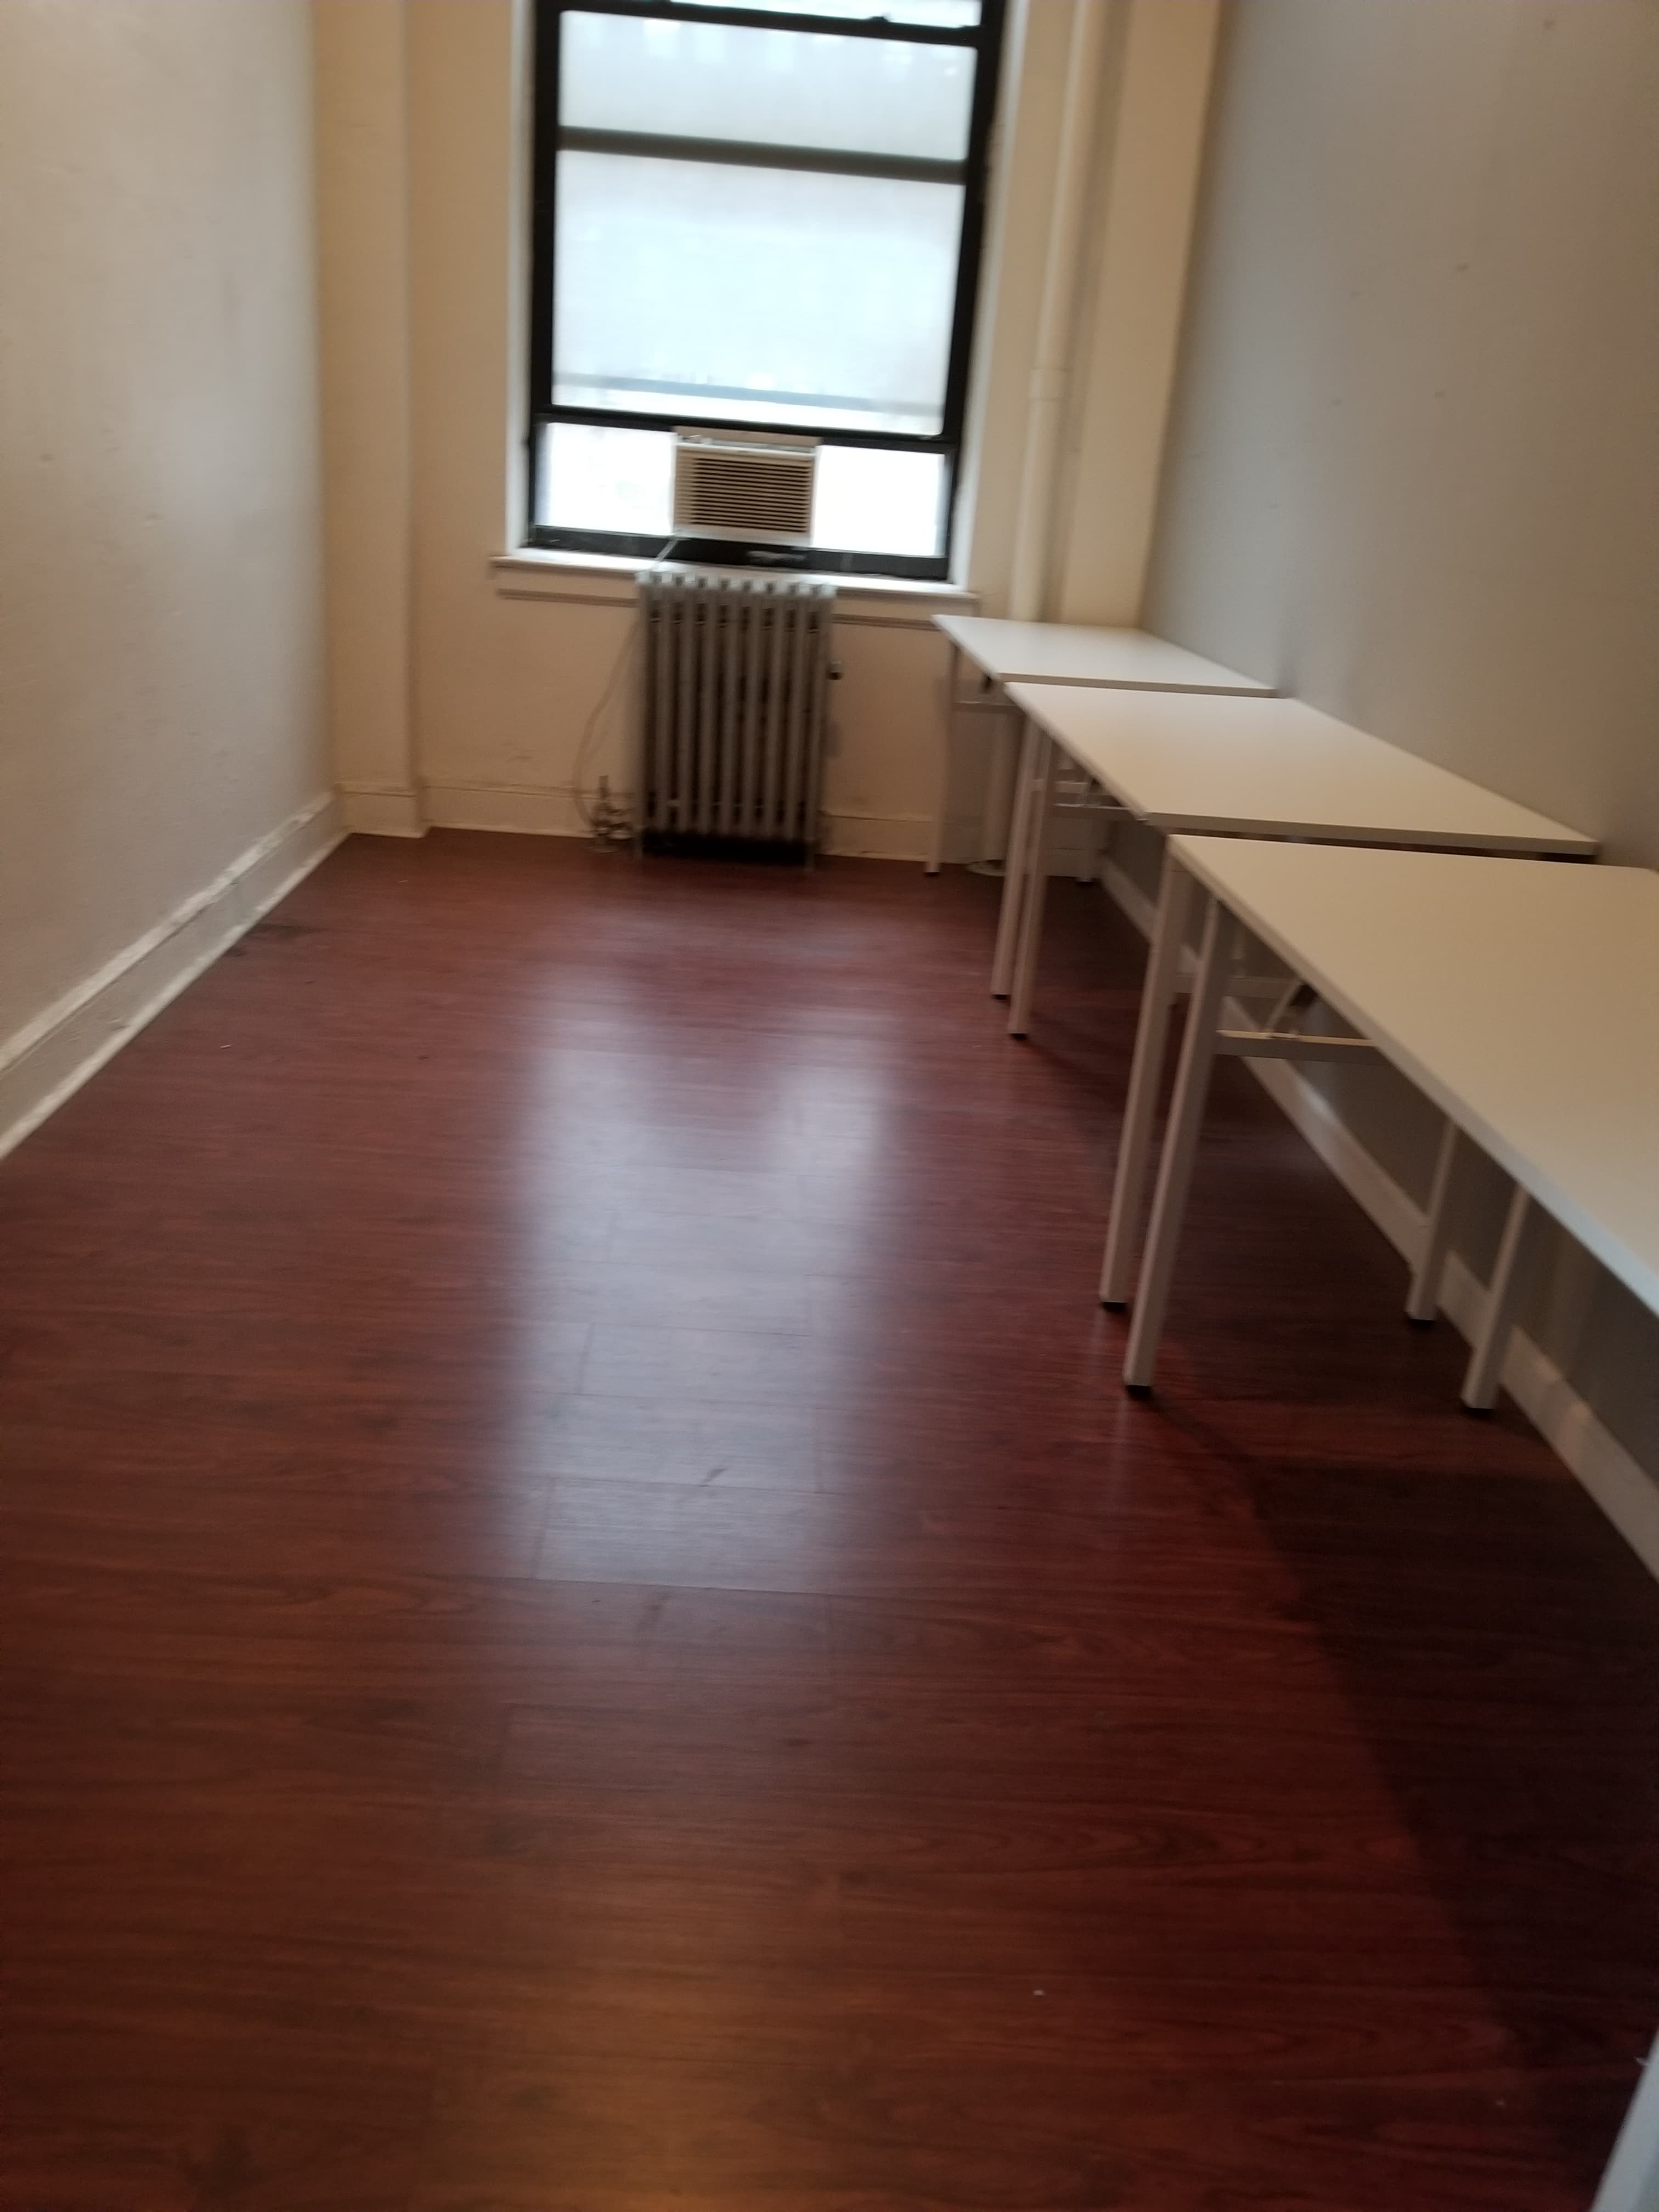
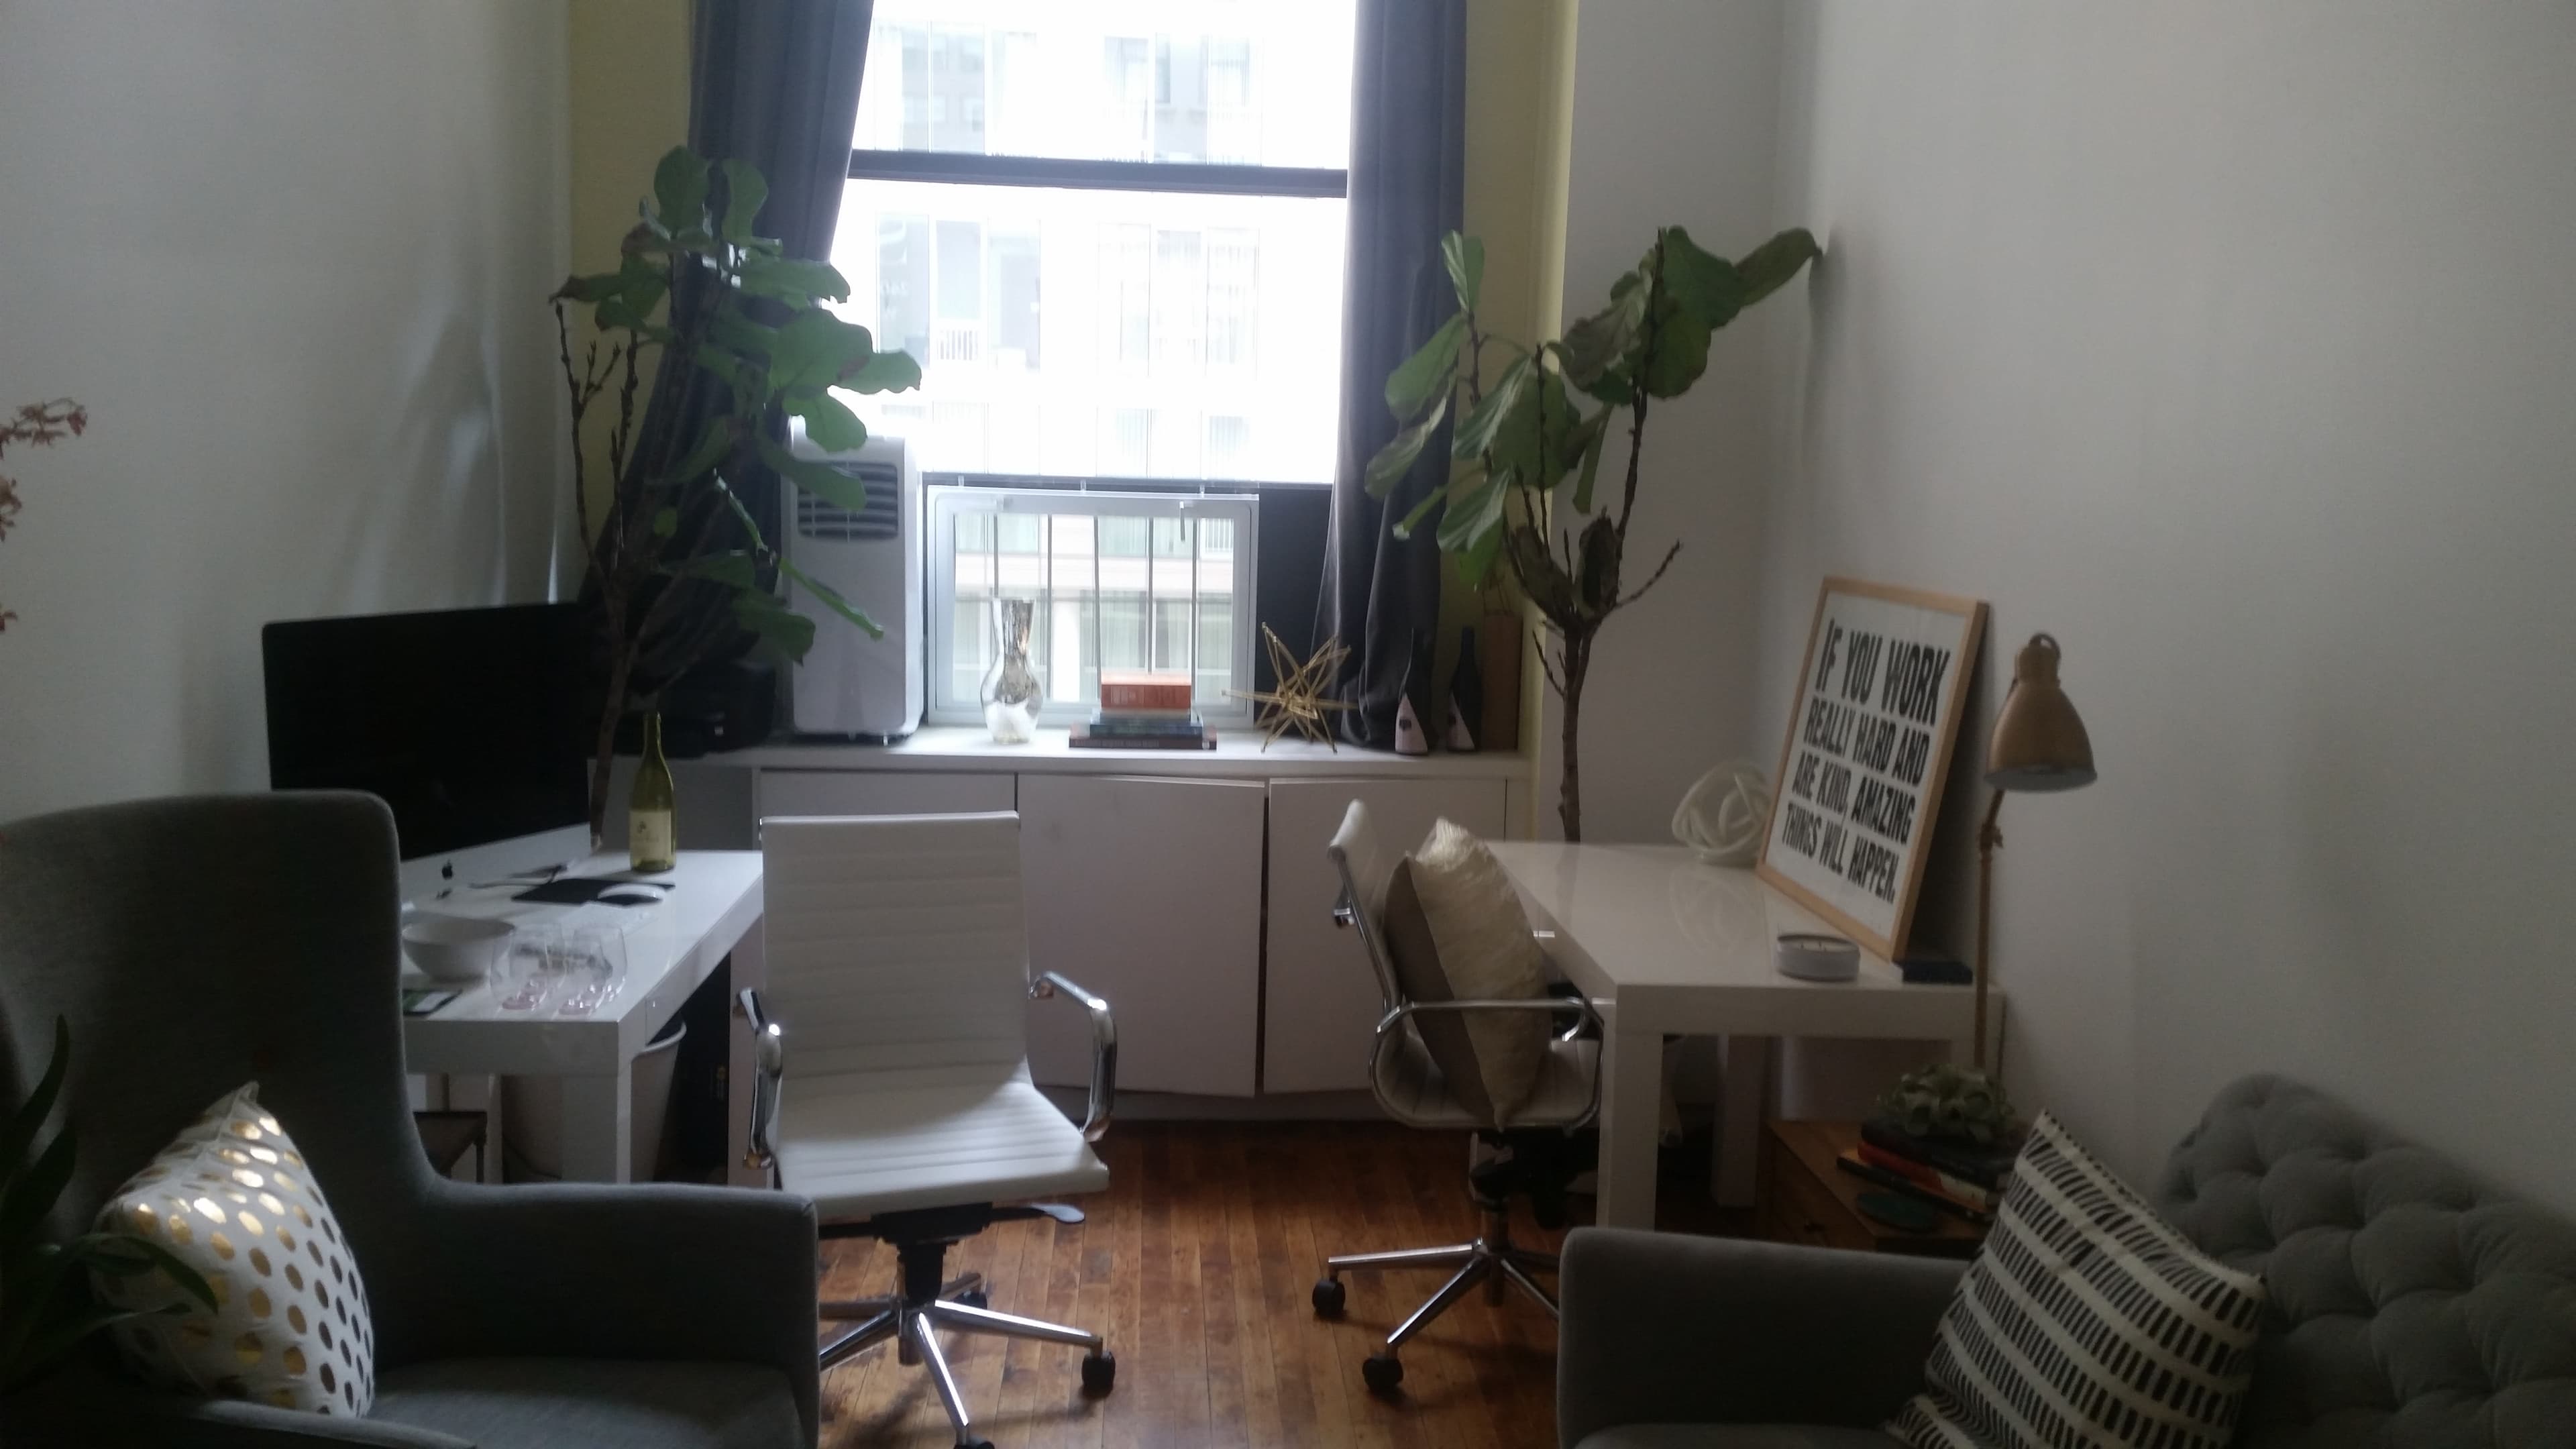
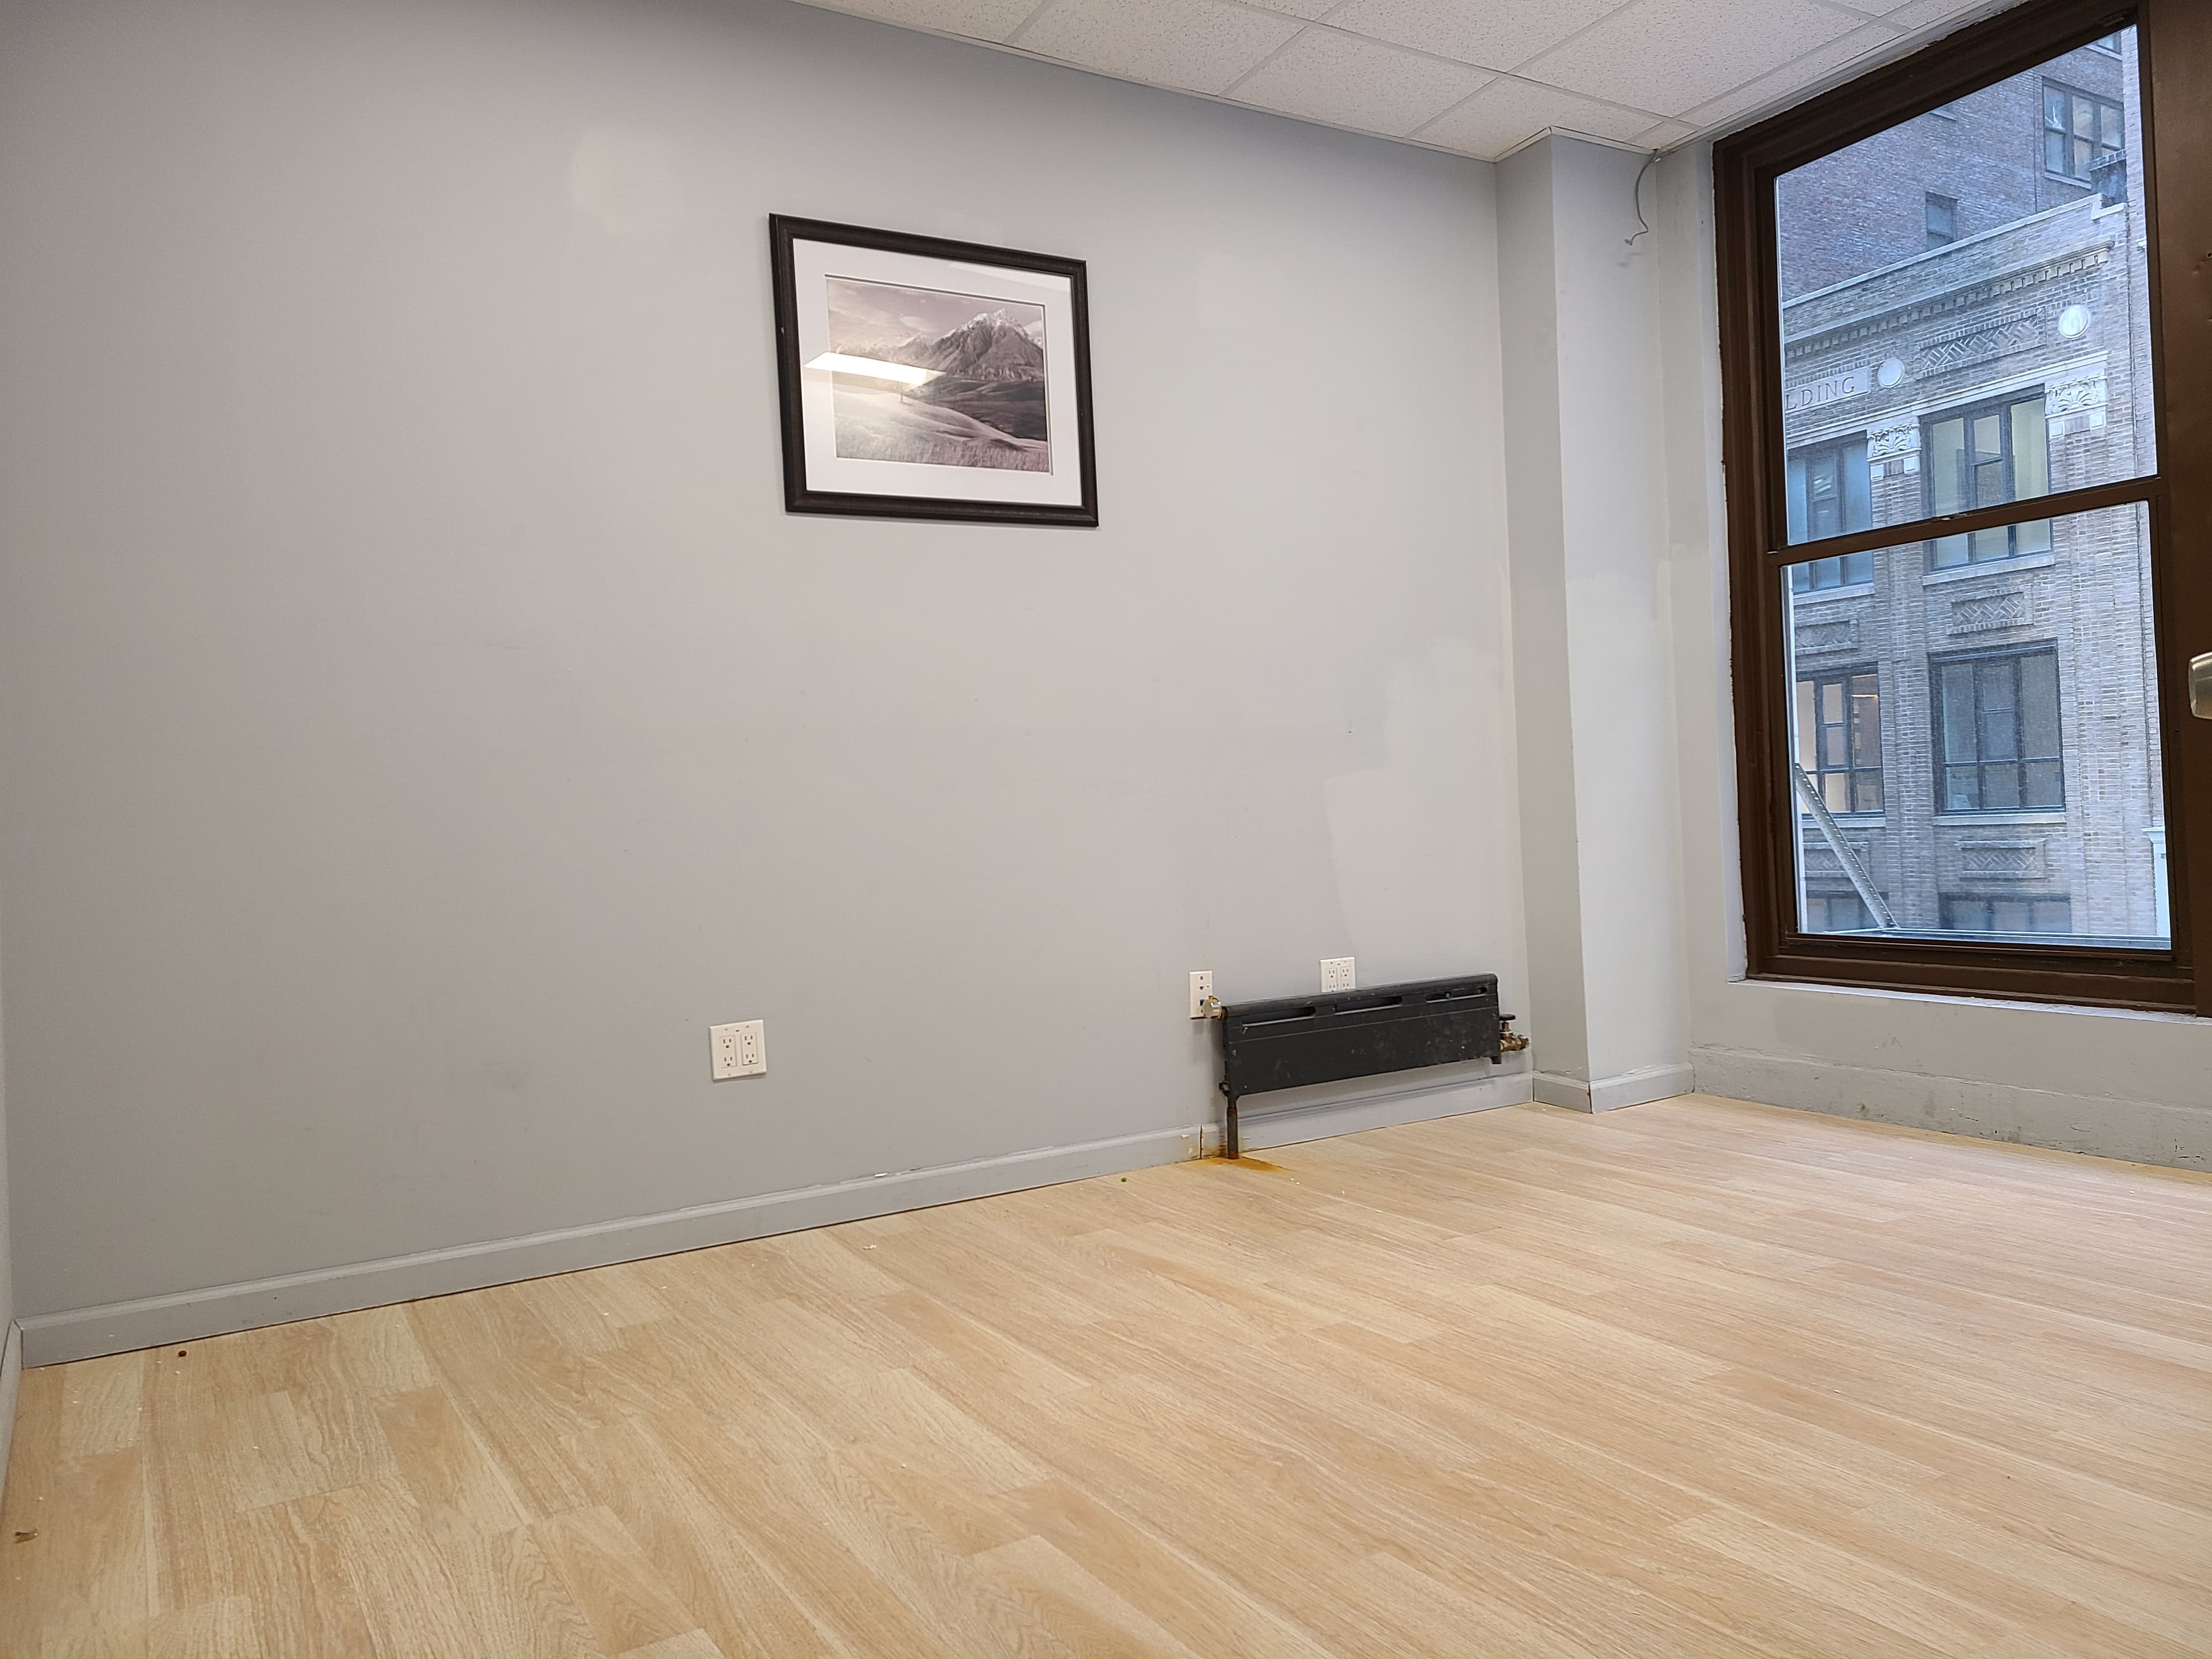
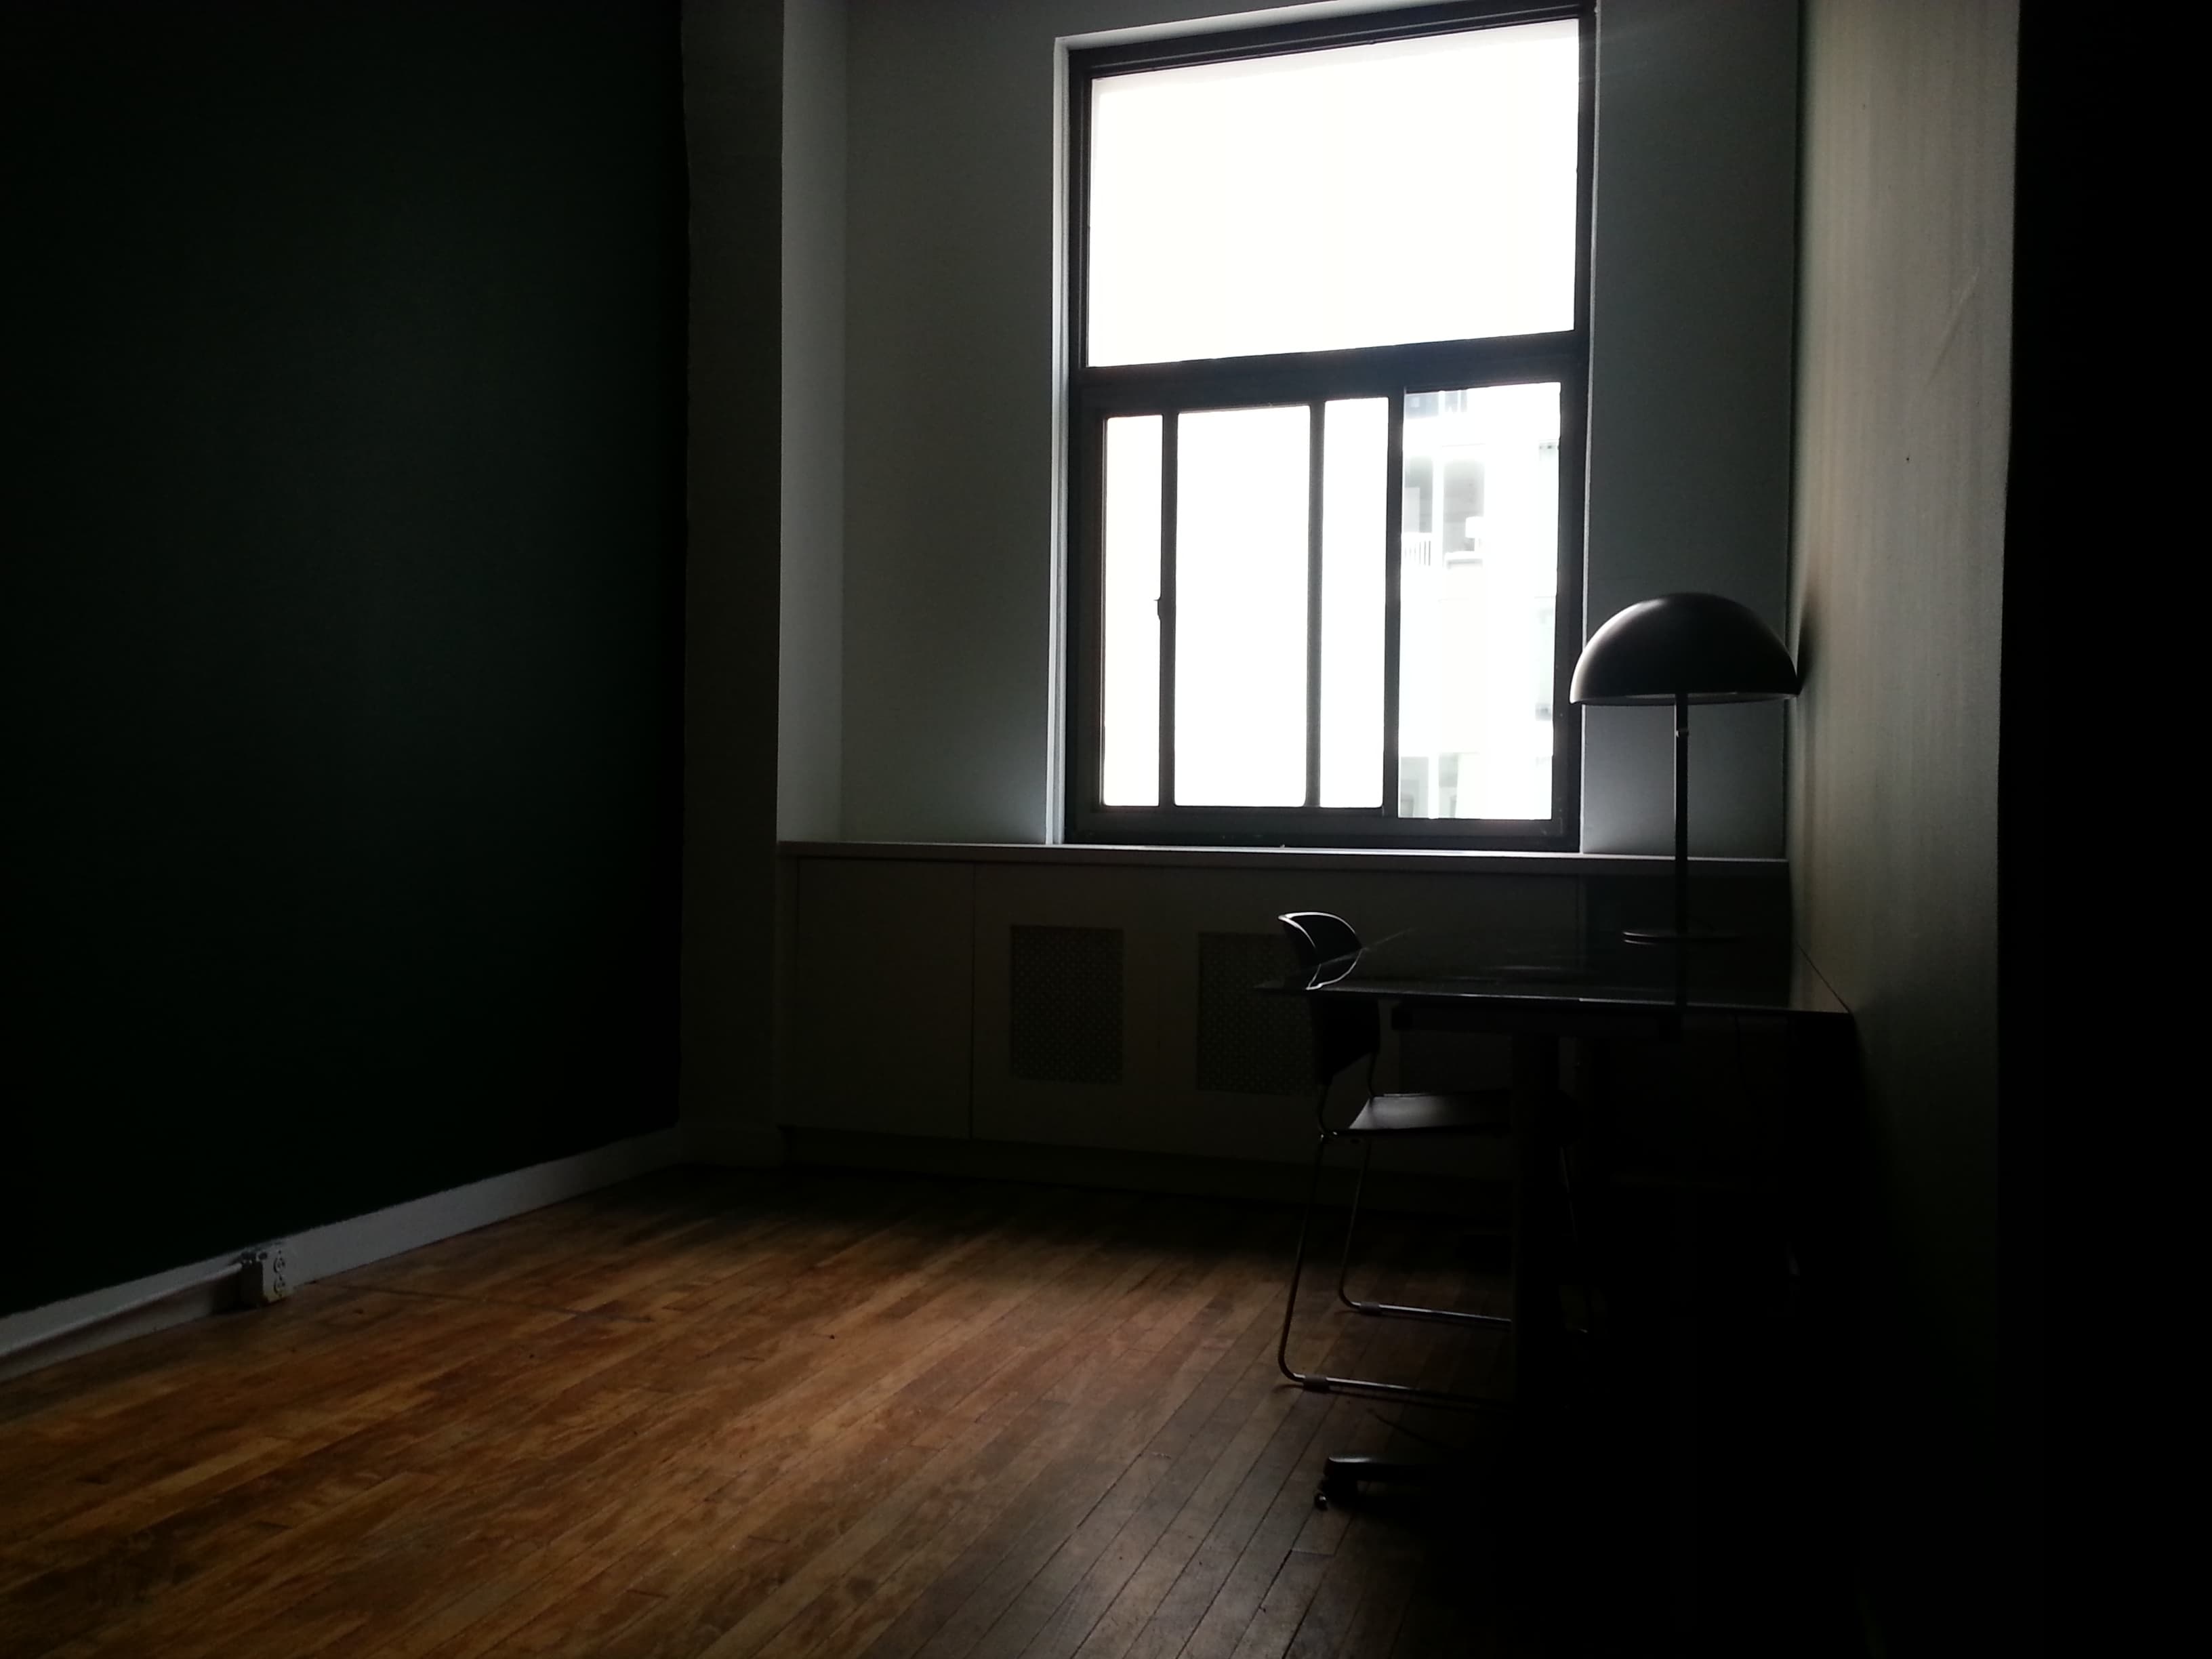
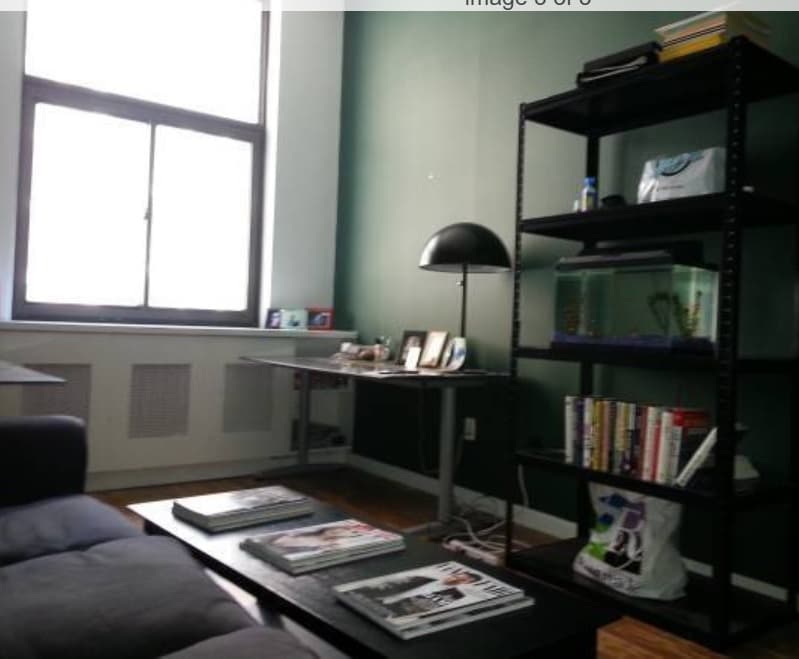
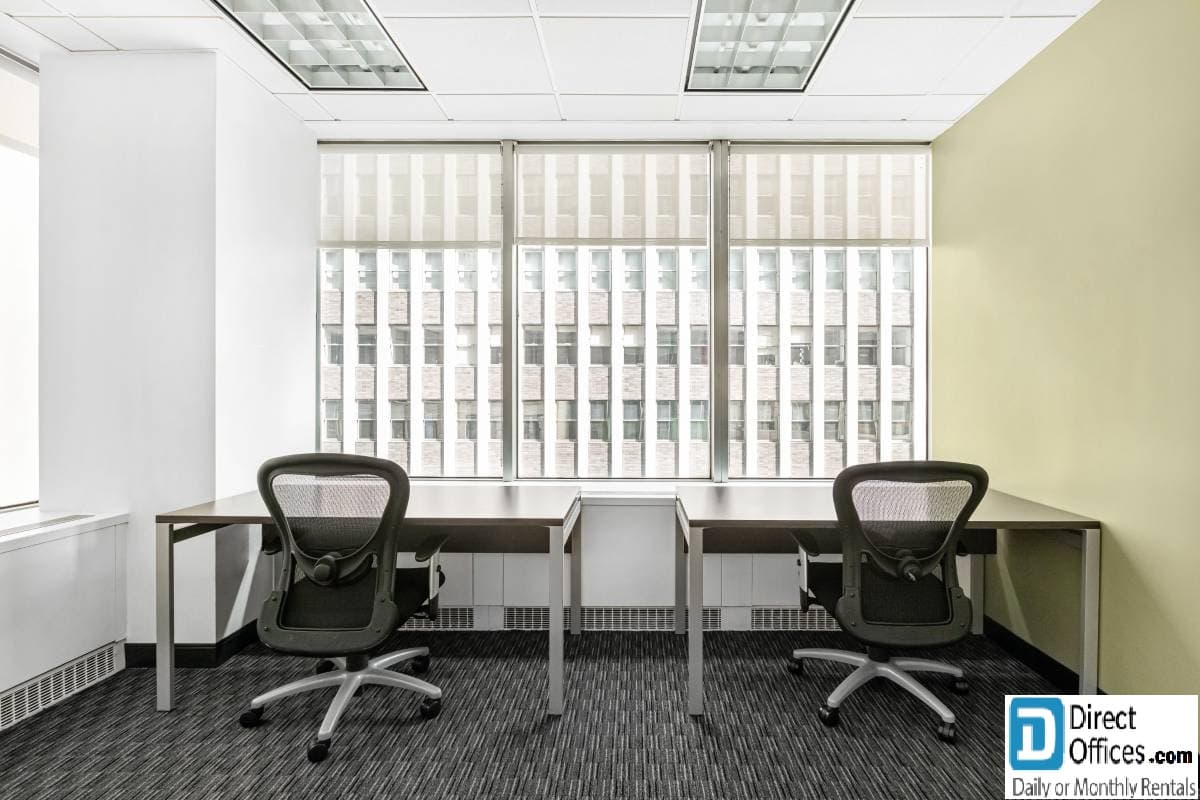
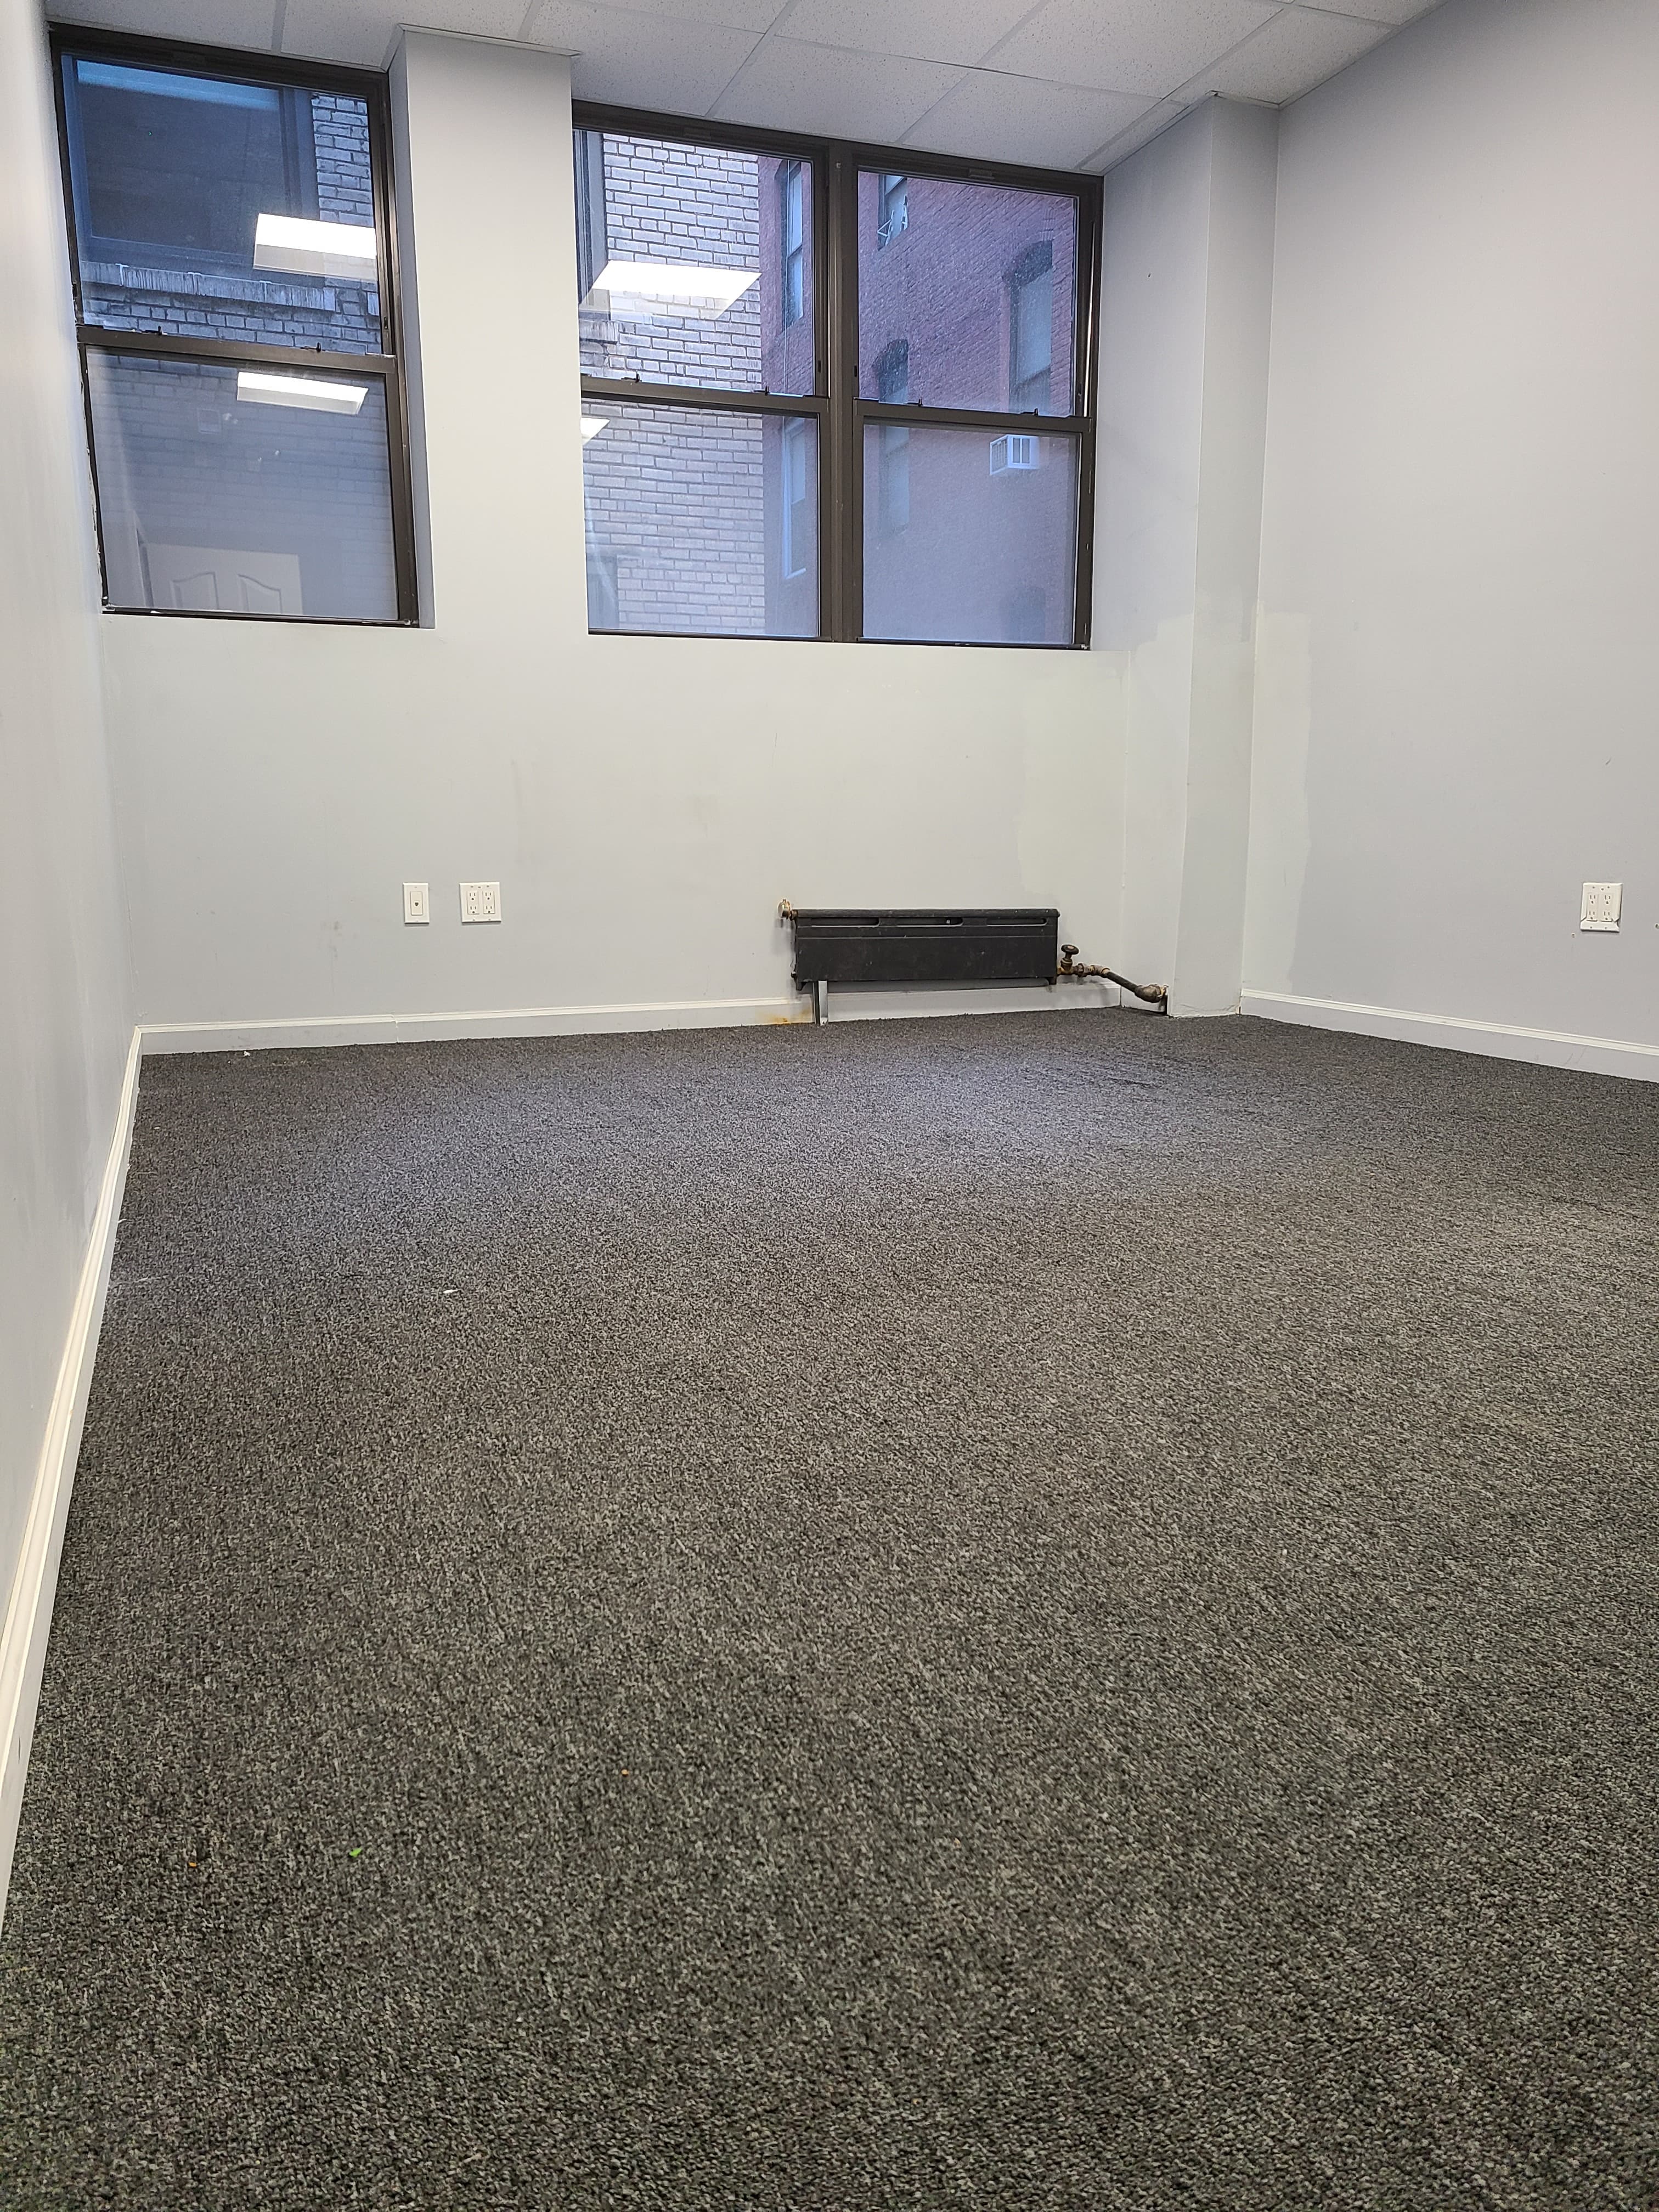
Bright Sunnty Space
Startup Office Space in Long Island City, Queens
Long Island City, New York, NY
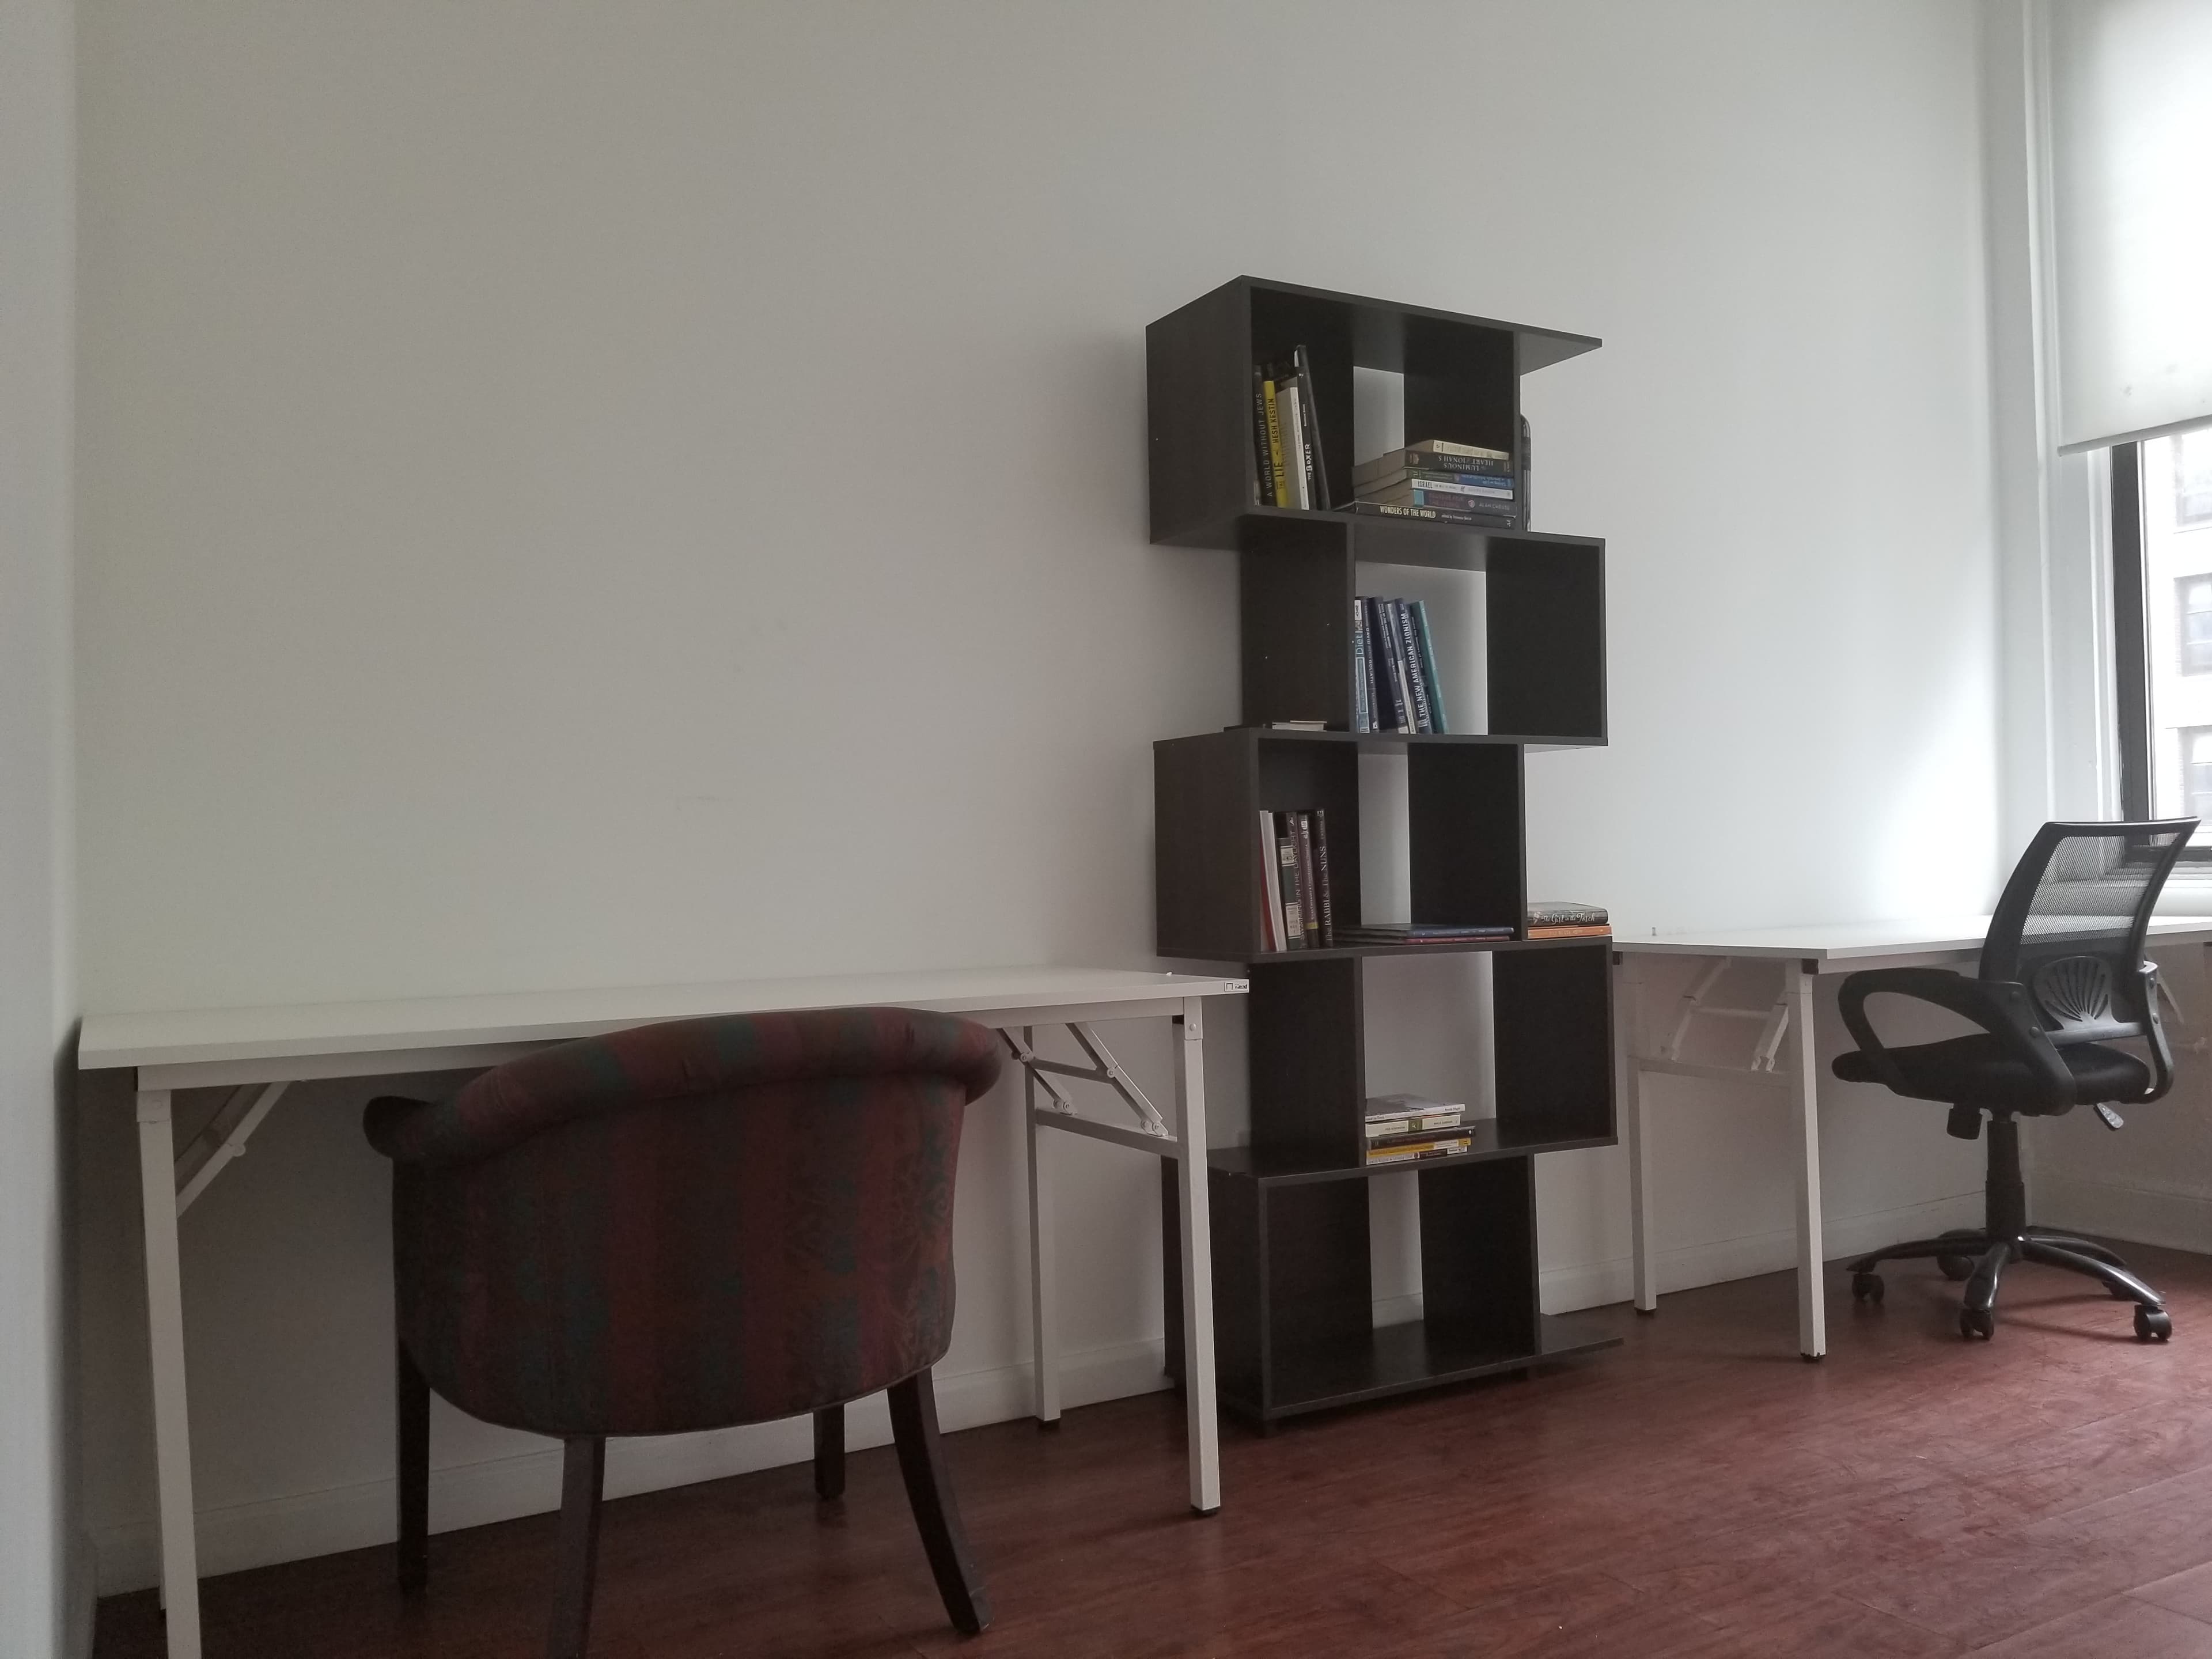
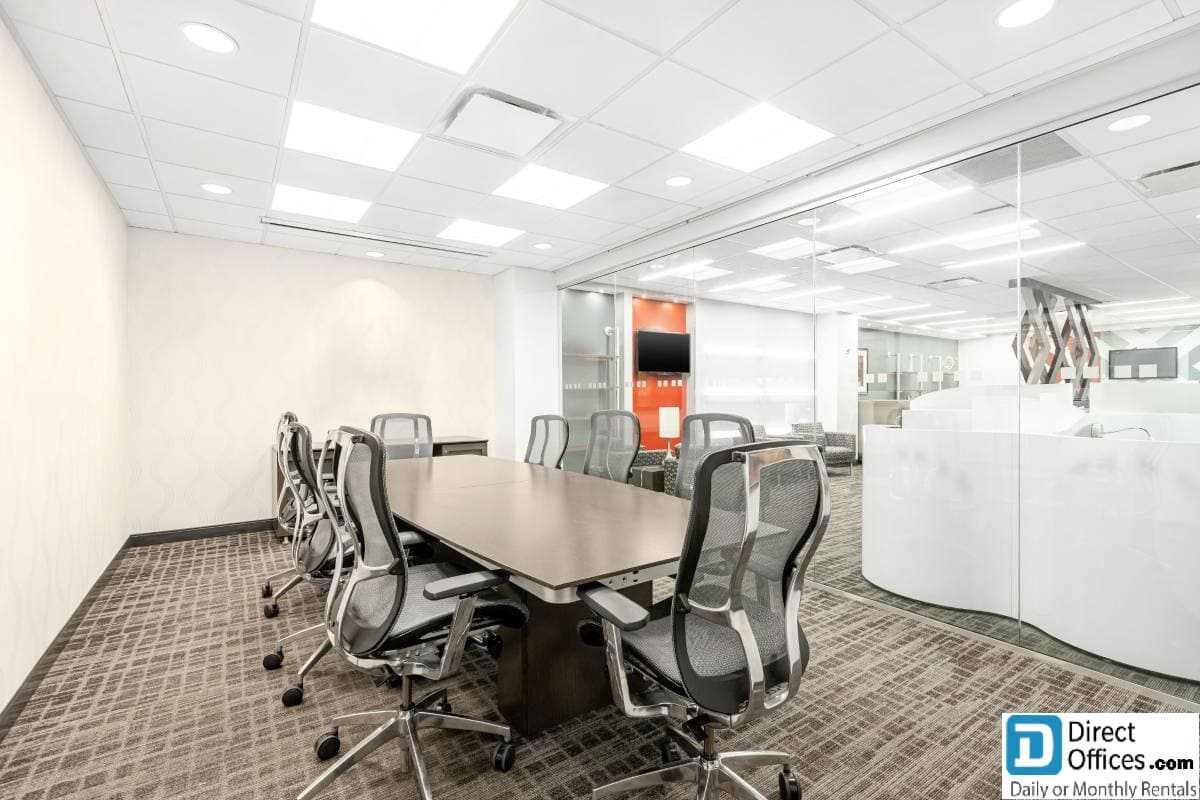
Newly Built Out Offices! Windowed w/ loft ceilings
International Business Office in Flushing, Queens
Flushing, New York, NY
Become a Landlord
It's easy to start hosting and earn extra income.